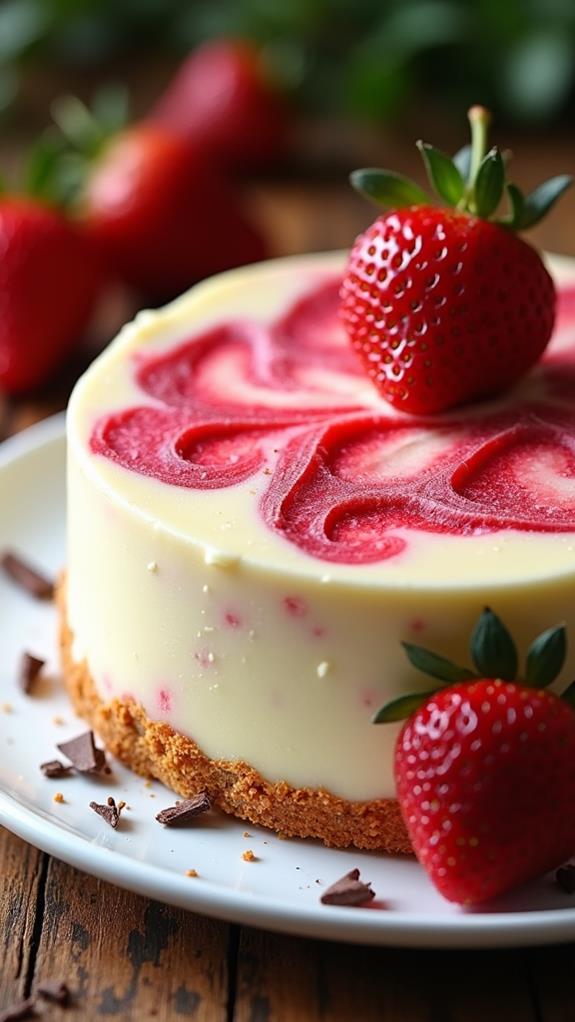
Strawberry Swirled White Chocolate Cake Recipe
There’s something magical about the combination of sweet strawberries and creamy white chocolate that makes any dessert feel like a celebration. This Strawberry Swirled White Chocolate Cake is the perfect example of how two complementary flavors can create something truly spectacular.
I’ve been perfecting this recipe for years, and I can confidently say it’s become my go-to dessert for special occasions. The moist, tender cake layers are infused with white chocolate, while ribbons of fresh strawberry puree create beautiful swirls throughout. Follow this detailed guide to create a show-stopping cake that tastes as incredible as it looks.
What is Strawberry Swirled White Chocolate Cake?
Strawberry Swirled White Chocolate Cake is an elegant dessert that combines the rich, buttery flavor of white chocolate with the bright, fruity taste of fresh strawberries. The cake features layers of white chocolate-infused sponge with strawberry puree swirled throughout, creating a marbled effect that’s both visually stunning and deliciously balanced.
Unlike traditional layered cakes where flavors are separated, this recipe incorporates both elements into each bite. The white chocolate provides a luxurious base while the strawberry swirls add bursts of natural sweetness and vibrant color. It’s topped with a silky white chocolate buttercream that brings everything together perfectly.
Ingredients List for Strawberry Swirled White Chocolate Cake
For the Cake:
- 2½ cups all-purpose flour
- 2 cups granulated sugar
- 1 cup unsalted butter, softened
- 4 large eggs, room temperature
- 1 cup whole milk, room temperature
- 2 teaspoons vanilla extract
- 2½ teaspoons baking powder
- ½ teaspoon salt
- 6 oz white chocolate, melted and cooled
- 1 cup fresh strawberries, hulled and pureed
- 2 tablespoons cornstarch
- 2 tablespoons powdered sugar
For the White Chocolate Buttercream:
- 1 cup unsalted butter, softened
- 4 cups powdered sugar
- 6 oz white chocolate, melted and cooled
- ¼ cup heavy cream
- 1 teaspoon vanilla extract
- Pinch of salt
For Garnish:
- Fresh strawberries, sliced
- White chocolate shavings
- Mint leaves (optional)
How to Make Strawberry Swirled White Chocolate Cake: A Step-by-Step Guide
Creating this beautiful cake involves several steps that build upon each other to create the perfect result. Here’s my detailed guide to ensure your cake turns out absolutely perfect:
1. Prepare Your Strawberry Swirl:
- Puree the fresh strawberries in a food processor until completely smooth.
- Transfer to a small saucepan and mix in cornstarch and powdered sugar.
- Cook over medium heat for 3-4 minutes, stirring constantly, until thickened.
- Remove from heat and let cool completely. This concentrated puree will hold its shape when swirled into the batter.
2. Prep Your Baking Environment:
- Preheat your oven to 350°F (175°C).
- Grease two 9-inch round cake pans and line the bottoms with parchment paper.
- Dust lightly with flour, tapping out any excess.
- Having everything ready ensures smooth assembly later.
3. Make the White Chocolate Cake Batter:
- In a large bowl, cream the softened butter and granulated sugar until light and fluffy, about 4-5 minutes.
- Add eggs one at a time, beating well after each addition.
- Mix in the vanilla extract and cooled melted white chocolate until well combined.
- In a separate bowl, whisk together flour, baking powder, and salt.
4. Combine Wet and Dry Ingredients:
- Alternately add the flour mixture and milk to the butter mixture, beginning and ending with flour.
- Mix just until combined; overmixing can result in a tough cake.
- The batter should be smooth and creamy with no streaks of flour visible.
5. Create the Strawberry Swirls:
- Divide the batter evenly between your prepared pans.
- Drop spoonfuls of the cooled strawberry puree over the surface of each cake.
- Use a knife or skewer to gently swirl the strawberry mixture through the batter, creating marbled patterns.
- Don’t overmix; you want distinct swirls, not a uniform pink color.
6. Bake to Perfection:
- Bake for 25-30 minutes, or until a toothpick inserted in the center comes out with just a few moist crumbs.
- The tops should be golden and spring back lightly when touched.
- Cool in pans for 10 minutes before turning out onto wire racks to cool completely.
7. Prepare the White Chocolate Buttercream:
- Beat softened butter until light and fluffy, about 3-4 minutes.
- Gradually add powdered sugar, beating until smooth.
- Mix in cooled melted white chocolate, heavy cream, vanilla, and salt.
- Beat on high speed for 2-3 minutes until the frosting is smooth and pipeable.
8. Assemble Your Masterpiece:
- Place one cake layer on your serving plate and spread a generous layer of buttercream on top.
- Add the second layer and apply a thin crumb coat of frosting all over.
- Refrigerate for 30 minutes, then apply the final layer of buttercream.
- Garnish with fresh strawberry slices, white chocolate shavings, and mint leaves if desired.
Substitutions and Variations
I love how versatile this recipe can be. Here are some substitutions and variations you can try to make it your own:
- Flour: Use cake flour instead of all-purpose for an even more tender crumb, but reduce the amount to 2¼ cups.
- White Chocolate: If you can’t find good quality white chocolate, white chocolate chips will work, though the flavor may be slightly different.
- Strawberries: Frozen strawberries (thawed and drained) work well when fresh aren’t available, or try raspberries for a different flavor profile.
- Milk: Buttermilk can be substituted for regular milk to add tanginess that complements the strawberries.
- Cake Size: This recipe can be made as a 13×9 inch sheet cake; just adjust baking time to 35-40 minutes.
Common Mistakes to Avoid
After making this cake countless times, I’ve learned to avoid these common pitfalls:
- Using Cold Ingredients: Room temperature eggs and milk mix better and create a more uniform batter.
- Overmixing the Swirls: Too much mixing will muddy the beautiful marbled pattern you’re trying to achieve.
- Skipping the Strawberry Reduction: Raw strawberry puree will make the cake soggy; always cook it down first.
- Frosting Hot Cake: Make sure your cake is completely cool before frosting, or the buttercream will melt.
- Low-Quality White Chocolate: Cheap white chocolate can taste waxy and artificial; invest in good quality for the best results.
How to Serve Strawberry Swirled White Chocolate Cake
This cake is perfect as the centerpiece of any celebration. I like to serve it at room temperature, which allows the flavors to shine and makes the cake easier to slice. A simple accompaniment of fresh berries and a glass of sparkling wine or coffee creates an elegant dessert course.
For casual gatherings, serve with vanilla ice cream or freshly whipped cream. The contrast between the rich cake and cool, creamy accompaniments is absolutely divine.
Presentation Ideas for Strawberry Swirled White Chocolate Cake
The natural beauty of this cake makes it easy to present beautifully:
- Rustic Elegance: Leave the sides partially unfrosted for a “naked cake” look that shows off the beautiful layers.
- Garden Party Style: Surround the base with fresh strawberries and delicate flowers like baby’s breath.
- Modern Minimalist: Keep decoration simple with clean white frosting and a single perfect strawberry on top.
- Vintage Charm: Use a piping bag to create rosettes around the border and dust lightly with pearl dust.
Strawberry Swirled White Chocolate Cake Recipe Tips
Here are my insider tips for guaranteed success:
- Quality Matters: Use the best white chocolate you can find; it makes a noticeable difference in flavor.
- Temperature Control: All dairy ingredients should be at room temperature for the smoothest batter.
- Gentle Folding: When creating swirls, use a light hand to maintain the marbled effect.
- Proper Storage: Keep the finished cake covered at room temperature for up to 2 days, or refrigerated for up to a week.
- Make-Ahead Option: Cake layers can be wrapped and frozen for up to 3 months; thaw before assembling.
How to Store Strawberry Swirled White Chocolate Cake
Proper storage keeps your cake fresh and delicious. Store the finished cake in an airtight container or cover tightly with plastic wrap. It will stay fresh at room temperature for 2-3 days or in the refrigerator for up to one week.
For longer storage, wrap unfrosted cake layers individually in plastic wrap and freeze for up to 3 months. The buttercream can also be made ahead and stored in the refrigerator for up to one week; just bring to room temperature and re-whip before using.
Frequently Asked Questions (FAQs)
Q: Can I make this cake ahead of time?
A: Absolutely! The cake layers can be made 1-2 days ahead and stored wrapped at room temperature. The buttercream can also be made ahead and stored in the refrigerator. Assemble the cake the day you plan to serve it for best results.
Q: Why did my strawberry swirls disappear during baking?
A: This usually happens when the strawberry puree is too thin or wasn’t reduced enough. Make sure to cook it down with cornstarch until it’s thick enough to hold its shape.
Q: Can I use white chocolate chips instead of chopped white chocolate?
A: Yes, but the flavor and texture may be slightly different. White chocolate chips contain stabilizers that can affect melting, so chopped white chocolate bars work better.
Q: My buttercream is too soft. What can I do?
A: Chill the frosting for 15-20 minutes, then re-whip. If it’s still too soft, gradually add more powdered sugar until you reach the desired consistency.
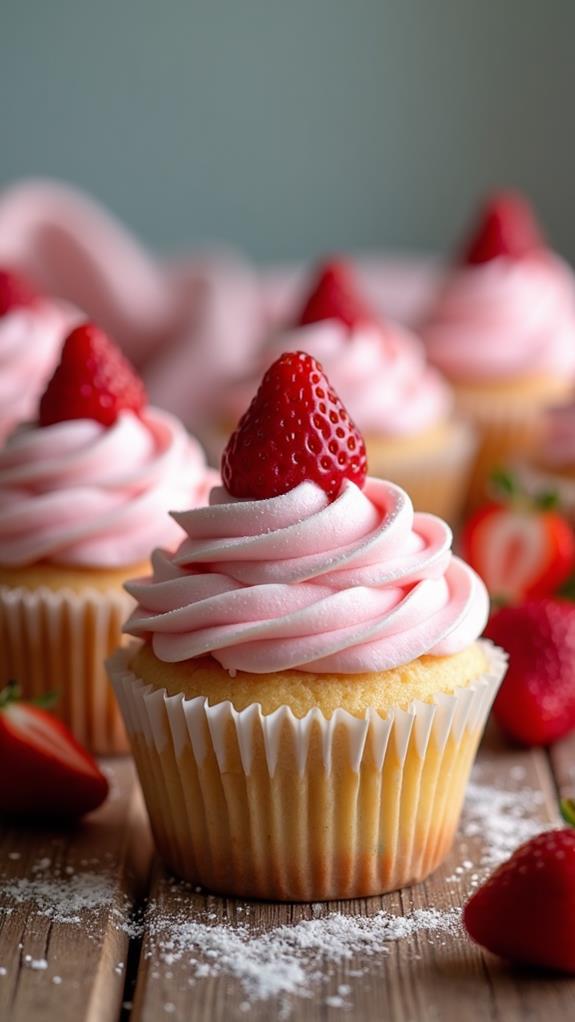
Q: Can I make this as cupcakes instead?
A: Certainly! Divide the batter among 24 cupcake liners and bake for 18-22 minutes. The swirling technique works the same way.
Conclusion
This Strawberry Swirled White Chocolate Cake has become one of my most requested recipes, and I can see why. The combination of rich white chocolate and fresh strawberry flavors creates a dessert that’s both sophisticated and comforting. The beautiful marbled appearance makes it perfect for special occasions, while the straightforward technique means it’s achievable for home bakers of all skill levels.
Whether you’re celebrating a birthday, anniversary, or just want to treat yourself to something special, this cake delivers on both flavor and visual appeal. Take your time with each step, use quality ingredients, and don’t be afraid to make it your own with different garnishes or variations. The result will be a stunning cake that tastes every bit as amazing as it looks. Happy baking!