Homemade Banana Cream Pie Recipe
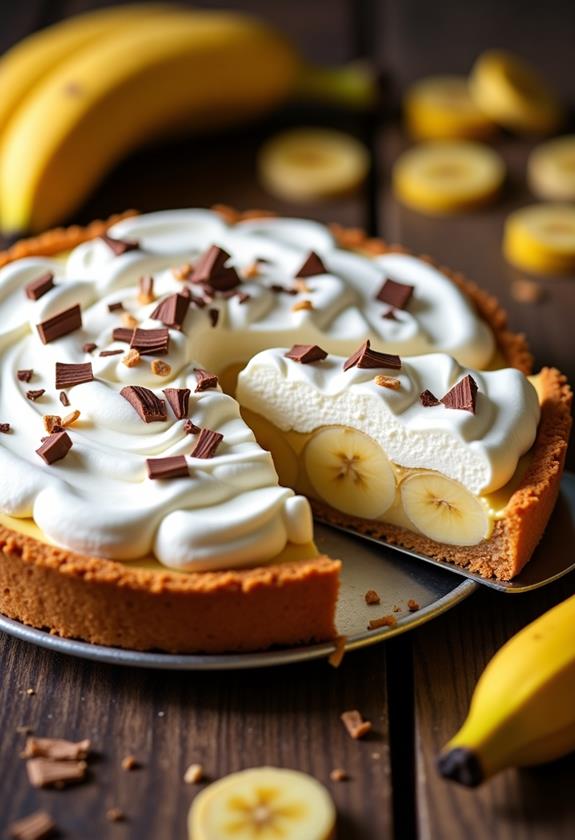
Creating a homemade banana cream pie is more than just following a recipe; it's about mastering the balance between flavors and textures. You'll start by whisking together sugar, flour, and cornstarch before gradually adding whole milk, ensuring a smooth custard base. Once thickened, the custard embraces ripe bananas nestled in a pre-baked crust. But what's the secret to perfecting that rich, fluffy whipped topping? And how can you enhance the classic taste with a twist of your own? These are the questions that transform a simple pie into a memorable dessert experience.
Recipe
Banana cream pie is a delightful dessert that marries the rich and creamy flavors of custard with the sweetness of ripe bananas, all enveloped in a buttery crust. This homemade version focuses on using fresh ingredients to create a pie that's both delicious and visually appealing, perfect for any occasion. The key to a great banana cream pie is a well-made crust, silky smooth custard, and perfectly ripe bananas. By following this recipe, you'll be able to create a pie that's bound to impress your family and friends.
The process begins with preparing a luscious custard from scratch, which serves as the heart of the pie. The custard should be rich and creamy to balance the sweetness of the bananas, while the crust provides a satisfying crunch. Once the custard is prepared, it's layered with fresh banana slices in the pre-baked pie crust, and topped with whipped cream for an extra touch of indulgence. This banana cream pie is best served chilled, allowing the flavors to meld together beautifully.
Ingredients:
- 1 9-inch pie crust (pre-baked)
- 3/4 cup granulated sugar
- 1/3 cup all-purpose flour
- 1/4 teaspoon salt
- 2 cups whole milk
- 3 large egg yolks, beaten
- 2 tablespoons unsalted butter
- 1 teaspoon vanilla extract
- 4 ripe bananas, sliced
- 1 cup heavy whipping cream
- 2 tablespoons powdered sugar
To prepare the banana cream pie, begin by making the custard. In a medium saucepan, whisk together the sugar, flour, and salt. Gradually add the milk, stirring constantly over medium heat until the mixture thickens and starts to boil.
Continue boiling for one minute, then remove from heat. Slowly whisk a small amount of the hot mixture into the beaten egg yolks, then return the yolk mixture back into the saucepan. Cook for an additional two minutes, stirring constantly, until the custard is thick and smooth.
Remove from heat and mix in the butter and vanilla extract. Let the custard cool slightly before assembling the pie. Arrange a layer of banana slices on the bottom of the pre-baked pie crust, pour the custard over the bananas, then top with the remaining banana slices.
In a separate bowl, whip the heavy cream with the powdered sugar until stiff peaks form, and spread this over the top of the pie. Chill the pie in the refrigerator for at least 2 hours before serving.
For the best results, make certain your bananas are ripe but not overly soft, as this will guarantee a perfect texture and flavor. If you prefer a firmer custard, allow the mixture to cool completely before assembling the pie.
Additionally, you can garnish the finished pie with a sprinkle of shaved chocolate or a few extra banana slices for a decorative touch. Remember to serve the pie chilled to enhance the creaminess and sweetness of the custard and bananas. Enjoy your delicious homemade banana cream pie!
Cooking Steps
Let's kick off the cooking steps by whisking together your sugar, flour, and salt, creating a dry mix that's about to become the heart of your custard.
Gradually add in the whole milk while stirring like you're conducting a symphony—this guarantees a smooth blend without any lumps.
Now, in a moment that feels a bit like a trust exercise, slowly incorporate a small amount of the hot mixture into your beaten egg yolks before returning it all to the saucepan for more cooking; don't worry, you'll be rewarded with a thick, luscious custard once you mix in the butter and vanilla.
Step 1. Whisk Dry Ingredients Together
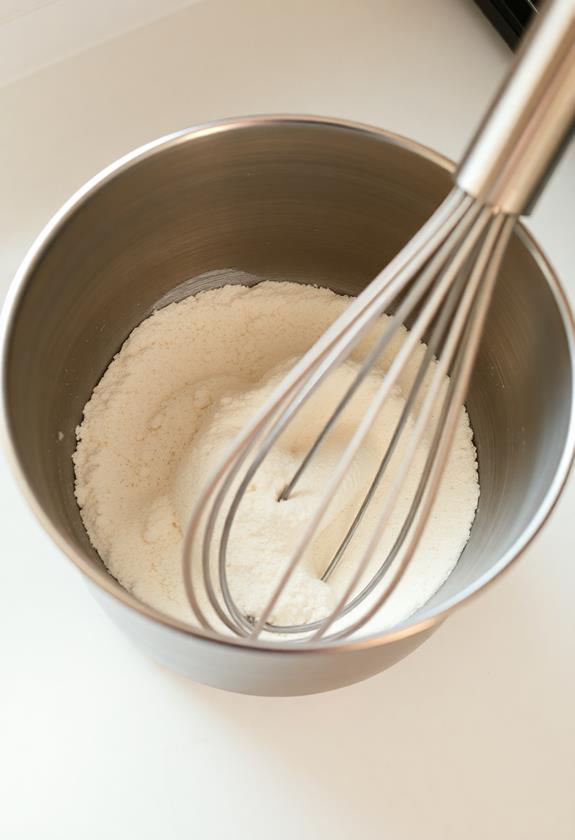
Creating the perfect custard begins with properly whisking the dry ingredients together. Grab your medium-sized saucepan and toss in the 3/4 cup of sugar, 1/3 cup of all-purpose flour, and 1/4 teaspoon of salt.
Now, get that whisk moving! You want these ingredients to mix thoroughly, like best friends at a party. This step guarantees your custard is smooth and free of clumps—nobody wants a lumpy custard, right?
As you whisk, imagine you're channeling your inner dessert maestro, crafting a masterpiece. Remember, the goal is to blend these dry ingredients evenly, setting the stage for the creamy magic that follows.
Take your time here; patience is key. Once mixed, you're ready to move on to the next delicious step!
Step 2. Gradually Add Whole Milk
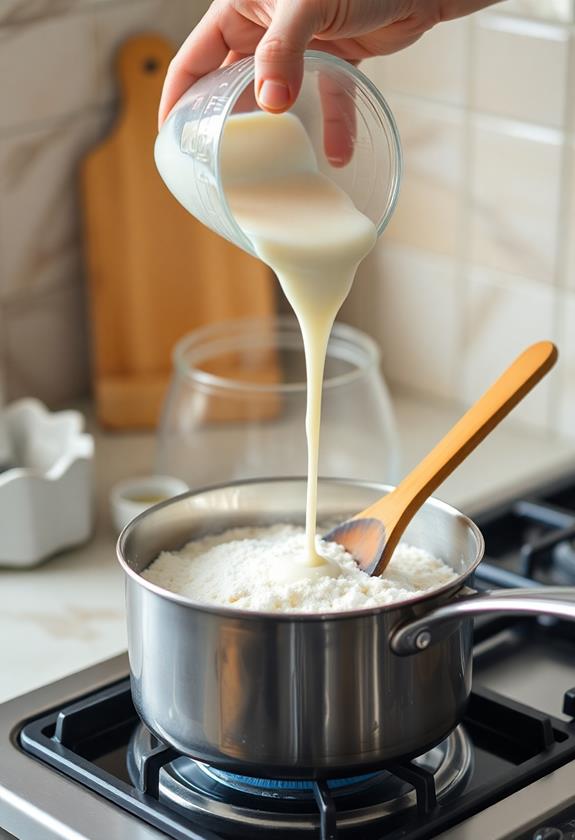
With your dry ingredients perfectly whisked, it's time to incorporate the whole milk into the mix. Slowly pour the milk into the saucepan while stirring constantly with your whisk.
This isn't a time for multitasking—give it your full attention, like you'd when sneaking the last cookie from the jar. Keep the heat on medium, and don't rush this step. The milk needs to blend seamlessly with the dry ingredients, forming a smooth base for your custard.
Stir patiently, as if you're coaxing a shy cat out from under the couch. If lumps start to form, whisk a bit more vigorously. Within a few minutes, you'll notice the mixture thickening, a sign that deliciousness is just around the corner!
Step 3. Incorporate Hot Mixture Gradually

As the custard mixture heats up, it's important to incorporate the hot mixture into the beaten egg yolks gradually. This step's vital—unless you fancy scrambled eggs in your pie!
Start by whisking a small amount of the hot custard into the yolks. Think of it as a warm-up, like a gentle introduction. This helps temper the eggs, easing them into the hot environment without shocking them.
Once they're acquainted, slowly pour the yolk mixture back into the saucepan, stirring constantly. Pretend you're conducting a custard symphony, making sure everything blends smoothly.
Keep whisking away, and don't be shy—enthusiasm is key! This gradual process keeps your custard silky and guarantees a delightful, creamy pie filling everyone will love.
Step 4. Cook Custard Until Thickened
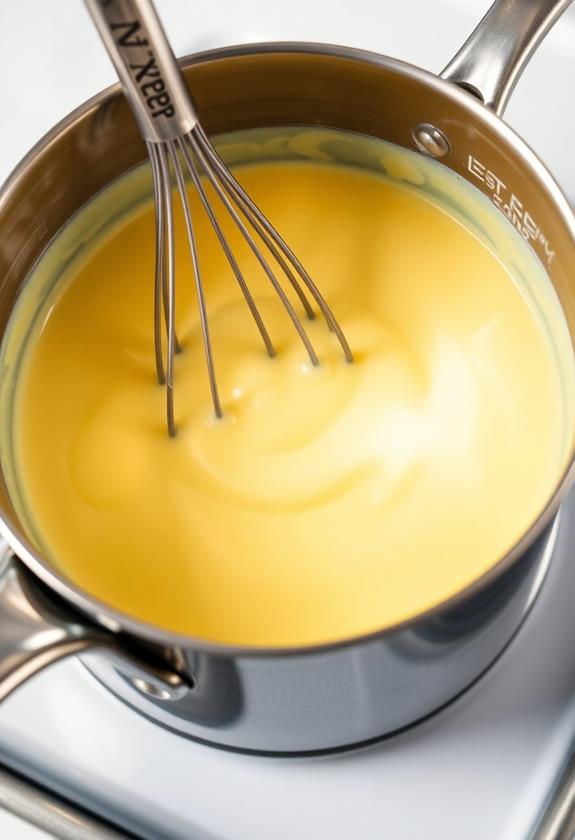
While making the custard, you'll want to pay close attention to achieve that perfect thickened texture. Start by whisking the sugar, flour, and salt together in a medium saucepan.
Gradually pour in the milk, stirring constantly—imagine you're conducting a tiny orchestra! Place the pan over medium heat and keep stirring; it's like a little workout for your arm.
You'll know you're on the right track when the mixture starts to bubble and thicken like magic. Don't rush the process; patience is key here.
Once it boils, keep it going for a minute to guarantee it's thick enough. Remember, a well-thickened custard is the star of your banana cream pie show, so give it the attention it deserves!
Step 5. Mix in Butter and Vanilla
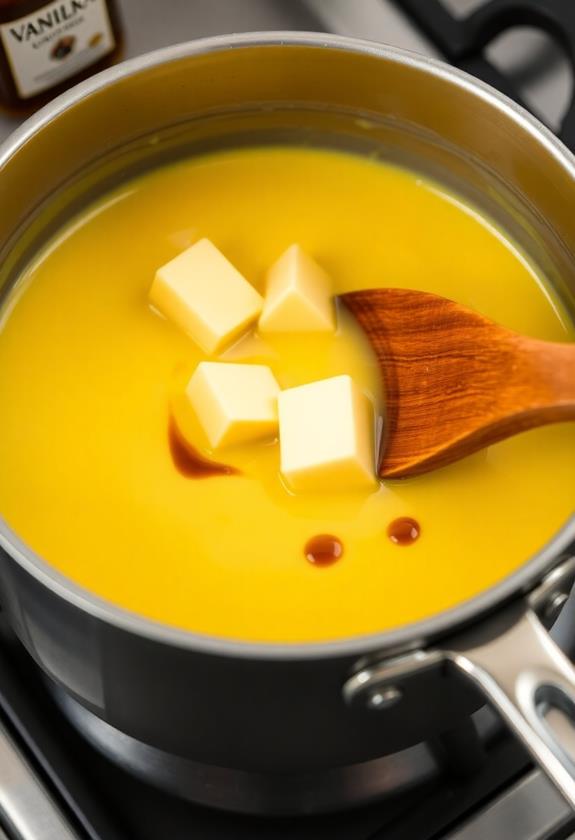
The moment of transformation arrives as you infuse warmth with richness by mixing in the butter and vanilla.
As you swirl the butter into the hot custard, watch it melt away, leaving behind a luscious sheen, like a magic trick in your kitchen.
Don't rush this step—let the butter fully integrate, making your custard even creamier.
Next, add the vanilla extract, and let its sweet aroma fill the room, transforming the custard into something truly special.
It's like adding a secret ingredient, elevating the flavor from good to divine.
Remember, patience is key here; give everything a good stir until it's all perfectly blended.
This is where your banana cream pie starts to sing, promising a dessert worth every bite.
Final Thoughts
Bringing a homemade banana cream pie to the table is a rewarding experience that's sure to delight your taste buds. You've crafted a masterpiece, balancing creamy custard, ripe bananas, and a buttery crust. Watching friends and family savor each bite is priceless, isn't it?
Remember, patience is your best friend here. Letting the pie chill thoroughly guarantees the flavors meld perfectly, and the texture is spot-on. Don't rush—good things come to those who wait, after all!
And hey, if you've got some leftover whipped cream or bananas, why not get creative? Maybe a dollop on your morning pancakes or a banana smoothie for tomorrow.
Your culinary journey doesn't end with pie; it's just the delicious beginning!
Frequently Asked Questions
How Can I Prevent the Bananas From Browning in the Pie?
To keep bananas from browning, you should coat them with lemon juice or pineapple juice before adding them to the pie. This prevents oxidation. Make sure to cover them completely with custard or whipped cream to minimize air exposure.
Can I Use a Store-Bought Crust for This Recipe?
Yes, you can definitely use a store-bought crust for this recipe. It'll save you time without sacrificing flavor. Just make sure to pre-bake it according to package instructions for the best results. Enjoy your pie!
What Can I Substitute for Whole Milk in the Custard?
You can substitute whole milk in the custard with almond milk, coconut milk, or 2% milk. Each will slightly alter the flavor and texture, but they'll work. Choose based on your preference for creaminess and taste.
Is It Possible to Make the Pie Gluten-Free?
Yes, you can make the pie gluten-free. Substitute the all-purpose flour with a gluten-free flour blend and use a gluten-free pie crust. Verify all ingredients are certified gluten-free to maintain the pie's gluten-free status.
How Long Will the Pie Stay Fresh in the Refrigerator?
You'll want to keep the pie in the refrigerator for up to three days to maintain its freshness. Cover it with plastic wrap or foil to prevent it from drying out and to preserve its delightful flavors.

