Homemade Cherry Pie Recipe
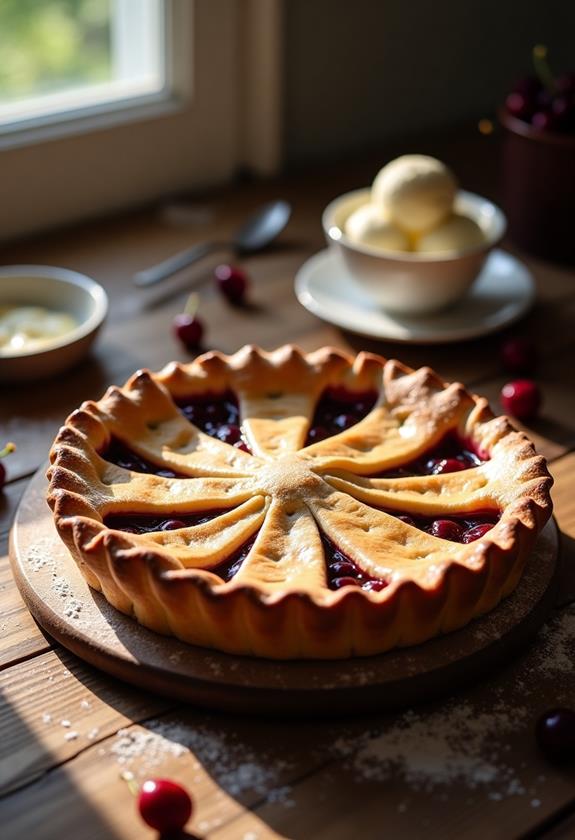
Imagine the aroma of a homemade cherry pie wafting through your kitchen, its buttery crust enveloping a sweet and tangy filling. You might wonder how such a simple combination of ingredients can create such a delectable dessert. It starts with selecting the right cherries, whether fresh or canned, and ends with the perfect golden crust. But what truly transforms this pie into a masterpiece? As you explore the steps, you'll uncover the secrets that make each bite a celebration of flavor. Yet, there's one essential tip that often goes unnoticed…
Recipe
Cherry pie is a timeless dessert that combines a flaky, buttery crust with a sweet and slightly tart cherry filling. Whether you're enjoying it in the warmth of summer or the chill of winter, the comforting aroma and homemade taste make it a favorite for all occasions. Crafting a cherry pie from scratch allows you to not only control the quality of the ingredients but also to customize the sweetness and flavor to suit your palate.
With a simple approach and a few essential ingredients, this recipe guarantees that even beginner bakers can create a delicious pie with ease. The secret to a successful cherry pie lies in achieving a perfect balance between the filling and the crust. Ripe cherries provide the best flavor, and taking care to prepare the crust properly will ensure it bakes to a golden, crisp perfection.
Whether you opt for fresh cherries during their peak season or use canned cherries for convenience, this pie is sure to delight. Follow these steps to create a homemade cherry pie that will surely impress your family and friends.
Ingredients:
- 2 cups cherries (fresh or canned)
- 1 cup granulated sugar
- 1/4 cup cornstarch
- 1 tablespoon lemon juice
- 1 teaspoon vanilla extract
- 1/2 teaspoon almond extract
- 1 package refrigerated pie crusts (2 crusts)
- 1 egg
- 1 tablespoon milk
To make the cherry pie, preheat your oven to 425°F (220°C). In a medium saucepan, combine cherries, sugar, cornstarch, lemon juice, vanilla extract, and almond extract. Cook over medium heat, stirring constantly, until the mixture thickens and bubbles. Remove from heat and allow it to cool slightly.
Roll out one pie crust and fit it into a 9-inch pie pan. Pour the cherry filling into the crust. Roll out the second pie crust and lay it over the filling, crimping the edges to seal. Cut slits in the top crust to allow steam to escape. Beat the egg with milk and brush it over the crust. Bake for 35-45 minutes, or until the crust is golden brown and the filling is bubbling.
For the best results, let the pie cool completely before serving to allow the filling to set properly. If you're using fresh cherries, make sure they're thoroughly pitted to avoid any unwelcome surprises. Adjust the sugar level if you prefer a sweeter pie. Serve your homemade cherry pie with vanilla ice cream or whipped cream for a classic touch.
Cooking Steps
Let's get started on your cherry pie adventure!
Begin by cranking up your oven to a toasty 425°F, because no one wants a cold pie.
While that's warming up, mix those luscious cherries with sugar, cornstarch, lemon juice, and a splash of vanilla and almond extract—think of it as giving your cherries a spa day.
Step 1. Preheat Oven to 425°F
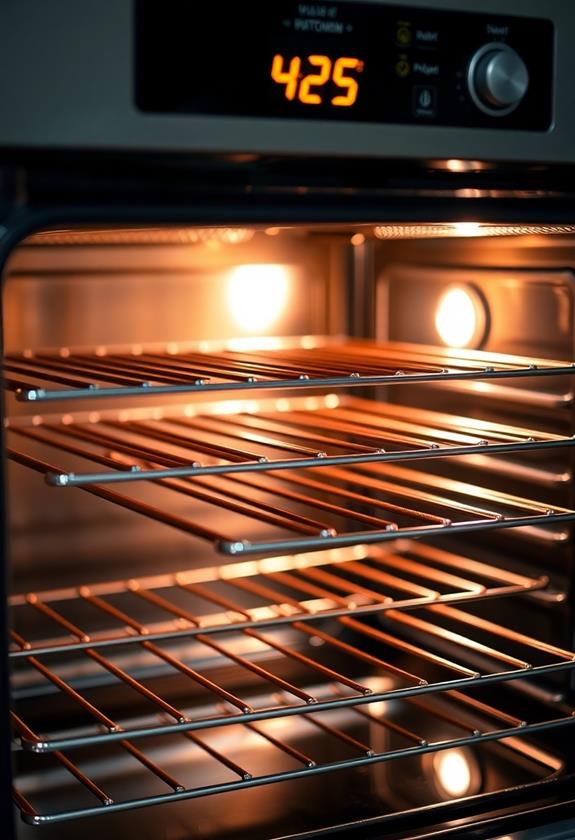
Before you begin assembling your cherry pie, make sure your oven is preheating to 425°F (220°C). This step guarantees your pie starts baking immediately, which is key to achieving that golden, flaky crust we all crave.
You wouldn't want your pie to sit around waiting for the oven to catch up, right? It's like a race, and you want your pie to have a head start!
Preheating also helps the cherry filling thicken properly during baking. So, go ahead, set that dial, and let the oven do its thing while you prepare everything else.
Step 2. Combine Filling Ingredients Thoroughly
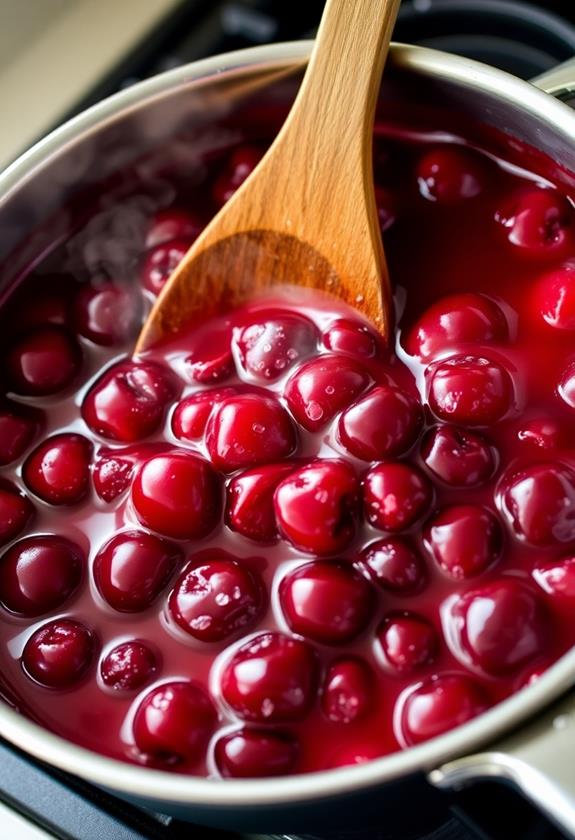
Start by gathering all your filling ingredients and placing them within arm's reach. You don't want to be searching for vanilla extract when you've already got sticky cherry juice on your hands!
In a medium saucepan, mix the cherries, sugar, cornstarch, lemon juice, vanilla extract, and almond extract. It might feel like a mad scientist experiment, but trust me, it's worth it. Stir the concoction over medium heat, and watch as the mixture transforms into a deliciously thick filling. The bubbling action means you're on the right track!
Keep stirring to prevent anything from sticking to the bottom. Once it's thickened up nicely, take it off the heat to cool. You've just concocted the heart of your cherry pie!
Step 3. Fit Crust Into Pie Pan
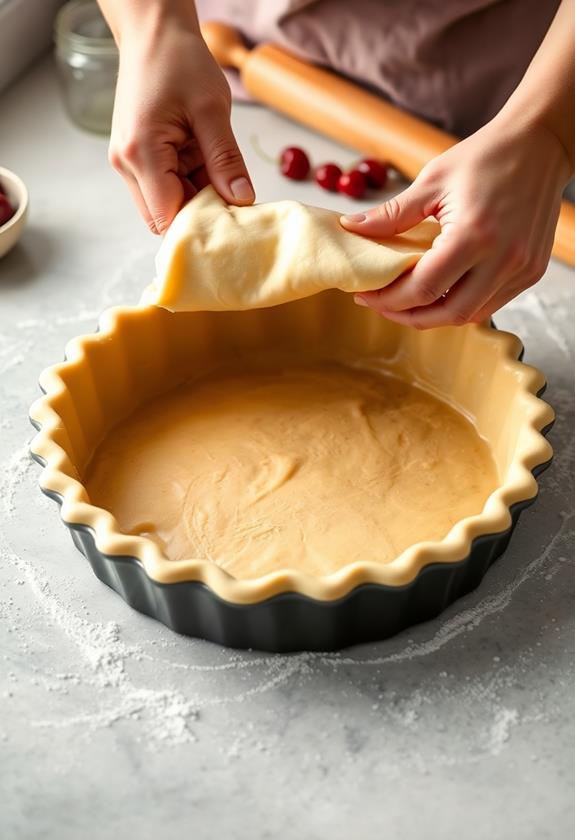
Your pie crust is the foundation of your cherry pie masterpiece, so let's get it just right. First, take a deep breath—no need to stress over a little dough!
Unroll one refrigerated pie crust and gently lay it over your 9-inch pie pan. It's like tucking a blanket over a bed. Don't worry if it doesn't fit perfectly at first; you can always coax it into place.
Use your fingers to press the dough snugly against the bottom and sides of the pan. If it tears, just pinch it back together—no one will notice once it's baked.
Trim any excess dough hanging over the edges, leaving about an inch for the top crust later. Voilà, you're one step closer to pie perfection!
Step 4. Seal and Slit Top Crust
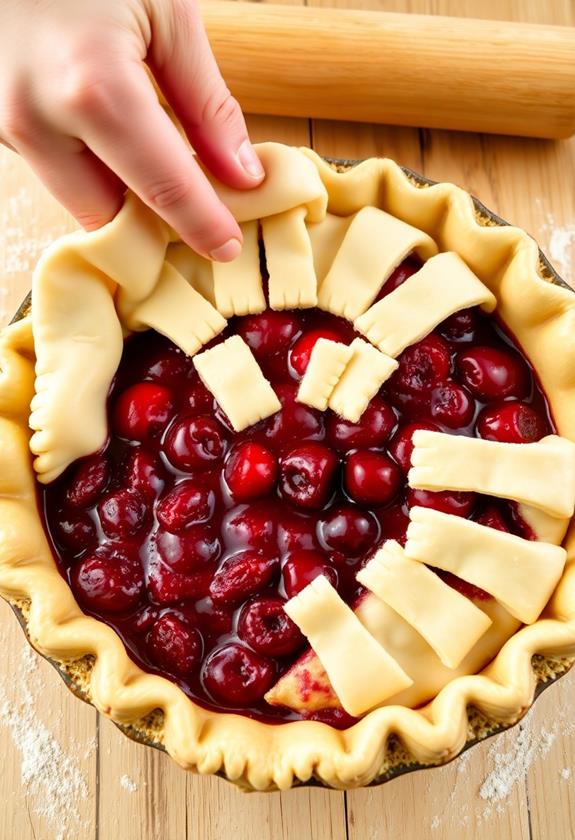
With the bottom crust snugly fit in the pan, it's time to move on to the top crust. Roll out your second pie crust and gently place it over the cherry filling, like a cozy blanket.
Now, here's where you channel your inner artist: crimp the edges of the top and bottom crusts together. You can use your fingers or a fork to press them down, creating a seal that keeps all that deliciousness inside.
Don't skip this step—it's essential for avoiding a cherry eruption in your oven!
Next, cut a few slits in the top crust with a sharp knife. These slits act as little chimneys, letting steam escape, and ensuring your pie doesn't puff up like a balloon.
Step 5. Apply Egg Wash and Bake
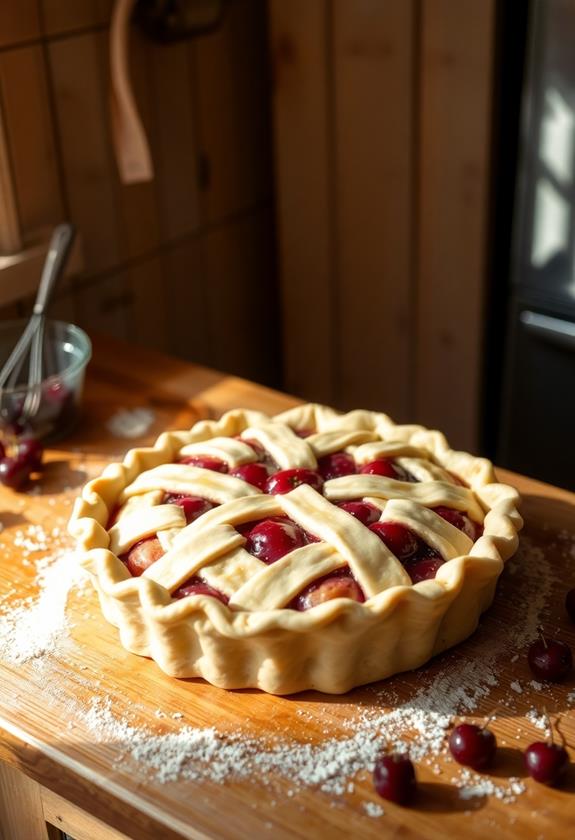
Once you've crimped the edges of your pie, it's time to add the finishing touch: an egg wash.
In a small bowl, whisk together one egg with a tablespoon of milk until it's smooth and well combined. Grab a pastry brush, and gently apply this mixture over the top crust. This step isn't just for looks; it gives your pie that gorgeous golden-brown finish, making it irresistible.
Now, slide your pie into a preheated oven at 425°F (220°C). Keep an eye on it, because pies are like teenagers—they can get into trouble fast!
Bake for 35-45 minutes, until the crust is golden and the filling bubbles through the slits. Let it cool completely before serving, ensuring everything sets perfectly.
Final Thoughts
Ultimately, making a homemade cherry pie is a rewarding experience that combines the joy of baking with the satisfaction of creating something delicious from scratch.
You've turned simple ingredients into a work of art, and your kitchen smells like a sweet summer dream. As you slice into that golden, flaky crust, take a moment to appreciate the effort and love you've poured into this pie.
Sharing your cherry pie with family or friends? They'll be impressed and maybe even a tad envious of your baking skills.
Plus, who can resist the classic charm of a cherry pie topped with a scoop of vanilla ice cream? So go ahead, savor every bite and remember, you've crafted more than just dessert—it's a memory in the making.
Frequently Asked Questions
Can I Use Frozen Cherries Instead of Fresh or Canned?
Yes, you can use frozen cherries. Just thaw and drain them before cooking. Adjust sugar if needed, as frozen cherries can be sweeter. The filling will still taste delicious, and your pie will turn out great!
How Do I Store Leftover Cherry Pie?
To store leftover cherry pie, cover it with plastic wrap or foil and refrigerate for up to four days. If you want to keep it longer, freeze it for up to two months for future enjoyment.
What Can I Substitute for Cornstarch in the Filling?
You can substitute cornstarch with an equal amount of all-purpose flour or arrowroot powder for the filling. Tapioca starch is another option, but use half the amount since it's more potent. These alternatives thicken effectively.
How Can I Prevent My Pie Crust From Getting Soggy?
To prevent your pie crust from getting soggy, pre-bake it for a few minutes, brush with egg wash, and let it cool. Make certain the filling isn't overly watery by cooking it first to thicken properly.
Can I Make the Pie Crust From Scratch Instead of Using Refrigerated Crusts?
You can definitely make the pie crust from scratch! It'll enhance your pie's flavor and texture. Use flour, butter, salt, and water. Mix until dough forms, chill it, then roll out for a perfect homemade touch.
Conclusion
You've just baked a cherry pie that's sure to impress, so pat yourself on the back! As you slice into that golden crust, the warm, bubbling filling will remind you why homemade is always best. Don't forget a scoop of vanilla ice cream or a dollop of whipped cream for that extra touch. Whether you share it with friends or keep it all to yourself, this pie is a delicious reward for your efforts. Enjoy every bite!

