Homemade Cherry Jam Recipe
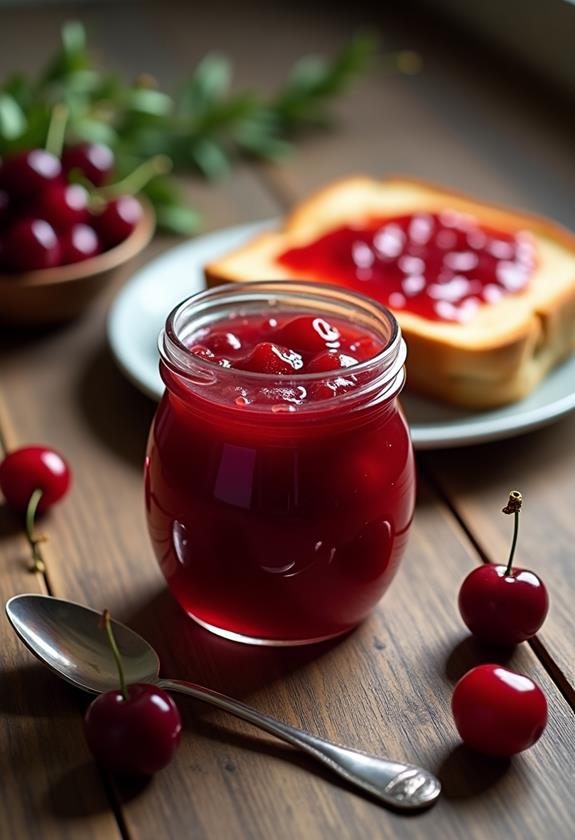
When you think about making homemade cherry jam, you might imagine a tedious process, but it's surprisingly straightforward. You start with fresh cherries and a few basic ingredients. The key steps involve washing, pitting, and combining everything in a pot, and then there's the essential moment where you add pectin and boil the mixture. But, how do you guarantee your jam sets perfectly without being overly sweet or runny? And what's the secret to a proper seal for long-lasting storage? These questions will guide you toward mastering a timeless kitchen staple.
Recipe
Making homemade cherry jam is a wonderful way to enjoy the rich, sweet flavors of cherries all year round. This simple recipe allows you to capture the essence of ripe cherries in a jar, perfect for spreading on toast or adding a fruity touch to desserts. The process is straightforward and can be customized based on your texture and sweetness preferences. By using fresh, ripe cherries, you guarantee a vibrant flavor and natural sweetness that makes this jam truly special.
To begin, you'll need to gather your fresh cherries, making sure they're pitted and ready to go. Combine them with granulated sugar, lemon juice, and a bit of water in a large pot. As the mixture cooks, the cherries will release their juices, creating a rich and flavorful base. Incorporating pectin helps the jam set to the perfect consistency, whether you prefer it smooth or with chunks of cherries.
With careful monitoring and stirring, in just 10-15 minutes, you can achieve a delicious, homemade cherry jam ready to be sealed in jars.
Ingredients:
- Fresh cherries (pitted)
- Granulated sugar
- Lemon juice
- Pectin
- Water
Start by washing and pitting the cherries. In a large pot, combine the cherries, sugar, lemon juice, and water. Cook the mixture over medium heat, stirring occasionally, until the cherries release their juices and the sugar dissolves. Once it reaches a boil, add the pectin and continue to cook, stirring frequently, until the jam thickens, which usually takes about 10-15 minutes.
Remove the pot from the heat and let the jam cool slightly before transferring it to sterilized jars. Seal the jars and allow them to cool completely before storing them in the refrigerator or pantry.
For the best results, make sure you use cherries that are at their peak of ripeness, as they offer the most flavor and natural sweetness. If you prefer a smoother texture, use a potato masher during cooking to mash the cherries slightly.
Keep a close eye on the cooking process, as the jam can quickly shift from perfectly thickened to overcooked. If you're a beginner, using a candy thermometer can help guarantee the jam reaches the right setting temperature.
Enjoy your homemade cherry jam on your favorite breakfast dishes or as a sweet addition to various culinary delights.
Cooking Steps
Ready to make some delicious cherry jam? First, wash and pit those cherries, then toss them into a pot with sugar, lemon juice, and water, and let the magic begin.
As you bring the mixture to a boil and add the pectin, don't forget to channel your inner jam maestro, watching closely so it thickens just right before cooling and sealing it in jars for safe keeping.
Step 1. Wash and Pit Cherries
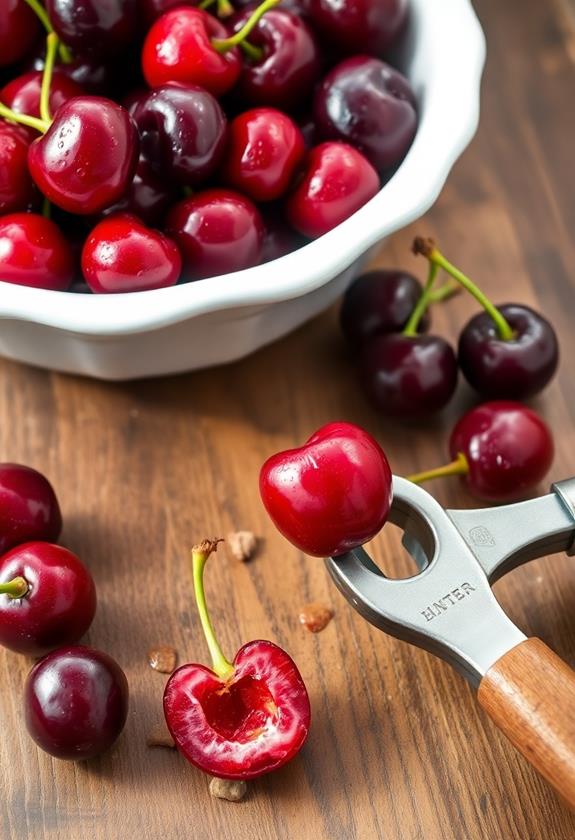
To kick off the cherry jam-making process, you'll want to plunge into washing and pitting your cherries. Start by giving them a good rinse under cool water, removing any dirt or sneaky stems. It's like giving them a little spa day!
Next, grab a cherry pitter or, if you're feeling adventurous, a paperclip works too. Just twist it around the pit and pop it out. Be careful—it can get a bit messy, and those pits are slippery little devils!
Once all pits are removed, check for any stragglers. It's important to keep your fingers safe, so take your time and enjoy the process. Remember, the better you prep these cherries now, the smoother your jam will be later!
Step 2. Combine Ingredients in Pot
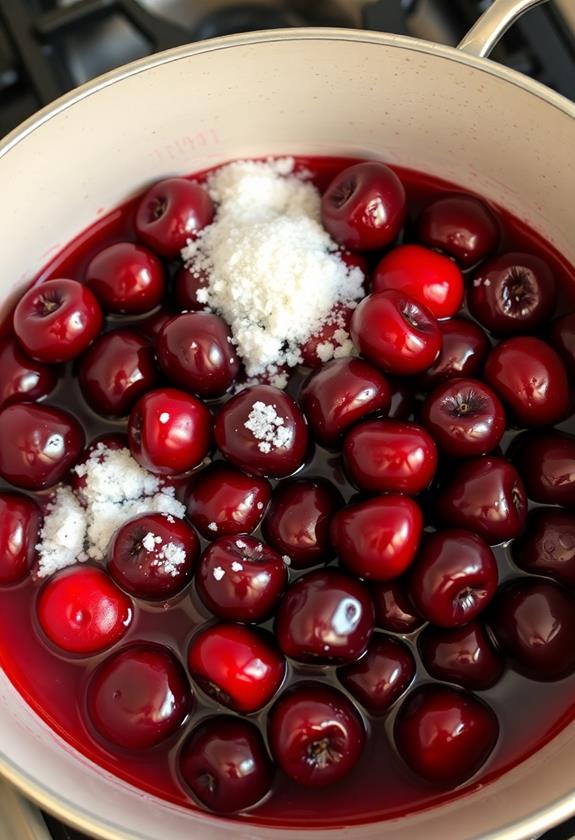
With your cherries prepped and ready, it's time to move on to the cooking stage.
Grab a large pot—bigger than you think you'll need, because jam tends to bubble up like it's trying to escape.
Add your pitted cherries, sugar, lemon juice, and a splash of water to the pot.
Stir gently, like you're coaxing a cat out of a comfy chair.
Turn the heat to medium and keep stirring occasionally, watching as the cherries start releasing their juices.
The sugar will dissolve, creating a sweet, cherry-scented syrup.
Keep an eye on it, or it might decide to turn your stovetop into a sticky mess.
Once everything looks well-combined, you're ready for the next exciting step.
Step 3. Add Pectin, Boil Mixture
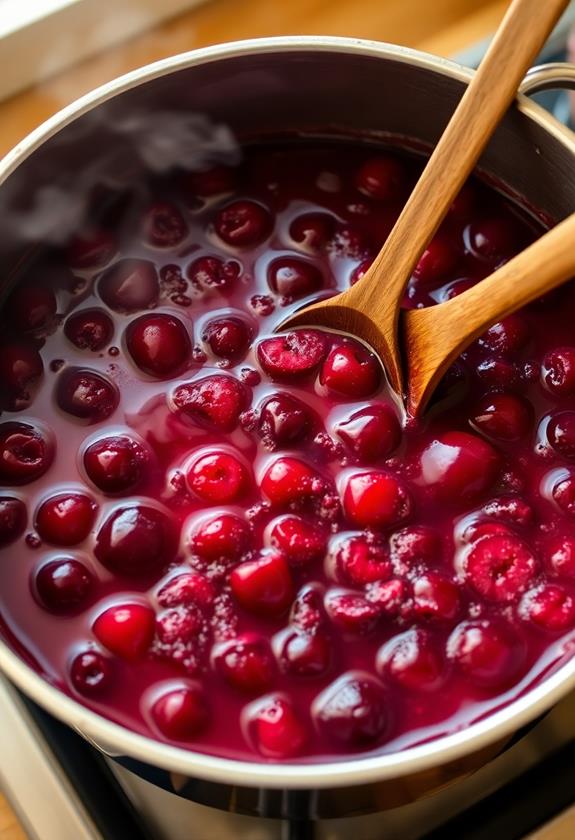
Anticipation builds as you reach the crucial step of adding pectin to your cherry mixture. You've got your pot bubbling away, and it's time to make magic happen.
Sprinkle the pectin evenly across the surface, stirring it in like you're casting a delicious spell. Keep the mixture at a rolling boil—think a lively dance party, not a gentle simmer.
Stir frequently, ensuring the pectin dissolves completely, and your jam thickens just right. This usually takes about 10-15 minutes, so keep an eye on it.
Your goal is a consistency that's thick enough to spread but not so thick it's like glue. Remember, you're aiming for jam, not a new form of cherry cement.
Stay attentive, and enjoy the process!
Step 4. Cool Jam Before Jarring
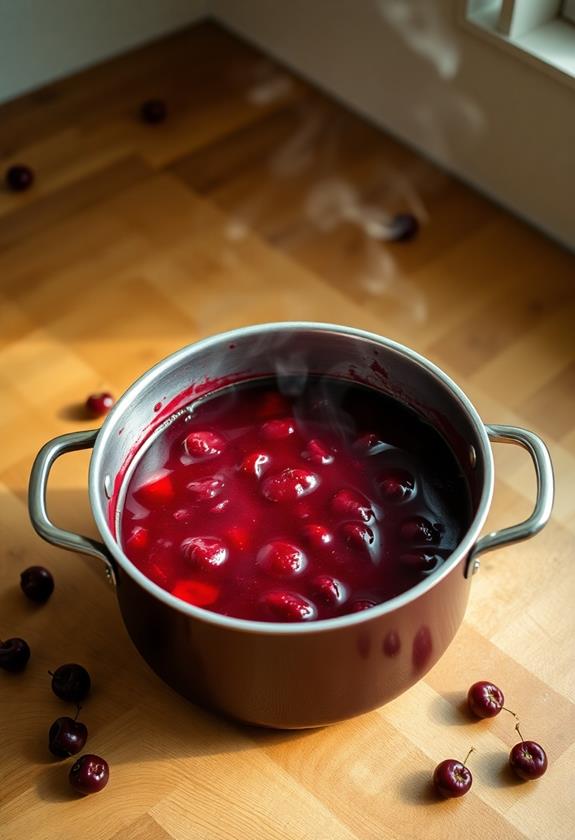
Once your jam has thickened, it's time to let it cool slightly before jarring. This step's essential to avoid burnt fingertips and guarantee a safe seal.
So, take a moment, breathe, and let the jam rest for about 5-10 minutes. You don't want it piping hot, but it should still be warm and pourable.
Watch out for any adventurous jam bubbles; they might leap and surprise you! Stir gently to release trapped air, which helps prevent bubbles in the jars.
Use this time to admire your handiwork, maybe even do a little victory dance. Remember, patience now means tastier jam later.
Cooling helps it settle and thicken further, so resist the urge to rush. Your future self will thank you!
Step 5. Seal Jars, Store Properly
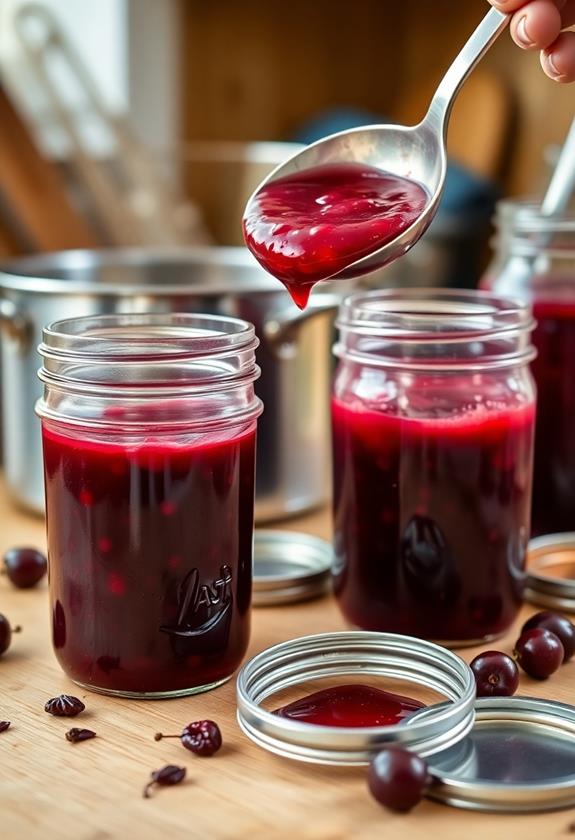
After your jam has cooled slightly, it's time to seal the jars properly. First, grab your sterilized jars and fill them with jam, leaving about a half-inch at the top. This space lets the jam expand a bit when it cools.
Wipe the rims with a damp cloth to guarantee a good seal, then place the lids on, screwing them on snugly but not Hulk-tight.
Now, the magic trick: turn the jars upside down for five minutes. This helps form a better seal. Flip them back and let them cool completely.
Once cooled, check that the lids don't pop when pressed—if they do, pop those jars in the fridge. Store the rest in a cool, dark place, and enjoy your sweet success!
Final Thoughts
As you finish making your cherry jam, reflect on the joy of creating something truly homemade.
There's something magical about transforming fresh cherries into a delicious spread, isn't there? You've not only captured the essence of summer but also filled your kitchen with delightful aromas.
Remember, the beauty of homemade jam lies in its versatility. Maybe next time, try adding a hint of cinnamon or vanilla for a twist.
Feel proud of your efforts! Whether you're spreading it on toast or using it as a dessert topping, you've crafted something special.
Don't forget to share a jar with friends; they'll surely appreciate your handiwork. Enjoy your jam-making journey, and here's to many more delicious batches in the future!
Frequently Asked Questions
How Long Does Homemade Cherry Jam Last After Being Opened?
After opening, your homemade cherry jam typically lasts about 3 to 4 weeks in the refrigerator. Keep it tightly sealed to maintain freshness. Always check for any signs of spoilage before enjoying it again.
Can I Use Frozen Cherries Instead of Fresh Ones for This Recipe?
Yes, you can use frozen cherries instead of fresh ones. Just thaw and drain them before starting. Adjust the sugar based on their sweetness. Frozen cherries offer a convenient alternative when fresh cherries aren't available.
What Is the Purpose of Lemon Juice in Cherry Jam?
You use lemon juice in cherry jam to enhance flavor and help with setting. Its acidity balances the sweetness and activates the pectin, ensuring your jam thickens properly. Don't skip this step for perfect, delicious jam!
Is It Necessary to Use Pectin in Making Cherry Jam?
You don't have to use pectin when making cherry jam, but it helps achieve a firmer set. Without it, you might need to cook longer to thicken, possibly affecting flavor. Experiment to find your preferred texture.
How Can I Tell if the Jam Has Reached the Right Consistency?
To check jam consistency, place a small amount on a cold plate and run your finger through it. If it wrinkles and holds its shape, it's ready. Otherwise, continue cooking and test again after a few minutes.
Conclusion
Congratulations, you're now a cherry jam master! With just a few simple steps, you've turned fresh cherries into a delicious treat that'll brighten up any breakfast. Remember, the secret's in the pectin for that perfect thickness. As you spread this tasty jam on toast or mix it into desserts, you'll savor the sweet reward of your efforts. And hey, sharing a jar with friends might just make you the most popular person around! Enjoy your homemade creation!

