Walking Taco Bake Recipe
Imagine transforming your casual taco night into something more exciting with the Walking Taco Bake. You'll find this dish combines the zesty flavors you love with the simplicity of a casserole. You might wonder how a few simple steps can elevate your meal into a family favorite. Picture seasoned beef mingling with crunchy corn chips and gooey cheese, each bite customizable with toppings you prefer. But there's more than just the basics; uncovering the secrets to perfect layering and baking will guarantee it's not just another taco night. Curious about the next step?
Recipe
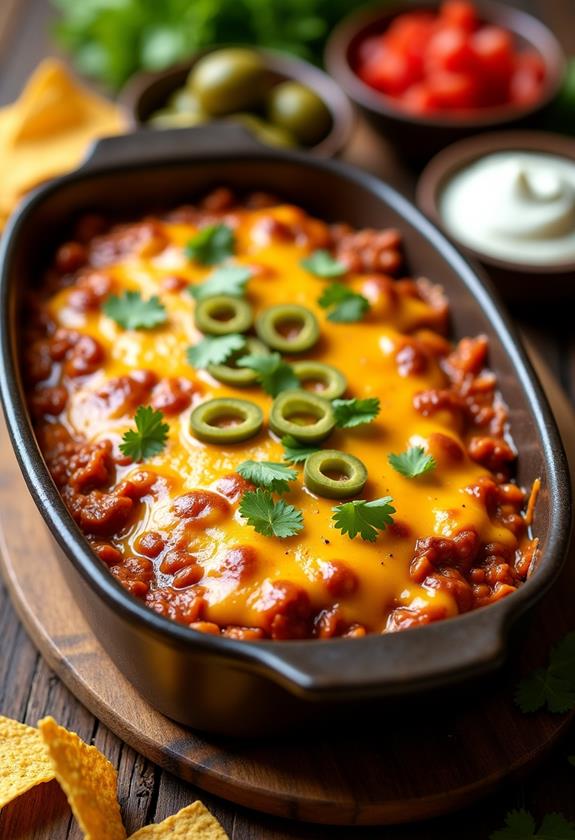
Walking Taco Bake is a delicious and convenient dish that combines the flavors of a classic taco with the comforting texture of a casserole. This meal is perfect for family dinners or gatherings, as it allows everyone to enjoy the taste of tacos without the need for individual assembly. The dish features layers of seasoned meat, cheese, and crunchy corn chips, offering a satisfying blend of textures and flavors that's sure to be a hit with both kids and adults.
Additionally, this recipe is highly versatile, allowing you to customize it to suit your dietary preferences or to use up leftover taco ingredients.
To start, preheat your oven to 350°F (175°C). Begin by browning your choice of ground protein, such as beef or chicken, in a skillet over medium heat. Once cooked, drain any excess fat and add taco seasoning as directed on the package.
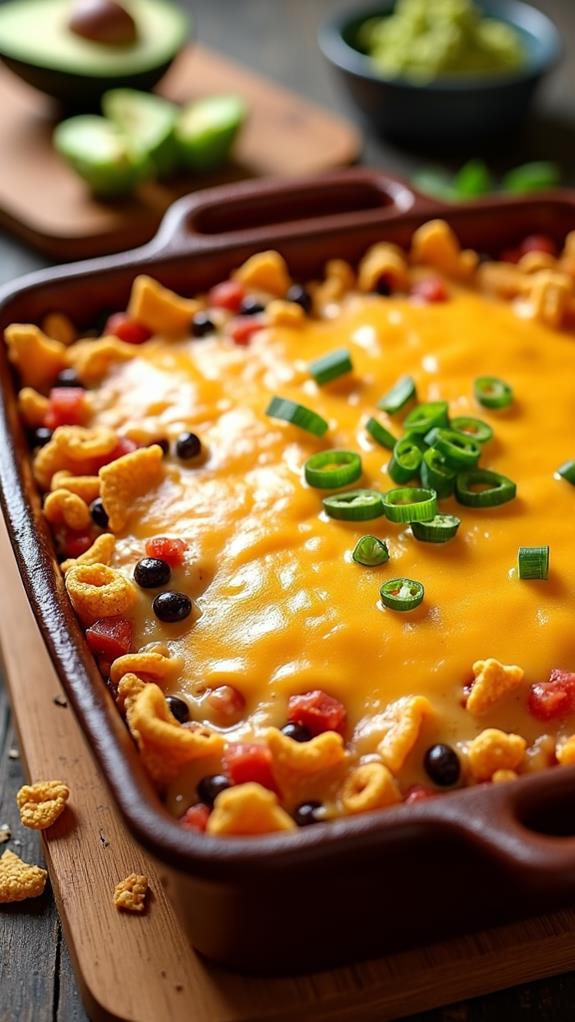
In a baking dish, layer corn chips at the bottom, followed by the seasoned meat and a layer of shredded cheese. Repeat these layers until all ingredients are used, making sure to finish with a generous layer of cheese on top. Bake the dish for about 20 minutes, or until the cheese is melted and bubbly. Once removed from the oven, top with diced tomatoes, sliced olives, and any other desired toppings.
Ingredients:
- Ground beef (or preferred protein)
- Taco seasoning
- Corn chips
- Shredded cheese
- Diced tomatoes
- Sliced olives
- Sour cream
- Chopped lettuce
- Salsa
To assemble the Walking Taco Bake, start by creating a base layer of corn chips in a baking dish. Spread the seasoned meat over the chips, followed by a layer of shredded cheese. Continue to create layers of chips, meat, and cheese until all ingredients are used, ensuring the top layer is cheese.
Bake in a preheated oven at 350°F (175°C) for approximately 20 minutes, or until the cheese is melted and bubbly. Once finished, remove from the oven and top with diced tomatoes, sliced olives, and additional toppings as desired. Serve with sour cream and chopped lettuce on the side.
For extra tips, consider mixing different types of cheese to elevate the flavor profile of your Walking Taco Bake. If you wish to add more protein and texture, incorporate a layer of refried beans or black beans.
For those who enjoy a spicier dish, add jalapeños or hot salsa into the layers. This dish can also be prepared ahead of time; simply assemble the layers in the baking dish, cover, and refrigerate until ready to bake. This makes it a convenient option for busy weeknights or when entertaining guests.
Cooking Steps
Let's get cooking with this Walking Taco Bake!
First, you'll want to preheat your oven to 350°F, then brown the beef in a skillet until it's cooked through, draining any excess fat—no one likes a greasy casserole!
Once that's done, layer your chips and cheese in a baking dish, pop it in the oven until the cheese bubbles like it's having a party, and finish with your favorite toppings before serving.
Step 1. Preheat Oven to 350°F
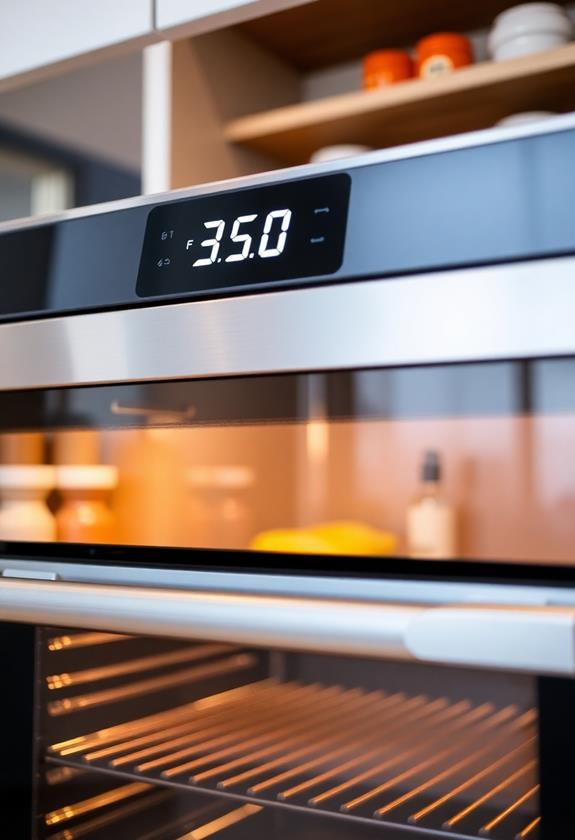
Begin by preheating your oven to 350°F (175°C). This step's essential, so don't skip it, or you'll end up with a lukewarm taco bake!
While your oven warms up, you can gather the rest of your ingredients and set up your cooking station. Imagine this as the warm-up act before the main event, getting everything ready for the culinary magic that's about to happen.
Your oven needs a little time to reach the right temperature, just like you need a moment to get into the cooking groove. Plus, you'll want that golden, bubbly cheese on top—trust me, it's worth the wait!
Step 2. Brown Beef in Skillet
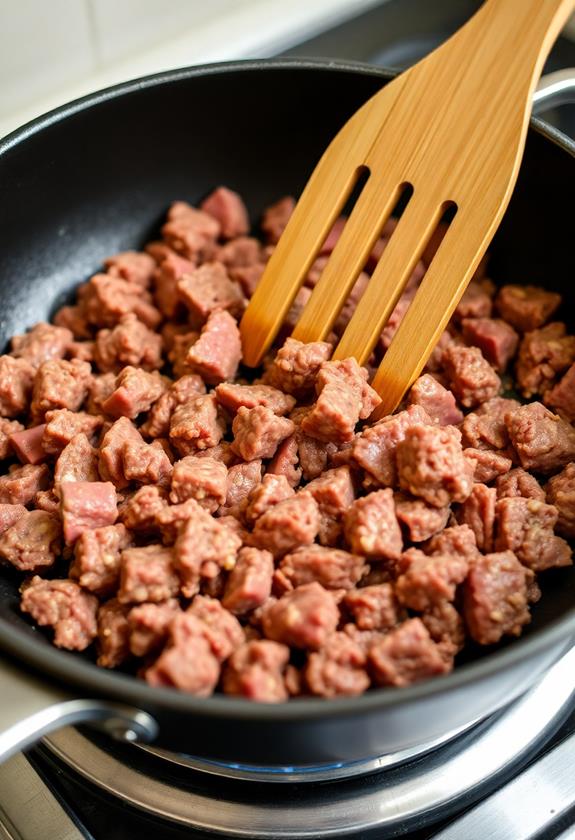
Once your oven's preheating, it's time to focus on the skillet.
Grab your trusty skillet and place it over medium heat. Toss in your ground beef, breaking it up with a spatula as it sizzles away. Stir regularly to guarantee it cooks evenly and doesn't clump up like a stubborn teenager's hair gel.
As the beef browns, you'll notice it releasing some fat. Don't get too attached, though—carefully drain that excess fat once the meat is fully browned.
Now, it's time for a flavor boost. Sprinkle in your taco seasoning, mixing it thoroughly with the beef. Let the seasoned meat cook for a minute or two, allowing those spices to mingle and infuse every juicy morsel.
Step 3. Layer Chips and Cheese
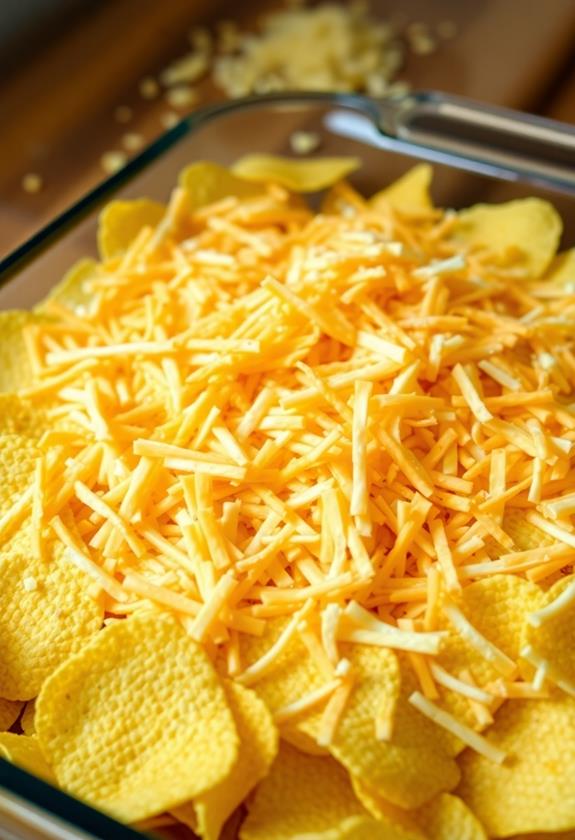
How do you transform simple ingredients into a deliciously layered dish? Start by grabbing a baking dish, and lay down a crunchy base of corn chips. Think of this as the crispy foundation for your taco castle.
Next, sprinkle a generous layer of shredded cheese over the chips. Don't be shy—cheese is the glue that holds everything together!
Now, spoon in the seasoned beef you've already cooked, spreading it evenly.
Repeat these layers until you've used up all your ingredients, finishing with an indulgent top layer of cheese. Remember, the more cheese, the merrier!
It's like crafting a cheesy masterpiece, one layer at a time. Enjoy this playful process, and soon you'll have a dish that's as fun to make as it's to eat!
Step 4. Bake Until Cheese Bubbles
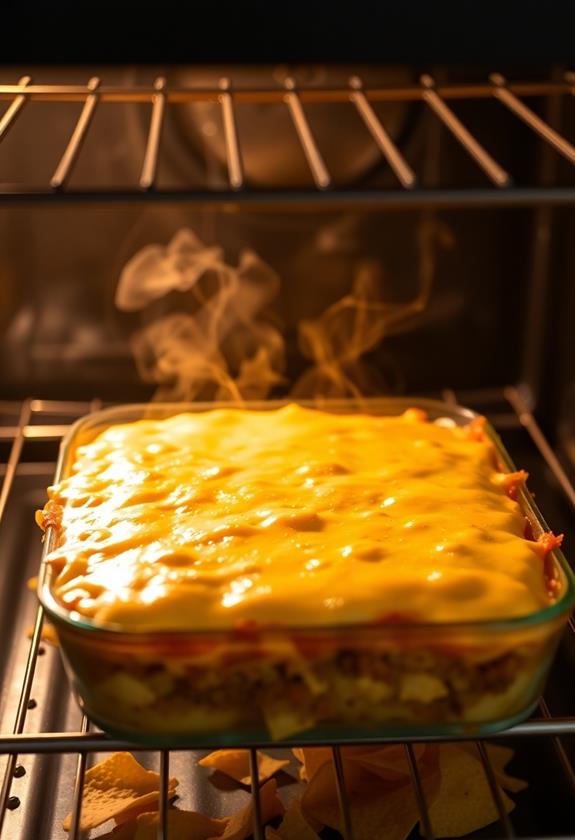
With your layers beautifully assembled, it's time to let the oven work its magic. Preheat your oven to 350°F (175°C) and slide your masterpiece onto the middle rack.
Now's your chance to relax and anticipate the deliciousness while the cheese melts and bubbles to perfection. It's like waiting for a surprise, but you know it'll be fantastic!
Keep an eye out after about 15 minutes—the cheese should start bubbling like a hot tub party, signaling it's almost ready.
If you're a fan of a crispy top, you can let it bake a minute longer, but don't let it overstay its welcome. Remember, the goal is gooey, bubbly goodness, not a cheese brick!
Once it's bubbly, you're ready for the next step.
Step 5. Add Toppings Before Serving
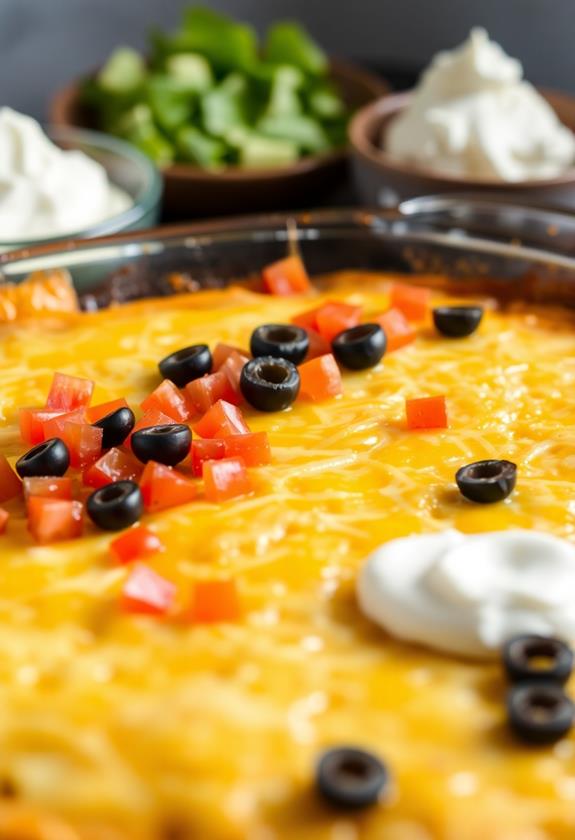
After your Walking Taco Bake emerges from the oven, it's time to add those finishing touches that truly elevate the dish. Sprinkle on diced tomatoes and sliced olives for a burst of color and flavor.
Next, dollop sour cream generously, like you're painting a masterpiece. If you're feeling adventurous, toss on some jalapeño slices for a spicy kick. Don't forget the chopped lettuce—it's the crunchy crown on this taco treasure.
For an extra twist, drizzle a bit of salsa over the top, like an artist adding the final strokes.
Final Thoughts
Ultimately, a Walking Taco Bake is an excellent choice for those seeking a quick, customizable meal that brings the vibrant flavors of a taco to the comfort of a casserole.
You'll love how easy it's to throw together, making it perfect for busy weeknights or spontaneous gatherings. Plus, it's a fantastic way to use up those leftover taco toppings lurking in your fridge.
With its layers of cheesy goodness and crunchy chips, this dish is sure to please even the pickiest eaters. Feel free to play around with ingredients—try adding beans or spicy jalapeños for a kick.
Frequently Asked Questions
Can I Use Turkey Instead of Ground Beef in Walking Taco Bake?
You can definitely use turkey instead of ground beef in your Walking Taco Bake. Just season it well to maintain flavor. Turkey's leaner, so it might need a bit more seasoning to match the richness of beef.
How Can I Make a Vegetarian Version of the Walking Taco Bake?
Replace the meat with black beans or refried beans for a vegetarian twist. Add veggies like bell peppers or mushrooms. Season with taco seasoning and layer with corn chips and cheese. Bake as usual. Enjoy!
What Are Some Alternative Toppings for Walking Taco Bake?
You can enhance your Walking Taco Bake with alternative toppings like avocado slices, fresh cilantro, jalapeños, or a drizzle of lime crema. Don't forget to experiment with pickled onions or radishes for extra crunch and flavor.
Can Walking Taco Bake Be Frozen for Later Use?
Yes, you can freeze it for later. Just assemble the dish without adding fresh toppings, cover it tightly, and freeze. When you're ready to eat, thaw in the fridge, bake, and add the fresh toppings.
How Long Can Leftovers Be Stored in the Refrigerator?
You can store leftovers in the refrigerator for about three to four days. Make certain you place them in an airtight container to maintain freshness. When you're ready to enjoy them again, reheat thoroughly for the best taste.
Conclusion
You've now got a mouthwatering Walking Taco Bake ready to impress your taste buds and your guests. As you dig in, the melty cheese, crunchy chips, and savory beef create a fiesta of flavors in every bite. Feel free to get creative with toppings—maybe add a dollop of guacamole or a sprinkle of jalapeños for some kick. So, gather your family, grab some forks, and enjoy this fun, easy meal that's bound to become a household favorite!

