Homemade Grilled Pizza Recipe
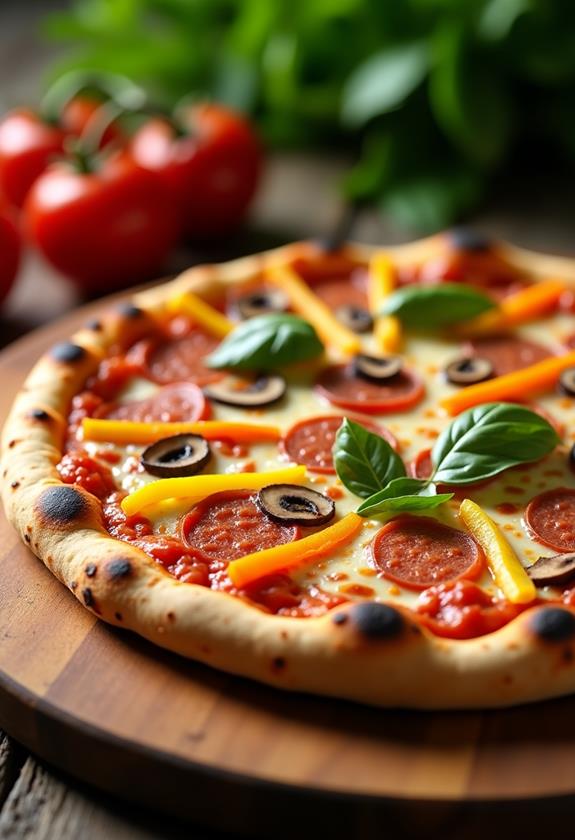
Imagine the aroma of smoky, freshly-grilled pizza wafting through your backyard during a relaxed gathering. Grilled pizza offers a unique twist on a classic favorite, and it's surprisingly simple to prepare. You start by preheating your grill to medium-high and rolling out your own dough—or even store-bought works in a pinch. Once you've brushed it with olive oil, the magic begins. But what comes next guarantees your pizza is not just another meal. Curious about the next steps to elevate your homemade creation? There's so much more to explore in crafting the perfect slice.
Recipe
Grilled pizza is a delightful twist on the classic dish, offering a smoky flavor and a perfectly crispy crust. This cooking method is perfect for a summer cookout or a cozy dinner at home. With a few simple ingredients and your choice of toppings, you can craft a personalized pizza that suits your taste.
Whether you prefer a traditional margherita, a meat-lovers' special, or a veggie-packed pie, the options are endless. The key to success lies in preparing your ingredients in advance and ensuring your grill is ready.
Before you begin, gather all your ingredients and prepare your workspace. Preheat your grill to medium-high heat, ensuring it's clean and well-oiled to prevent the dough from sticking. Roll out the pizza dough on a floured surface to your desired thickness. Once your grill is hot, you're ready to start grilling your pizza.
Ingredients:
- Pizza dough (store-bought or homemade)
- Olive oil
- Tomato sauce
- Mozzarella cheese, shredded
- Toppings of your choice (e.g., pepperoni, bell peppers, mushrooms)
- Fresh basil leaves
- Salt and pepper
To cook the grilled pizza, roll out the pizza dough and brush one side with olive oil. Place the dough oil-side down on the grill grates and cook for 2-3 minutes until the bottom is golden and has grill marks.
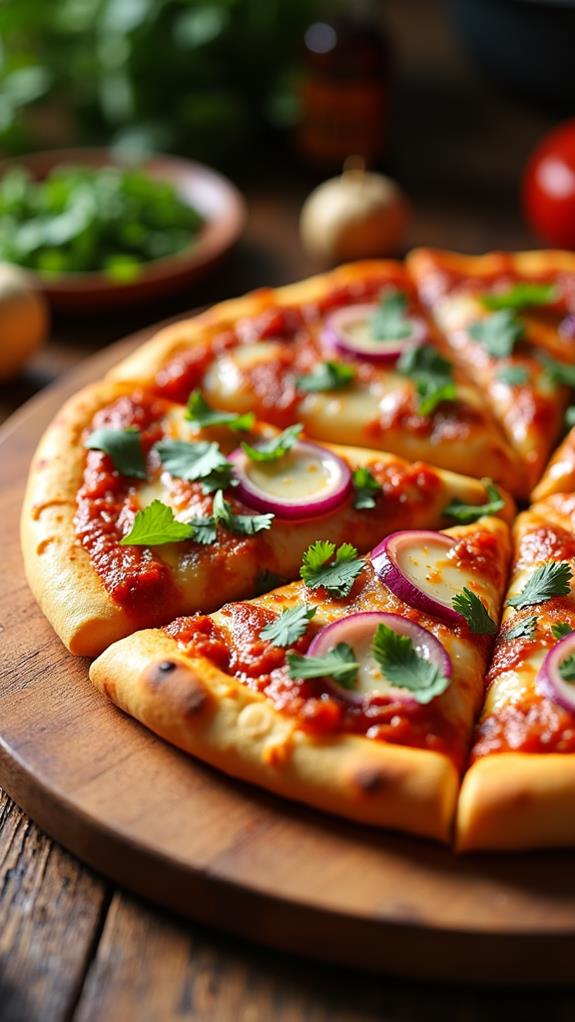
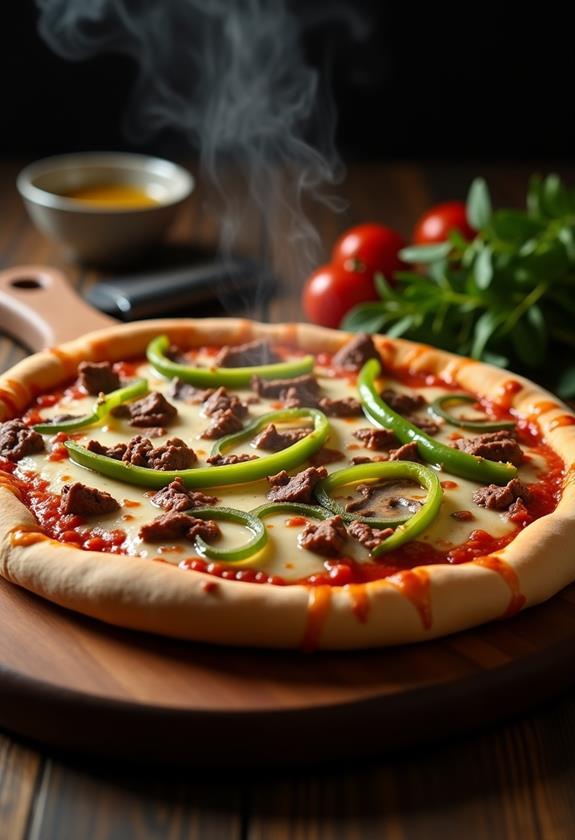
Flip the dough and quickly spread a layer of tomato sauce on the cooked side. Sprinkle mozzarella cheese evenly and add your chosen toppings. Close the grill lid and cook for another 3-5 minutes, or until the cheese is melted and bubbly.
Remove the pizza from the grill and garnish with fresh basil leaves, salt, and pepper.
For the best results, keep an eye on the pizza while it cooks, as grilling times may vary based on dough thickness and grill temperature. If you prefer a thicker crust, consider partially baking the rolled-out dough in the oven before grilling.
Experiment with different cheeses and toppings to discover new flavor combinations. Enjoy your homemade grilled pizza fresh off the grill for the ultimate crispy and flavorful experience.
Cooking Steps
Let's get that pizza sizzling!
Start by preheating your grill to medium-high, because nobody wants a pizza with a lukewarm reception.
Roll out your dough on a floured surface, giving it a little oil massage before placing it on the grill for that perfect golden glow.
Step 1. Preheat Grill to Medium-High
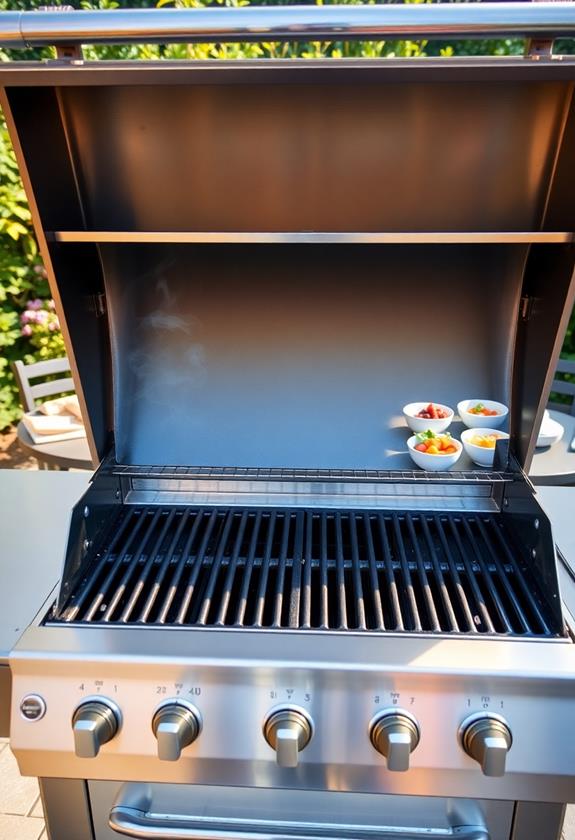
Before diving into the delicious world of grilled pizza, preheating your grill to medium-high is an essential first step.
Trust me, you don't want to skip this part unless you enjoy soggy crusts and unevenly melted cheese. Aim for that sweet spot between 375-450°F to get a crispy, restaurant-quality crust.
If your grill has a temperature gauge, you're in luck; if not, use the hand test: hold your hand about five inches above the grates, and if you can count to three before yanking it away, you're good to go.
Make sure the grill grates are clean and lightly oiled to prevent any sticky situations. A well-preheated grill is your secret weapon for pizza perfection!
Step 2. Roll Out Pizza Dough
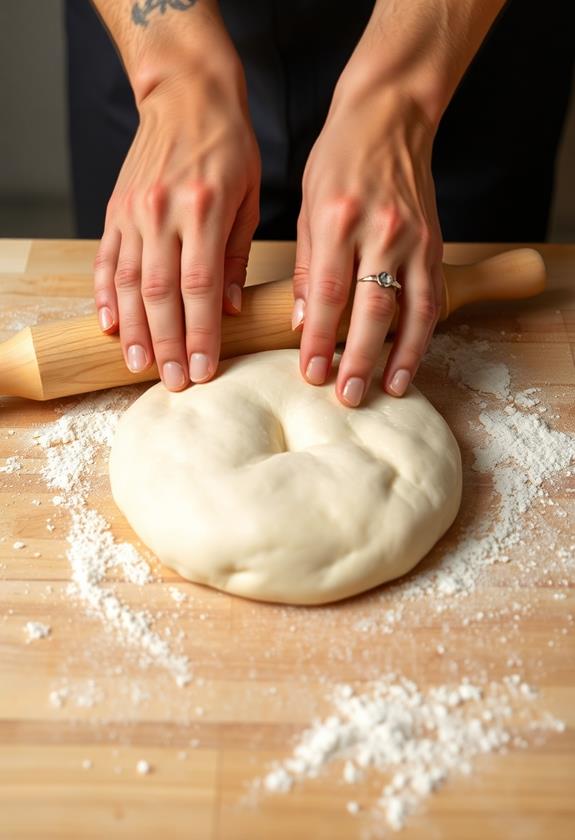
Rolling out the pizza dough is a crucial step in achieving that perfect crust. Start by lightly flouring your work surface to prevent sticking—dough has a sneaky way of becoming best friends with your countertop!
Use a rolling pin to gently stretch the dough into a circle or rectangle, depending on your mood. Aim for an even thickness, about a quarter-inch, so it cooks perfectly on the grill. If the dough fights back and shrinks, let it rest for a minute or two to relax.
Don't worry if it's not a perfect shape; rustic is charming! Remember, the thinner the dough, the crispier the crust. Now, you're ready to move on to the next delicious step of your grilled pizza adventure!
Step 3. Oil Dough, Place on Grill
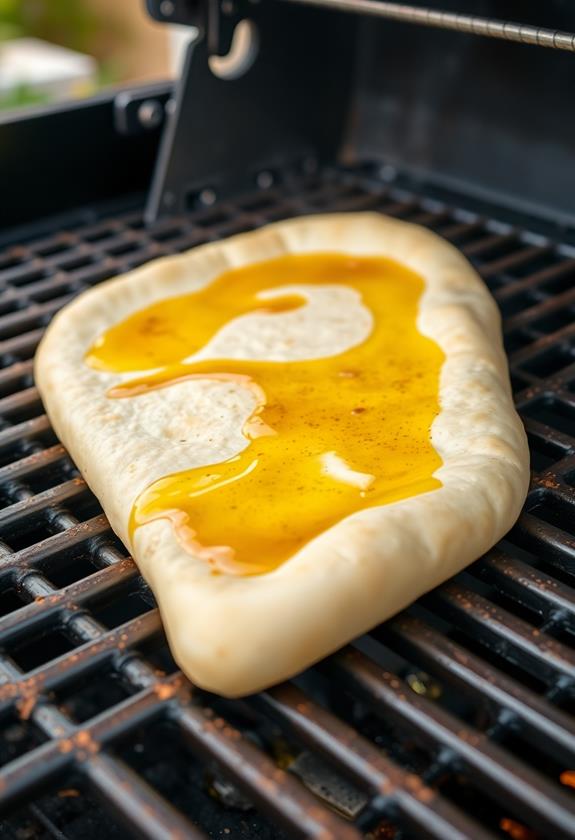
With your dough perfectly rolled out, it's time to add a touch of olive oil to enhance flavor and prevent sticking.
Gently brush the top side with oil—don't be shy, give it a generous coating. Imagine you're giving the dough a little spa treatment!
Once oiled, carefully place it on the grill, oil-side down. Listen for that satisfying sizzle, like the dough's way of saying, "I'm ready to party!"
Let it cook for about 2-3 minutes. Keep an eye on it, like you're watching a suspenseful movie. You want those beautiful grill marks, but no burnt surprises.
Once the bottom is golden and marked, you're ready for the next delicious step in your pizza adventure.
Step 4. Spread Sauce on Cooked Side
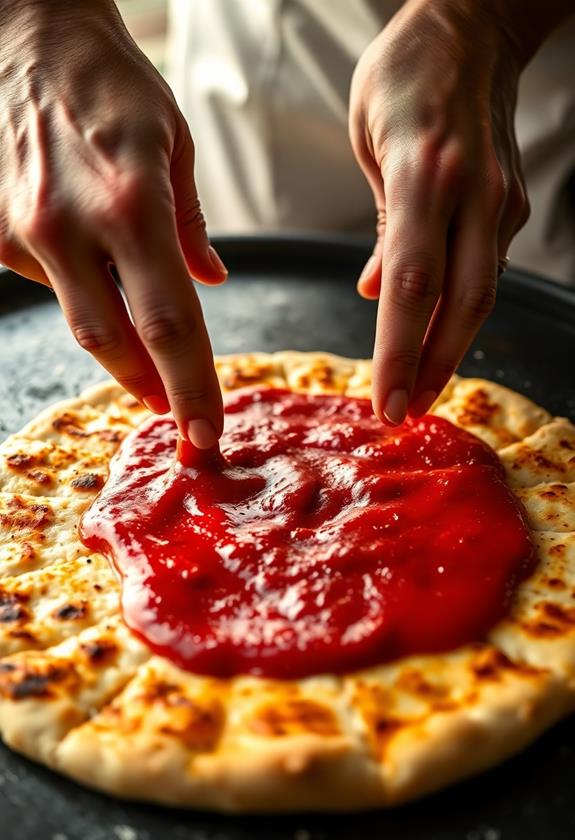
Once the dough's bottom is perfectly grilled, it's time for the flavorful tomato sauce to take center stage.
Grab a spoon or a ladle, and spread a generous layer of sauce over the cooked side of the dough. Think of it as painting a masterpiece, only tastier!
Make sure to cover the surface evenly, leaving a small border around the edges for a nice crusty finish. A little tip: don't go overboard with the sauce, or you might end up with a soggy pizza.
Nobody wants a swimming pool of sauce! Take a moment to admire your work; you've just set the foundation for a delicious culinary creation.
Now, get ready to add the cheesy goodness and toppings!
Step 5. Add Mozzarella and Toppings
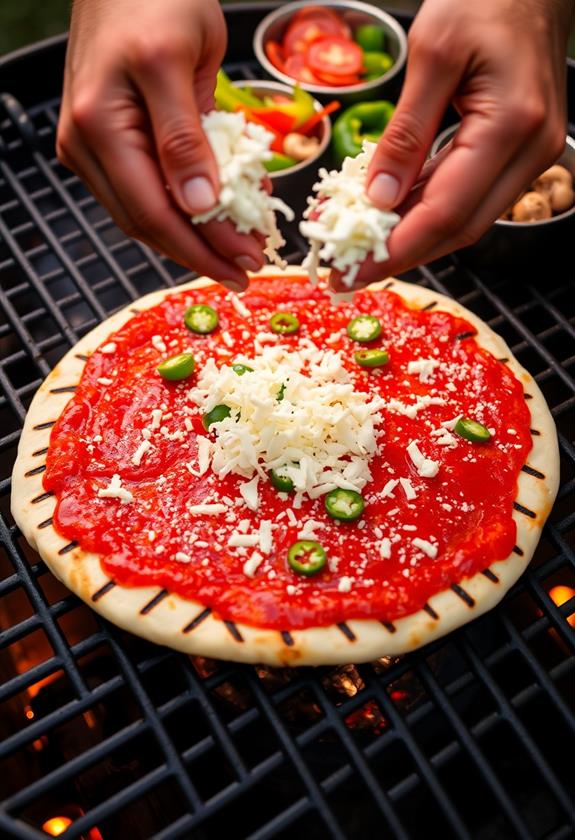
Now that the tomato sauce is spread, it's time to layer on the mozzarella cheese. Grab a generous handful and sprinkle it evenly over the sauce, making sure every inch gets a cheesy touch.
Don't be shy—more cheese equals more deliciousness!
Next, immerse yourself in your toppings. Whether you're a pepperoni fanatic or a veggie enthusiast, there's no wrong choice here. Just remember, balance is key; too much of a good thing might weigh down your crust.
As you add each topping, picture it sizzling and melting into a mouthwatering masterpiece.
Close the grill lid and let the magic happen. In just a few minutes, your pizza will be bubbling and oozing with delightful flavors, ready to impress!
Final Thoughts
Ultimately, grilling pizza at home is a rewarding experience that brings together the joy of cooking and the pleasure of eating.
You get to play chef and taste-tester all in one—how cool is that? It's a surefire way to impress friends or family, or just spoil yourself.
Remember, a clean grill and prepared ingredients are your best friends here. Don't shy away from experimenting with toppings; who knows, maybe pineapple does belong on pizza!
Keep your grill lid closed to lock in those smoky flavors, but don't forget to peek occasionally; nobody wants a burnt crust, right?
Whether you're a pizza purist or a flavor adventurer, this method transforms your backyard into a pizzeria, one slice at a time.
Frequently Asked Questions
Can I Use a Gas Grill Instead of a Charcoal Grill?
Yes, you can use a gas grill instead of a charcoal grill. Just preheat it to medium-high, and follow the same steps. You'll still achieve a crispy crust and delicious flavor with the convenience of gas.
What Is the Best Way to Store Leftover Grilled Pizza?
To store leftover grilled pizza, wrap slices in aluminum foil or place them in an airtight container. Refrigerate for up to three days. For best results, reheat in an oven or skillet to maintain the crispy crust.
How Can I Make the Dough Gluten-Free?
For gluten-free dough, use a gluten-free flour blend. Mix it with yeast, warm water, olive oil, and a pinch of salt. Knead until smooth. Let it rise, then roll it out and grill as usual.
Is It Possible to Grill a Pizza Without a Pizza Stone?
Yes, you can grill a pizza without a pizza stone. Just place the dough directly on the grill grates. Make certain they're clean and well-oiled to prevent sticking. This method provides a deliciously crispy crust.
Can I Prepare the Pizza Dough Ahead of Time and Freeze It?
Yes, you can prepare pizza dough ahead of time and freeze it. After mixing and kneading, let it rise, then portion and wrap tightly in plastic wrap before freezing. Thaw overnight in the fridge before using.
Conclusion
You've just made a homemade grilled pizza, and it's time to dig in! With crispy edges, bubbling cheese, and your favorite toppings, it's a slice of perfection. Remember, grilling pizza isn't just about the food; it's about enjoying the process and sharing laughter with friends. Don't stress if your dough's not perfectly round—it's all part of the charm. So, grab a slice, savor the smoky flavor, and relish the joy of your delicious creation. Cheers to pizza nights!

