Pumpkin Cheesecake Bars Recipe
Imagine bringing the warmth of fall into your kitchen with pumpkin cheesecake bars that perfectly balance creamy and spicy flavors. You're about to commence a culinary journey where the richness of cheesecake meets the aromatic embrace of pumpkin and cinnamon. To achieve this, you'll need a careful mix of ingredients and a few simple steps, but there's a trick to getting that perfect marbled effect. Before you reach for your apron and preheat the oven, let's explore what makes this recipe an essential addition to your holiday dessert repertoire.
Recipe
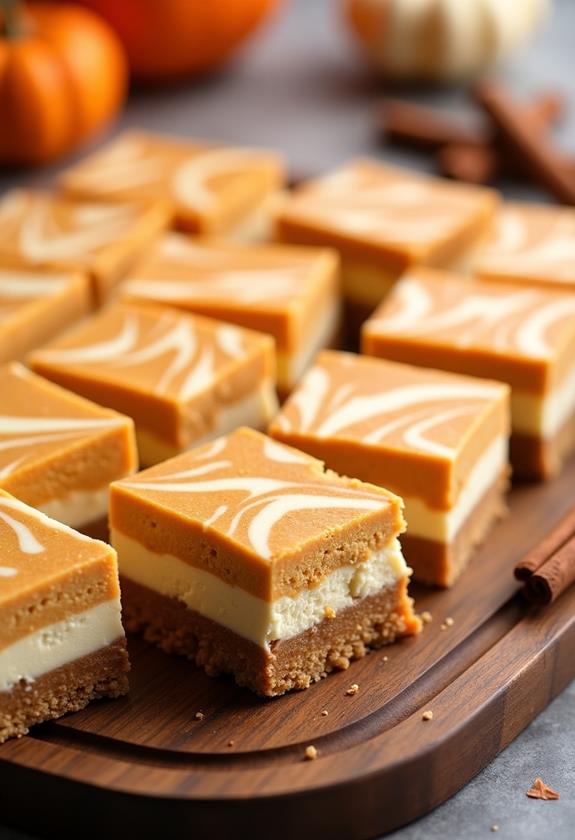
Pumpkin Cheesecake Bars are the perfect autumn treat, combining the classic flavors of pumpkin pie with the creamy texture of cheesecake. This dessert starts with a buttery graham cracker crust, providing a crunchy base for the layers above. The filling is a luscious blend of cream cheese and pumpkin puree, spiced with cinnamon, nutmeg, and ginger for that quintessential fall flavor.
These bars are both festive and convenient, making them ideal for holiday gatherings or any occasion where you want to impress with minimal effort. Once baked and cooled, the cheesecake bars are cut into squares, offering a neat and easy-to-serve dessert option. The marbled effect created by swirling in the reserved cream cheese mixture not only adds visual appeal but also a delightful contrast in flavor.
For an extra indulgent touch, top each bar with a dollop of whipped cream before serving. With their rich taste and inviting aroma, these Pumpkin Cheesecake Bars are sure to become a seasonal favorite.
Ingredients:
- 1 1/2 cups graham cracker crumbs
- 1/4 cup granulated sugar
- 1/2 cup unsalted butter, melted
- 16 ounces cream cheese, softened
- 1 cup granulated sugar
- 1 teaspoon vanilla extract
- 3 large eggs
- 1 cup canned pumpkin puree
- 1 teaspoon ground cinnamon
- 1/2 teaspoon ground nutmeg
- 1/4 teaspoon ground ginger
- Whipped cream (optional, for serving)
To make the Pumpkin Cheesecake Bars, preheat your oven to 350°F (175°C). In a mixing bowl, combine the graham cracker crumbs, 1/4 cup of sugar, and melted butter, then press the mixture firmly into the bottom of a 9×13-inch baking pan to create the crust.
In another bowl, beat the cream cheese and 1 cup of sugar until smooth, then add the vanilla extract and eggs one at a time, beating well after each addition. Reserve 1 cup of this mixture, and to the remaining portion, add the pumpkin puree, cinnamon, nutmeg, and ginger. Mix thoroughly, then pour the pumpkin mixture over the crust.
Drop spoonfuls of the reserved cream cheese mixture on top and swirl with a knife for a marbled effect. Bake for 45-50 minutes or until the center is set. Allow the bars to cool completely before cutting into squares.
For the best results, let the Pumpkin Cheesecake Bars chill in the refrigerator for a few hours or overnight before serving. This not only enhances the flavors but also makes cutting the bars much easier. Using room-temperature cream cheese will guarantee a smooth and creamy texture, which is key to achieving the perfect cheesecake consistency.
If desired, serve with a dollop of whipped cream for an extra touch of indulgence. Enjoy the warm, comforting flavors of these bars as they embody the essence of fall.
Cooking Steps
Let's get started by cranking up your oven to 350°F, because nobody likes a cold cheesecake!
Mix your crust ingredients thoroughly—think of it as a mini workout—then press that buttery goodness into the pan like it's a comfy blanket.
As you whip up the cream cheese mixture, don't forget to swirl it with the pumpkin layer for a marbled masterpiece, and remember to let those bars cool before slicing, or you'll end up with a gooey mess!
Step 1. Preheat Oven to 350°F
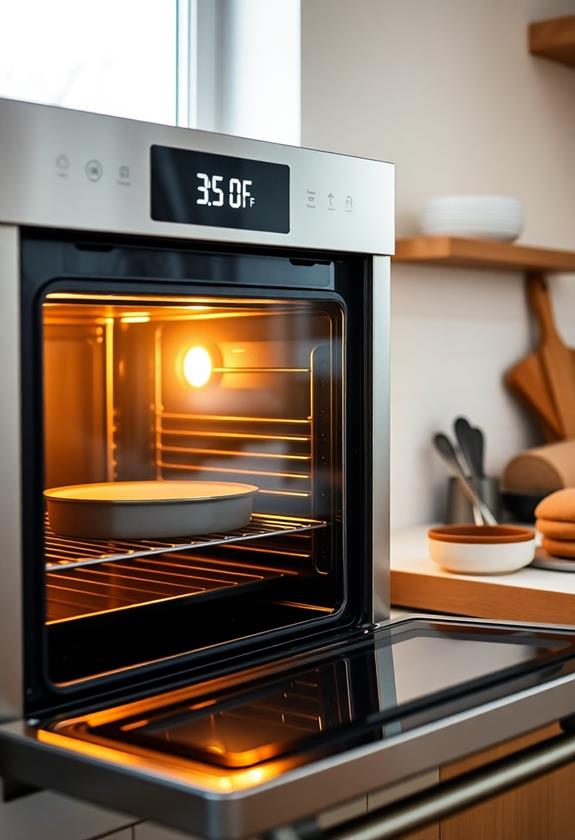
As you begin your culinary journey with these delightful Pumpkin Cheesecake Bars, it's essential to start by preheating your oven to 350°F (175°C). This step guarantees your bars bake evenly, achieving that perfect creamy texture.
Now, I know preheating mightn't feel like the most thrilling part of baking, but think of it as warming up for the main event. Just like you wouldn't start a movie without popcorn ready, you shouldn't start baking without your oven set to the right temperature.
So, twist that dial or punch in those numbers, and let your oven do its thing. Meanwhile, gather your ingredients and tools, envisioning the delicious aroma that'll soon fill your kitchen.
It's the little moments, like this, that set the stage for delicious success!
Step 2. Mix Crust Ingredients Thoroughly
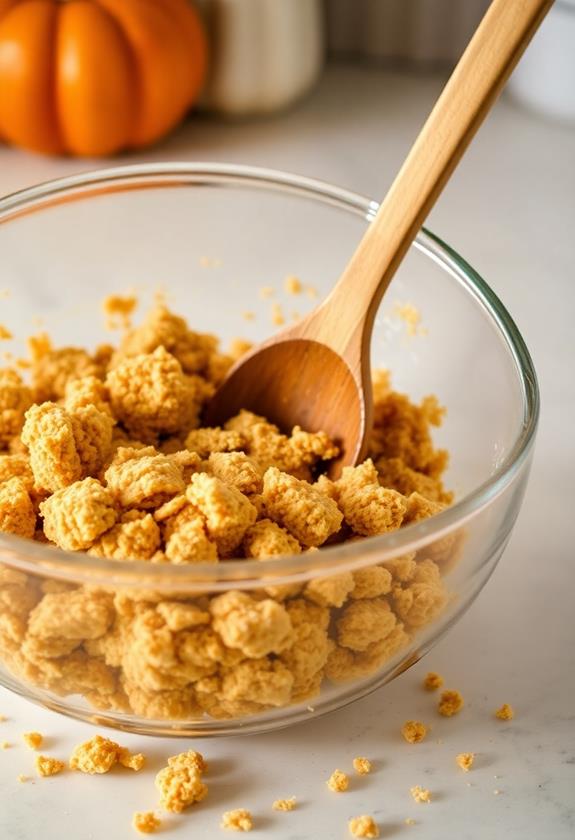
To create the perfect base for your Pumpkin Cheesecake Bars, start by thoroughly mixing the crust ingredients.
Grab a mixing bowl and toss in 1 1/2 cups of graham cracker crumbs, 1/4 cup of granulated sugar, and 1/2 cup of melted butter.
Now, channel your inner mixologist and stir until everything's well combined. You want every crumb to be coated in buttery goodness, making sure there aren't any dry patches.
It might feel a bit like a sandcastle project, but trust me, it's worth it.
Once mixed, press the crumbly mixture firmly into the bottom of a 9×13-inch baking pan.
Use the back of a spoon or your hands, if you're feeling adventurous, to get an even layer.
Voilà! You've nailed the crust.
Step 3. Cream Cheese Mixture Preparation
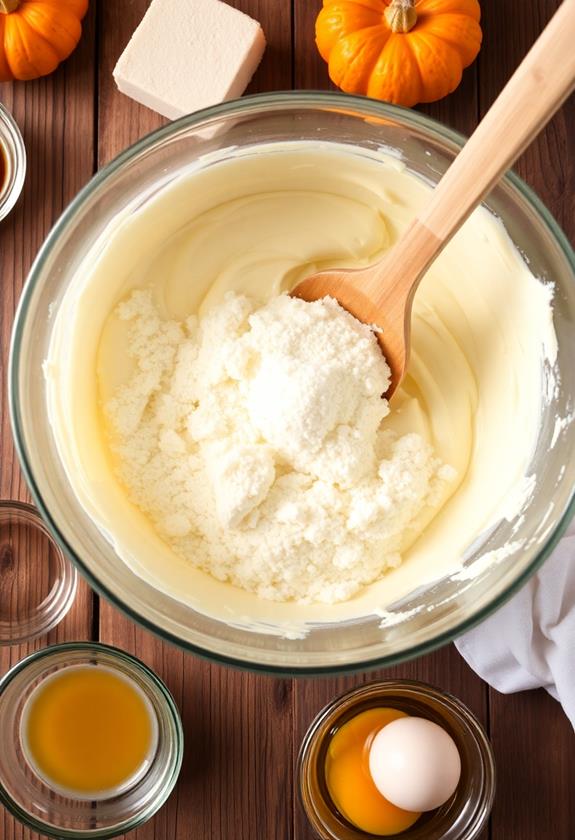
With the crust firmly in place, it's time to focus on crafting the luscious cream cheese filling. Grab your mixing bowl and toss in the softened cream cheese. Beat it until smooth, ensuring no lumps remain—after all, nobody likes surprise chunks in their cheesecake!
Add the sugar and vanilla extract, mixing until the blend is creamy and irresistible. Now, here's the fun part: crack open those eggs, adding them one at a time. Give each egg a chance to mingle before introducing the next. This step keeps your mixture smooth and velvety.
Once done, set aside one cup of this delightful concoction. You're not done yet, but you're certainly on the right track to creating a masterpiece. Enjoy the process!
Step 4. Swirl for Marbled Effect
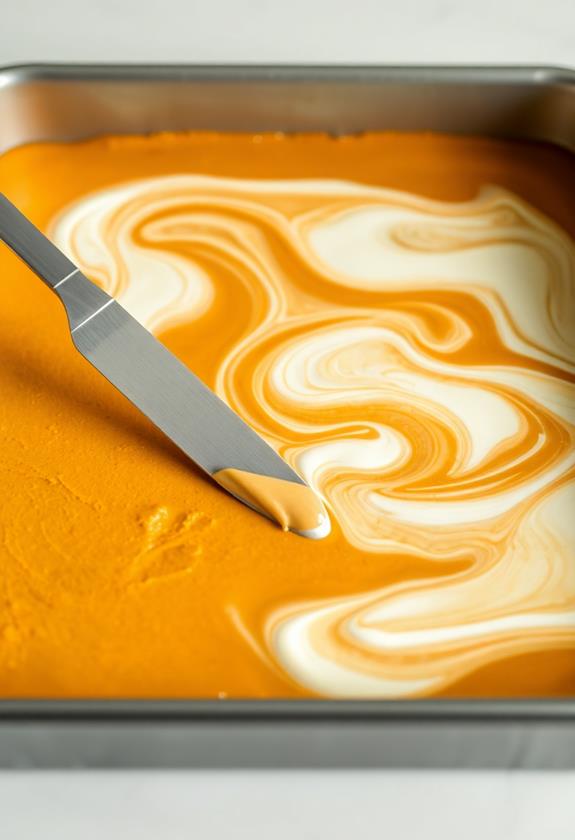
Now that you've got your creamy pumpkin mixture ready, it's time to create that beautiful marbled effect. This is the fun part!
Pour the pumpkin mixture over your prepared crust, spreading it evenly. Take the reserved cup of cream cheese mixture and drop generous spoonfuls over the pumpkin layer.
Here's where you channel your inner artist: grab a butter knife and gently swirl through both layers. Aim for an elegant, marbled look, but don't overdo it, or you'll lose the distinct patterns.
Think of it like swirling a tie-dye shirt, only tastier! Remember, the goal is a harmonious blend, not a uniform color. This technique adds a decorative flair and guarantees each bite has a delightful mix of flavors.
Step 5. Cool Bars Before Slicing
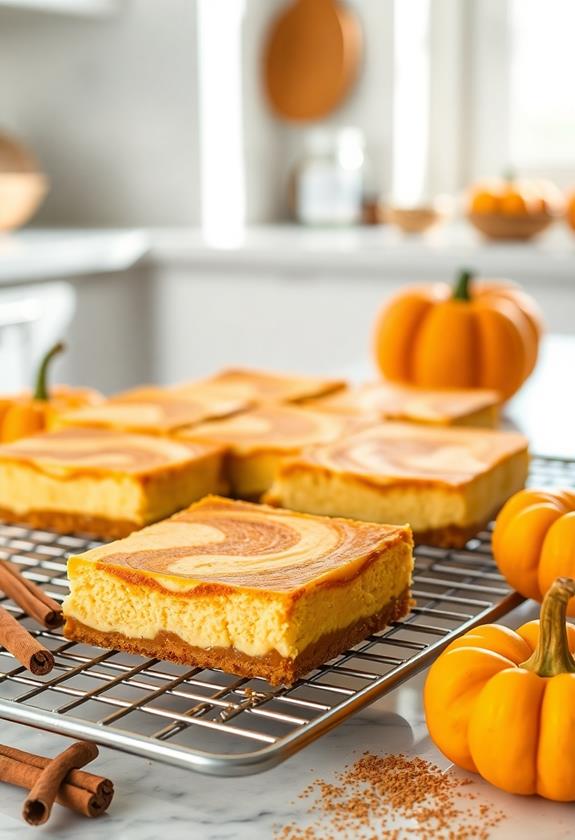
Once your Pumpkin Cheesecake Bars are out of the oven, patience becomes your best friend.
It's tempting to jump right in immediately, but letting them cool completely is essential. Place the baking pan on a wire rack, allowing air to circulate and prevent soggy bottoms—a cheesecake's kryptonite!
While you wait, maybe distract yourself with a good book or a quick dance party in the kitchen; just don't peek too soon! Cooling guarantees your bars set properly, making slicing a breeze and preventing a crumbly mess.
After cooling to room temperature, stick them in the fridge for a few hours, or even overnight, for best results. Trust me, your future self will thank you when those neat, delicious squares greet your taste buds!
Final Thoughts
These Pumpkin Cheesecake Bars are a delightful addition to any fall gathering, offering a perfect balance between the rich creaminess of cheesecake and the comforting spices of pumpkin pie.
They're sure to win over any crowd, whether you're sharing them at a family dinner or a cozy evening with friends.
Preparing these bars isn't just about the end result; it's an enjoyable process that fills your kitchen with the aroma of autumn spices.
Remember, don't rush the chilling time—patience is key to achieving that perfect slice.
When you serve them, the swirled pattern will impress almost as much as the taste.
So grab a fork, maybe add a dollop of whipped cream, and savor each bite.
Your taste buds will thank you!
Frequently Asked Questions
Can I Use Fresh Pumpkin Instead of Canned Pumpkin Puree?
Yes, you can use fresh pumpkin instead of canned pumpkin puree. Roast or steam the pumpkin until soft, then blend until smooth. Make sure to drain excess liquid for a thicker consistency, similar to canned puree.
How Should I Store Leftover Pumpkin Cheesecake Bars?
Store leftover bars in an airtight container in the refrigerator. They'll stay fresh for up to five days. For longer storage, freeze them. Place parchment between layers to prevent sticking, then thaw in the fridge before serving.
Can I Substitute the Graham Cracker Crust With a Different Type of Crust?
You can definitely substitute the graham cracker crust with alternatives like gingersnap cookies, crushed vanilla wafers, or even a chocolate cookie crust. Just guarantee the crumbs are fine and mixed with butter to hold together.
Are These Pumpkin Cheesecake Bars Gluten-Free?
They're not gluten-free with the graham cracker crust. You can substitute gluten-free graham crackers or a nut-based crust to make them suitable for a gluten-free diet. Confirm all other ingredients are certified gluten-free.
What Is the Best Way to Prevent Cracks in the Cheesecake Layer?
To prevent cracks in your cheesecake layer, avoid over-mixing the batter and bake at a low temperature. Let it cool gradually in the oven with the door ajar. Use a water bath for even heat distribution.
Conclusion
You've nailed it! Once your pumpkin cheesecake bars are chilled, slice them up and watch as your friends and family swoon over the marbled masterpiece you've created. Don't forget to add that dollop of whipped cream—it's the cherry on top of this fall-flavored delight. These bars are a perfect blend of creamy and spicy, making them irresistible. So, grab a fork, dig in, and enjoy the sweet success of your baking adventure!

