Caramel Apple Cheesecake Recipe
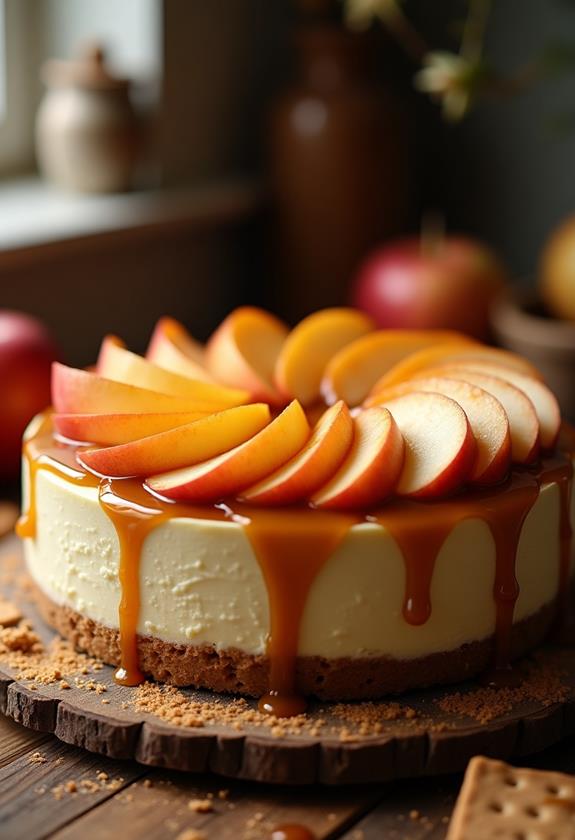
When you think about creating a dessert that's not only delicious but also visually impressive, caramel apple cheesecake might just be the perfect choice. The combination of creamy cheesecake, tart apple slices, and a buttery graham cracker crust offers a symphony of flavors and textures. You'll find that the caramel drizzle adds a touch of elegance to the presentation. But before you plunge into the baking process, there's an essential step you shouldn't overlook. Curious about what could make or break this culinary masterpiece? Stick around, and you'll discover the secret to achieving cheesecake perfection.
Recipe
Indulge in the delightful fusion of two classic desserts with this Caramel Apple Cheesecake recipe. Perfect for any occasion, this dessert combines the creamy richness of cheesecake with the sweet and tart flavor of caramel-coated apples. The contrasting textures of the smooth cheesecake and the slightly crisp apple topping create a harmonious balance that will satisfy your taste buds.
This Caramel Apple Cheesecake isn't only delicious but also visually appealing, making it an ideal centerpiece for your dessert table. The golden caramel drizzled over the apple topping adds an extra layer of sophistication and taste, while the buttery graham cracker crust provides a sturdy base for the creamy filling.
Whether you're a seasoned baker or a novice in the kitchen, this recipe is straightforward and rewarding to make.
Ingredients:
- 1 1/2 cups graham cracker crumbs
- 1/4 cup melted butter
- 24 oz cream cheese, softened
- 1 cup granulated sugar
- 3 large eggs
- 1 tsp vanilla extract
- 1/2 cup sour cream
- 3 cups peeled and sliced apples
- 1/2 cup brown sugar
- 1/4 cup caramel sauce
- 1/2 tsp ground cinnamon
To create this delicious dessert, start by preheating your oven to 325°F (160°C). In a bowl, combine the graham cracker crumbs and melted butter, then press the mixture into the bottom of a springform pan to form the crust.
In another bowl, beat the cream cheese and granulated sugar together until smooth. Add the eggs one at a time, mixing well after each addition. Stir in the vanilla extract and sour cream until fully incorporated. Pour this cream cheese mixture over the crust.
In a separate bowl, toss the apple slices with brown sugar and cinnamon, then arrange them on top of the cheesecake mixture. Bake for about 50-60 minutes, or until the center is set. Allow it to cool, then refrigerate for at least 4 hours. Before serving, drizzle the top with caramel sauce.
For the best results, make sure that all your ingredients are at room temperature before starting, as this will help achieve a smooth and creamy texture in your cheesecake. If you notice any cracks forming on the surface of your cheesecake, don't worry; the apple topping and caramel drizzle will cover them beautifully.
Additionally, using a water bath during baking can help prevent cracking by providing a moist baking environment. Remember to chill the cheesecake thoroughly to make certain it sets properly, making it easier to slice and serve. Enjoy your delightful creation!
Cooking Steps
Let's get started on this delicious Caramel Apple Cheesecake by preheating your oven to 325°F, because no one likes a cold oven, right?
Mix those graham cracker crumbs with melted butter until they're best friends, then press them firmly into your pan for a crust that won't let you down.
Blend the cream cheese mixture until it's smoother than your dance moves, arrange those sweet apple slices on top, and bake until the center is set and your kitchen smells like heaven!
Step 1. Preheat Oven to 325°F
As you begin your journey to create the perfect Caramel Apple Cheesecake, the first step is to preheat your oven to 325°F (160°C). Think of it as laying the groundwork for a delicious masterpiece.
Preheating guarantees your oven reaches the right temperature, so your cheesecake bakes evenly. You wouldn't want a dessert with a cold, gooey center, right?
While you're at it, double-check that your oven rack is in the middle position. This spot is the sweet spot for even heat distribution.
If your oven has a mind of its own, consider using an oven thermometer for accuracy.
Preheating might seem like a small step, but it's vital, setting the stage for that creamy, dreamy cheesecake you're about to whip up.
Step 2. Mix Crust Ingredients Thoroughly
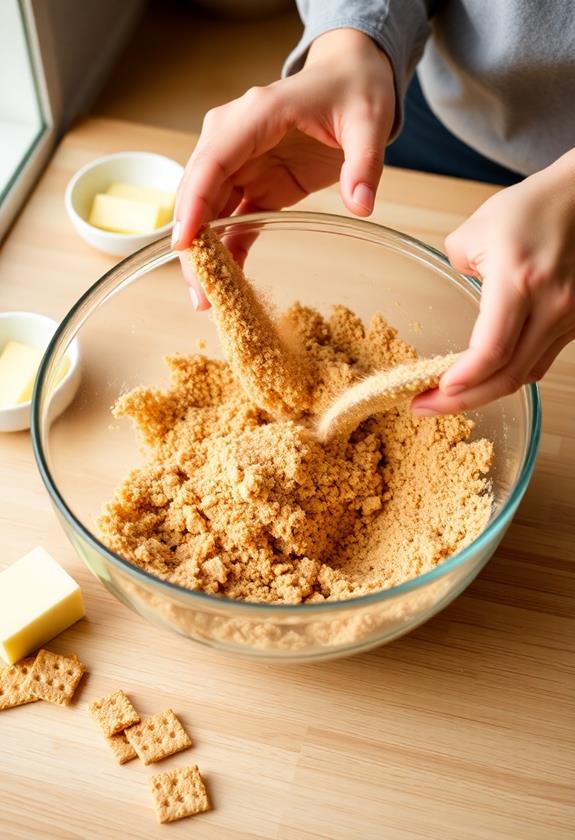
With your oven preheated, it's time to prepare the base of your cheesecake—the crust.
Grab a medium-sized bowl and toss in 1 1/2 cups of graham cracker crumbs. Now, add 1/4 cup of melted butter.
Don't be shy; use your hands or a spatula to mix them thoroughly. Think of it as a mini workout before indulging in dessert!
Make certain every crumb is coated, creating a sandy, buttery mixture that holds together like a dream.
Press this delightful concoction firmly into your springform pan's base. Confirm it's even, covering every inch of the bottom.
This crust will be the sturdy foundation for your creamy masterpiece, so take a moment to appreciate your handiwork before moving on.
Step 3. Blend Cream Cheese Mixture Smoothly
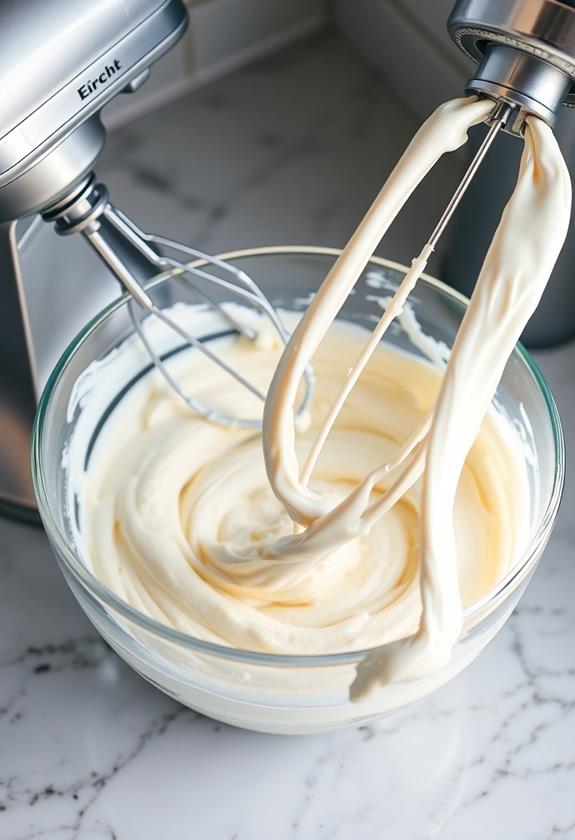
Achieving the perfect cream cheese mixture is essential for a smooth and creamy cheesecake. Start by ensuring your cream cheese is softened; otherwise, you might end up with lumpy batter, and nobody wants that!
Grab your mixer, and beat the cream cheese with granulated sugar until it's smooth and fluffy. Add the eggs one at a time, mixing well after each addition, like you're serenading each egg into the mix.
Don't forget to add the vanilla extract and sour cream, which add flavor and creaminess. Blend until everything's well combined, but don't overdo it—no one likes an overworked batter.
This silky mixture is your cheesecake's heart, so treat it with care and watch it transform into dessert magic!
Step 4. Arrange Apples Over Cheesecake Mixture
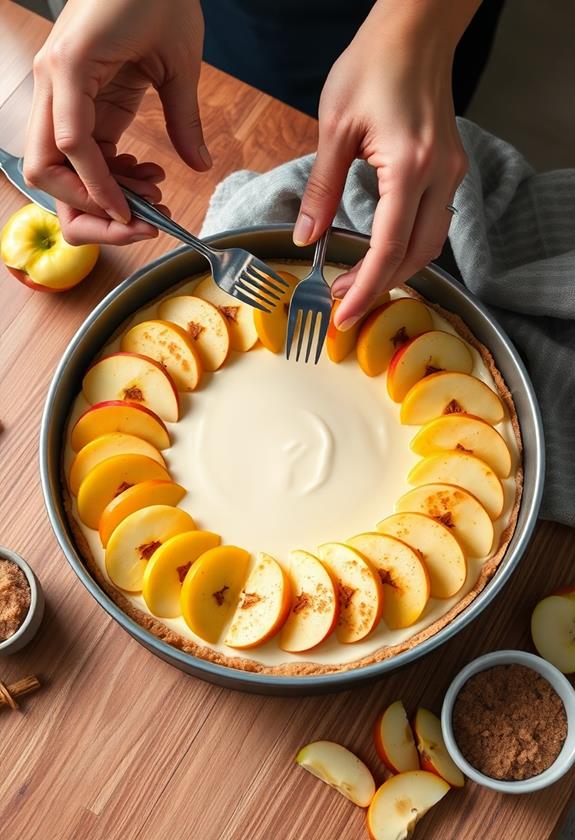
Once your cream cheese mixture is ready and sitting smoothly in the pan, it's time to focus on the apple topping.
You've got those apples all peeled and sliced, right? Toss them in a bowl with brown sugar and cinnamon—consider it a delicious apple spa day.
Now, for the fun part: arranging them over the cheesecake mixture. Think of yourself as a culinary artist, creating your masterpiece. Spread the apple slices evenly, ensuring they cover every inch of the creamy surface.
Don't worry if a few slices overlap; they'll shrink a bit as they bake. This layer not only tastes divine but also keeps your cheesecake looking picture-perfect.
Step 5. Bake Until Center Sets
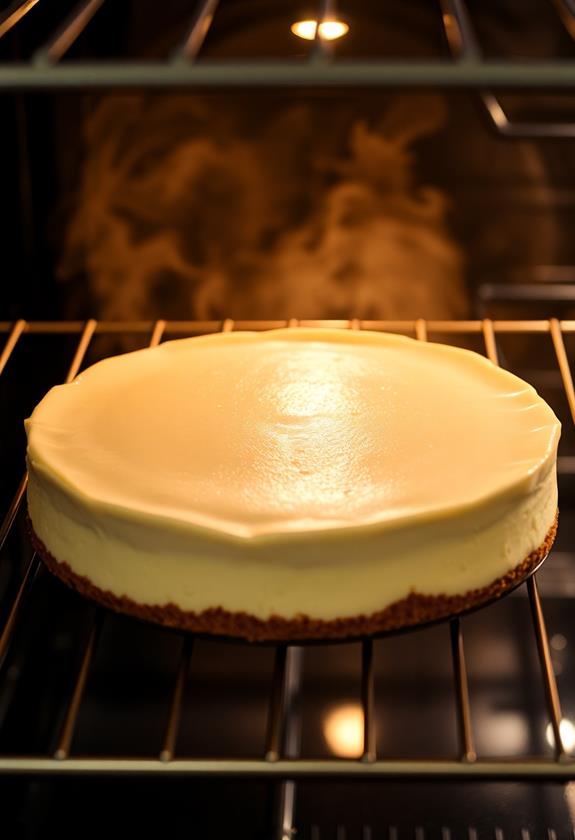
Preheating your oven to 325°F (160°C) is the first step in transforming your cheesecake into a baked masterpiece.
Once the oven's ready, place your cheesecake on the center rack. Don't forget to do a little happy dance as you slide it in—it's a big moment!
Bake for about 50-60 minutes. You'll know it's done when the center has a slight jiggle, like a wobbly dance move, but the edges are firm.
If you're feeling fancy, use a water bath to keep your cheesecake moist and crack-free. Just wrap the pan in foil, place it in a larger pan, and fill with hot water halfway up the side.
This extra step makes you an instant cheesecake pro!
Final Thoughts
As you savor the last bite of your Caramel Apple Cheesecake, you'll likely reflect on how the combination of flavors and textures created a truly memorable dessert experience.
The creamy cheesecake, with its sweet and tart apple topping, dances delightfully on your taste buds.
You might even chuckle at the thought of having a "slice" of heaven in your kitchen.
Frequently Asked Questions
Can I Use a Different Type of Apple for This Recipe?
Yes, you can definitely use a different type of apple. Choose one that you enjoy, like Granny Smith for tartness or Honeycrisp for sweetness. Just make sure it holds up well during baking for the best texture.
How Do I Prevent My Cheesecake From Cracking?
To prevent cracks, bake your cheesecake in a water bath to maintain moisture. Confirm all ingredients are at room temperature. Avoid overmixing batter and sudden temperature changes. Let the cheesecake cool gradually in the oven before refrigerating.
Is It Possible to Make This Cheesecake Gluten-Free?
Yes, you can make this cheesecake gluten-free. Substitute the graham cracker crumbs with gluten-free alternatives like crushed gluten-free cookies or nuts. Always check that all other ingredients used are certified gluten-free to avoid cross-contamination.
Can I Substitute Greek Yogurt for Sour Cream in This Recipe?
Yes, you can substitute Greek yogurt for sour cream in this recipe. It adds a slight tang and creaminess, maintaining the texture. Just guarantee you use plain, full-fat Greek yogurt for the best results. Enjoy baking!
How Long Can I Store the Cheesecake in the Refrigerator?
You can store the cheesecake in the refrigerator for up to 5 days. Make certain it's covered tightly with plastic wrap or a container to keep it fresh and prevent it from absorbing other odors. Enjoy it while it lasts!
Conclusion
You've done it! Your caramel apple cheesecake is ready to impress. As you slice into its creamy layers, the sweet aroma of apples and caramel fills the air, making your kitchen feel like a cozy autumn retreat. Remember, the key was blending that cream cheese until smooth and arranging those apples just right. So, sit back, enjoy a slice, and maybe even share it—if you're feeling generous. You've earned this delicious reward, and it's nothing short of a masterpiece!