Ice Cream Cake Recipe
Creating an ice cream cake at home might seem intimidating, but it's simpler than you'd think. You'll start by selecting your favorite ice cream and cake flavors, balancing textures and tastes to suit your preference. The process involves a few key steps, like softening the ice cream just right and layering it between cake slices, ensuring a perfect fusion. But there's more to this dessert than meets the eye. What if you could elevate it with unique toppings and creative presentations? Ready to reveal the secrets to a stunning ice cream cake that impresses every time?
Recipe
Ice cream cake is a delightful dessert that brings together the creamy, cool texture of ice cream with the soft, moist layers of cake. It's a popular choice for birthdays, celebrations, or any occasion that calls for a sweet, revitalizing treat.
The beauty of an ice cream cake lies in its versatility; you can customize it with your favorite ice cream flavors and toppings to create a dessert that perfectly suits your taste preferences. Whether you lean towards classic combinations like vanilla and chocolate or more adventurous flavors such as mint chocolate chip or strawberry, an ice cream cake can be tailored to your liking.
Making an ice cream cake at home is a fun and rewarding process that allows you to experiment with various flavor combinations and decorations. The key to success is confirming that your cake and ice cream layers are evenly distributed, and the cake is properly frozen before serving. This confirms that each slice maintains distinct layers with perfect textures and flavors.
The following recipe provides a simple yet delicious framework for creating your own ice cream cake masterpiece.
Ingredients:
- 1 quart of your favorite ice cream
- 1 prepared cake (store-bought or homemade)
- 1 cup of whipped cream
- 1/2 cup of chocolate syrup
- Sprinkles or other toppings of choice
To assemble the ice cream cake, start by allowing the ice cream to soften at room temperature for about 10 minutes. Slice the prepared cake horizontally to create two even layers.
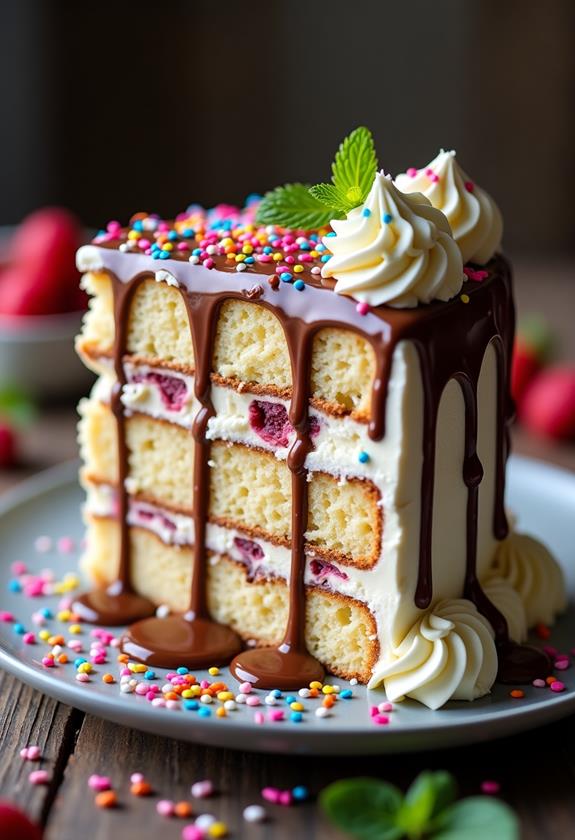
Place the bottom layer of the cake on a serving plate, then spread a generous amount of softened ice cream over it. Gently place the top layer of the cake over the ice cream, pressing down slightly to confirm it adheres. Cover the entire cake with whipped cream, smoothing it out with a spatula. Drizzle chocolate syrup over the top and add sprinkles or your choice of toppings.
Freeze the cake for at least 4 hours or until completely firm before serving. For best results, use a springform pan to maintain the cake's shape while freezing. If you plan to make the cake ahead of time, wrap it in plastic wrap or aluminum foil to prevent freezer burn.
When it's time to serve, let the cake sit at room temperature for a few minutes to make slicing easier. Use a warm knife to cut through the layers smoothly, confirming each slice is picture-perfect.
Enjoy the creative freedom of experimenting with different flavors and decorations to make your ice cream cake uniquely yours!
Cooking Steps
Get ready to impress with your ice cream cake by first letting the ice cream soften a bit so it spreads like butter, but don't go overboard, or you'll have a melty mess!
Slice the cake into layers like you're splitting the atom—okay, maybe not that precise, but you get the idea—then spread the ice cream generously between them, ensuring each layer is a heavenly delight.
Gently press the layers together before covering the whole masterpiece with whipped cream, because nothing says "I made this" like a cake that looks like it got a fluffy cloud hug.
Step 1. Soften Ice Cream Briefly
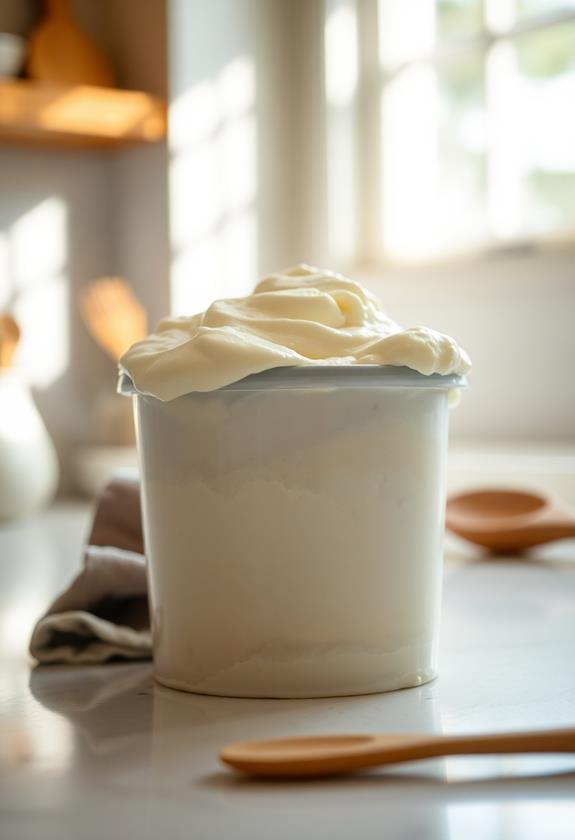
Before you begin assembling your ice cream cake, make sure the ice cream is ready to work with. You don't want it rock solid, but you also don't want it melting all over the place.
Aim for a Goldilocks zone: just right. Set your ice cream on the counter for about 10 minutes. This will soften it enough to spread easily without turning into a puddle.
Keep an eye on it, though, or you might end up with an ice cream soup instead of a cake! If it softens too much, just pop it back in the freezer for a few minutes.
A perfectly softened ice cream will make the assembly process smoother and more enjoyable, like frosting a cake without the headache.
Step 2. Slice Cake Into Layers
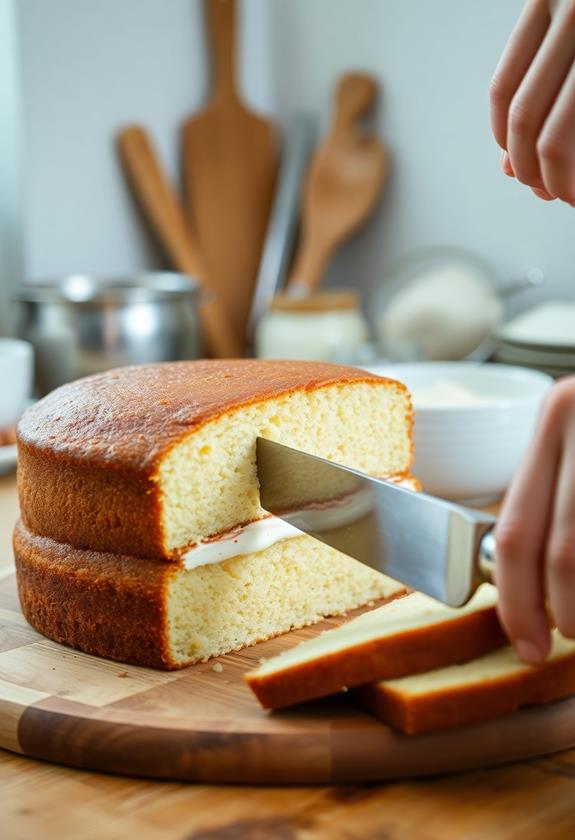
To begin assembling your ice cream cake, start by slicing the prepared cake horizontally into two even layers. Grab a serrated knife—it's your best friend here.
Hold the cake steady with one hand, and with the other, gently saw through the middle, keeping your knife level. Think of it as giving your cake a gentle haircut, not a buzz cut!
If you want to be super precise, use toothpicks around the cake as a guide. This step guarantees that your ice cream has a nice, flat surface to rest on. Nobody wants a lopsided cake, right?
Once you've got your two perfect layers, set them aside momentarily. Get ready to plunge into the delicious process of building your ice cream masterpiece!
Step 3. Spread Ice Cream Generously
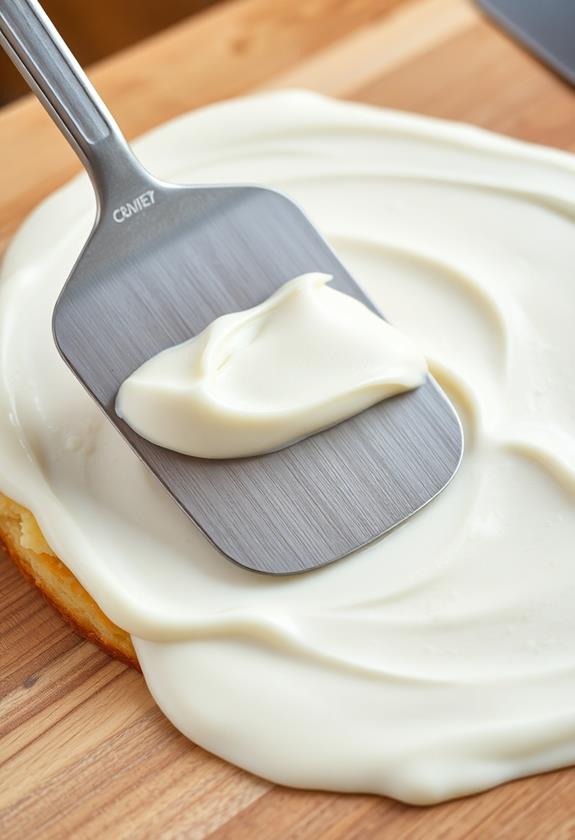
With your cake layers ready, it's time to bring on the ice cream magic. Start by letting your ice cream sit out until it's soft enough to spread, but not soupy—about 10 minutes should do.
Now, channel your inner artist, and spread that ice cream generously over the bottom cake layer. Don't hold back; we're aiming for a thick, luscious layer that'll make everyone swoon. Use a spatula to smooth it out evenly, ensuring every bite has that creamy goodness.
Remember, this isn't a time for stinginess—cover every nook and cranny! If the ice cream starts to melt too quickly, pop the cake back in the freezer for a few minutes to firm up.
Enjoy the process—you're creating delicious art!
Step 4. Press Cake Layers Together
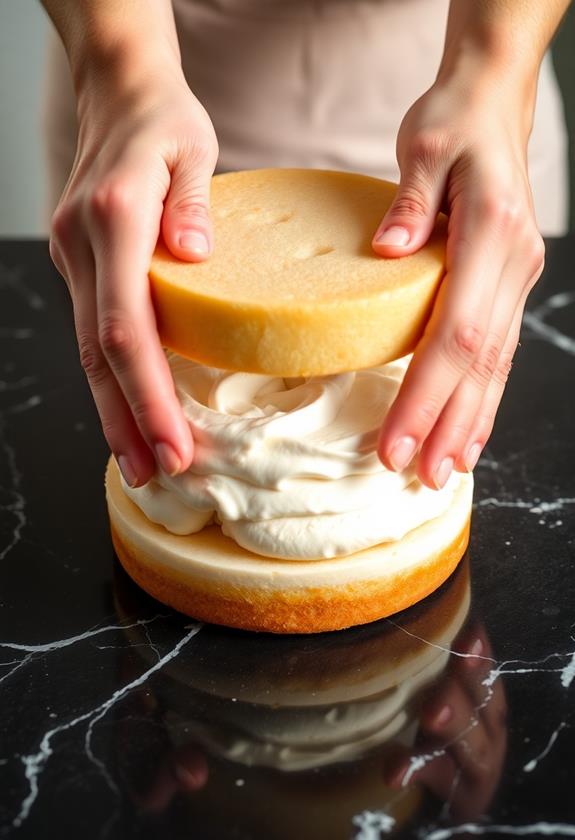
The masterpiece is taking shape as you carefully place the top cake layer over the ice cream. Gently press down with your palms, but don't squish it into oblivion—you're not wrestling a marshmallow.
You want the layers to stick together, forming a united front against impending dessert cravings. Make sure everything is aligned; no one likes a lopsided cake, unless it's a new abstract art form.
As you press, feel the coolness of the ice cream seeping through, teasing your fingertips. It's a tactile reminder that you're creating something delicious.
If any ice cream oozes out, just swipe it back in with a spatula or, if you're feeling cheeky, a finger. This step is your moment to shine!
Step 5. Cover With Whipped Cream
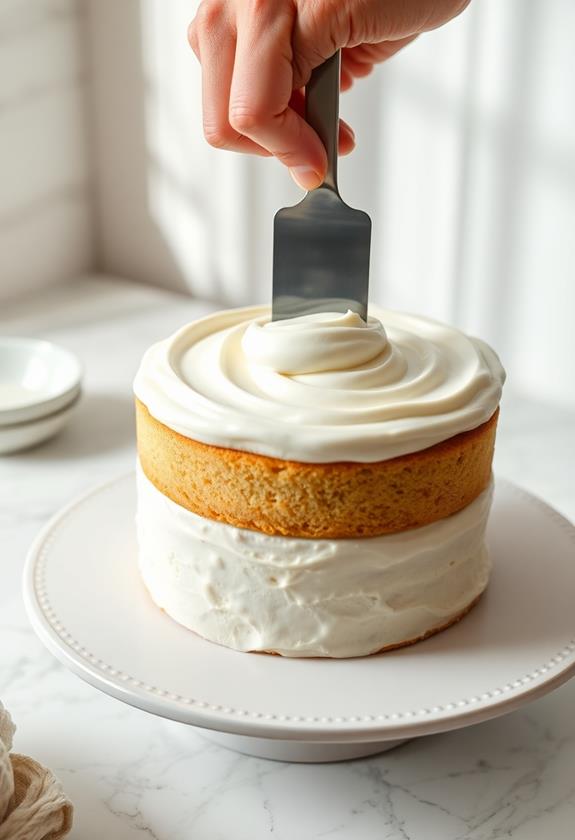
Now that your cake layers are firmly united, it's time to dress up your creation with a luscious layer of whipped cream.
Grab a spatula, and scoop a generous dollop onto the top of your cake. Start spreading it gently, letting it cascade over the sides like a fluffy cloud.
Don't worry about perfection; a little swirl here and there adds character, right? Once the top is covered, move to the sides, smoothing it down for an even coat.
If you're feeling fancy, twirl your spatula for some artistic flair. Remember, whipped cream isn't just a topping—it's the grand finale!
Once every inch is cloaked in creamy goodness, your cake will look irresistible. Now, it's ready for the freezer!
Final Thoughts
How delightful is it to create a dessert that's both delicious and visually stunning? Ice cream cakes are a celebration in themselves, blending flavors and textures into a masterpiece that's as fun to make as it's to eat.
You've now got the know-how to whip up something that's sure to impress. Remember, it's all about balance—getting those layers just right and letting your creativity shine with toppings.
Don't worry about perfection; a little mess adds character! Use a warm knife for clean slices, and watch everyone's eyes light up with the first bite.
So go on, experiment with flavors, and enjoy the sweet satisfaction of serving a homemade ice cream cake that's uniquely yours.
Happy baking!
Frequently Asked Questions
Can I Use Dairy-Free Ice Cream for an Ice Cream Cake?
You can definitely use dairy-free ice cream in an ice cream cake. Just choose your favorite variety and follow the same steps. It'll taste just as delicious, and you'll cater to those with dietary restrictions effortlessly.
How Do I Prevent the Cake From Becoming Soggy?
To prevent sogginess, guarantee your cake is fully cooled before assembly. Use layers of wax paper to separate the ice cream and cake, reducing moisture transfer. Freeze immediately after assembly to maintain texture and flavor integrity.
What Is the Best Way to Store Leftover Ice Cream Cake?
To store leftover ice cream cake, wrap it tightly in plastic wrap or aluminum foil to prevent freezer burn. Place it in an airtight container, then keep it in the freezer. This guarantees it stays fresh and delicious.
Can I Add Fruit Layers to the Ice Cream Cake?
Yes, you can add fruit layers to your ice cream cake! Simply slice your favorite fruits and layer them between the cake and ice cream. Make sure to freeze the cake well to maintain its structure. Enjoy!
How Long Can the Ice Cream Cake Sit Out Before Melting?
You should let the ice cream cake sit out for about 10-15 minutes before serving to make slicing easier. However, don't leave it out longer than 30 minutes, or it'll start melting and lose its structure.
Conclusion
You've nailed it! Your ice cream cake's ready to impress, and it's sure to be a hit at any gathering. Remember, don't rush the freezing time; patience is key to achieving that perfect slice. Feel free to get creative with toppings—go wild with sprinkles or drizzle chocolate syrup like a pro. With each bite, you'll relish the blend of creamy ice cream and fluffy cake. So, grab a fork, dig in, and enjoy your delicious creation!

