Cheesecake Cookie Cups Recipe
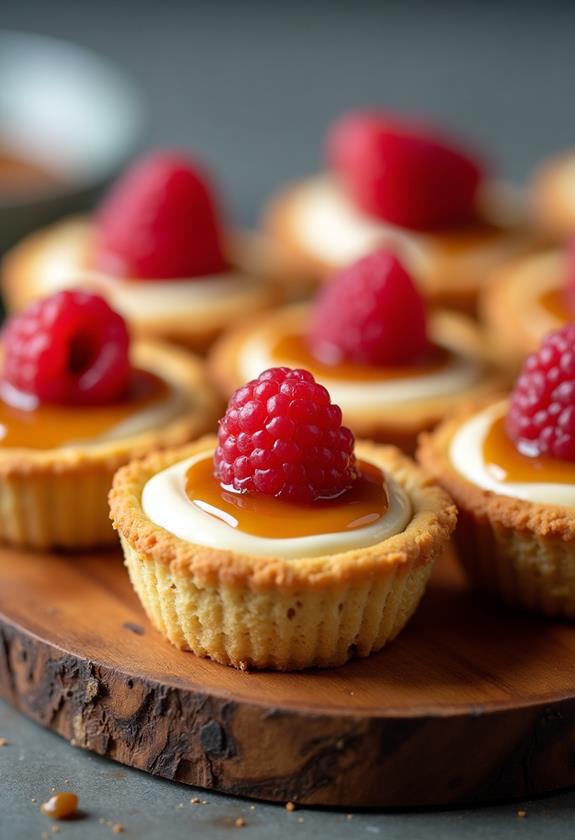
Imagine serving a dessert that combines the best of both worlds: the creaminess of cheesecake with the comforting familiarity of a cookie. Cheesecake Cookie Cups achieve just that, and they're surprisingly simple to make. You'll start by crafting a cookie base from basic pantry staples, then fill it with a rich cheesecake mixture. But what really sets these treats apart is the endless possibility for customization. Whether you prefer topping them with fresh berries, drizzling caramel, or a sprinkle of chocolate, the choice is yours. Curious about the next steps in creating these delightful bites?
Recipe
Cheesecake Cookie Cups are a delightful combination of rich, creamy cheesecake filling and soft, chewy cookie crust. These bite-sized treats are perfect for any occasion, offering a sweet indulgence that's easy to prepare and certain to impress. The process of making these cookie cups is simple, making them an excellent recipe for both novice and experienced bakers.
Start by preparing a classic cookie dough as the base, fill it with a luscious cheesecake mixture, and bake until perfectly golden and set. The result is a beautifully crafted dessert that can be customized with your favorite toppings, such as fresh fruit, chocolate chips, or a drizzle of caramel sauce.
To begin creating these delicious Cheesecake Cookie Cups, preheat your oven to 350°F (175°C) and lightly grease a muffin tin. In a medium bowl, combine the dry ingredients, which include flour, baking soda, and salt. In a separate bowl, cream together the butter, granulated sugar, and brown sugar until the mixture is light and fluffy.
Beat in the egg and vanilla extract, then gradually incorporate the dry ingredients until a smooth dough is formed. Press a small amount of dough into each muffin cup, forming a well in the center. Next, prepare the cheesecake filling by beating together the cream cheese, sugar, egg yolk, and vanilla extract until smooth. Spoon this cheesecake mixture into the wells of each cookie cup.
Bake for 12-15 minutes, or until the cookie edges are golden brown and the cheesecake filling is set. Allow the cups to cool before removing them from the tin.
Ingredients:
- 1 cup all-purpose flour
- 1/2 teaspoon baking soda
- 1/4 teaspoon salt
- 1/2 cup unsalted butter, softened
- 1/2 cup granulated sugar
- 1/4 cup brown sugar, packed
- 1 large egg
- 1 teaspoon vanilla extract
- 8 ounces cream cheese, softened
- 1/4 cup granulated sugar
- 1 egg yolk
- 1 teaspoon vanilla extract
For the preparation, start by preheating your oven to 350°F (175°C) and greasing a muffin tin. In a medium bowl, whisk together the flour, baking soda, and salt. In a separate bowl, cream the softened butter with both the granulated and brown sugars until the mixture is fluffy.
Add in the egg and vanilla extract, mixing until well combined. Gradually incorporate the dry ingredients into the wet mixture. Press a small amount of the dough into each muffin cup, forming a well in the center. For the cheesecake filling, beat the cream cheese with the sugar, egg yolk, and vanilla extract until smooth. Spoon this filling into each cookie cup well.
Bake the cookie cups for 12-15 minutes, until the edges are golden brown and the filling is set. Let them cool before removing from the tin.
For best results, verify the butter and cream cheese are at room temperature before you start, as this will result in a smoother mixture. Consider lining the muffin tin with paper liners for easier removal and minimal cleanup.
Adding a teaspoon of lemon zest to the cheesecake filling can provide a revitalizing twist. These Cheesecake Cookie Cups can be stored in an airtight container in the refrigerator for up to five days, making them a convenient make-ahead dessert option.
Cooking Steps
You're about to initiate a baking adventure with these Cheesecake Cookie Cups, so start by preheating your oven to 350°F—it's the warm-up act for this delicious show.
While the oven heats up, whisk together the flour, baking soda, and salt in a bowl like you're mixing a magic potion.
In another bowl, cream the butter and sugars until they're as fluffy as a cloud, then press the dough into the muffin tin, making little wells that will soon cradle a creamy cheesecake filling.
Step 1. Preheat Oven to 350°F
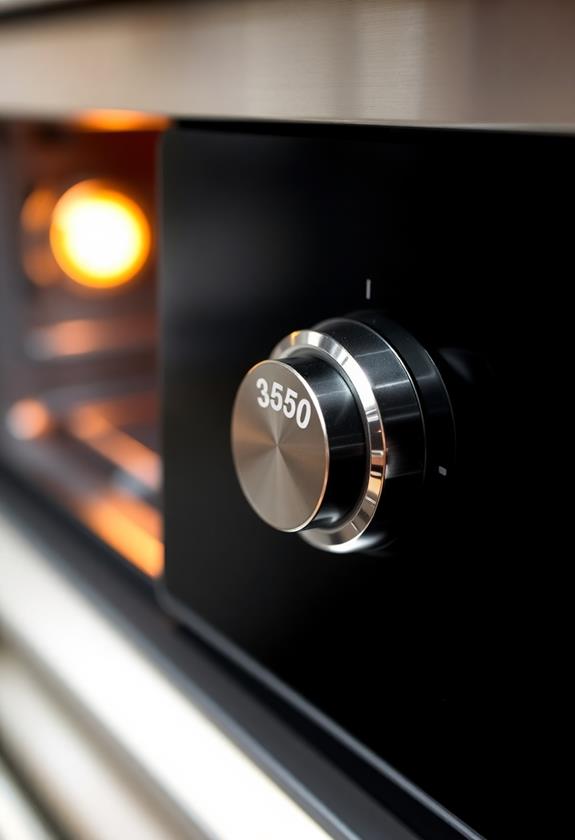
Start by ensuring your oven is preheated to 350°F (175°C), setting the stage for the perfect bake. This temperature is just right for giving your Cheesecake Cookie Cups a golden, chewy cookie crust while ensuring the cheesecake filling sets beautifully.
Think of your oven as the conductor, orchestrating the flavors and textures to come together harmoniously. Preheating might seem like a small step, but it's essential — skipping it could lead to uneven baking and a less-than-stellar result.
Double-check your oven settings to avoid any "oops" moments later. If you have a temperamental oven, you might want to use an oven thermometer to make sure it's really at 350°F. Trust me, your taste buds will thank you!
Step 2. Mix Dry Ingredients Together
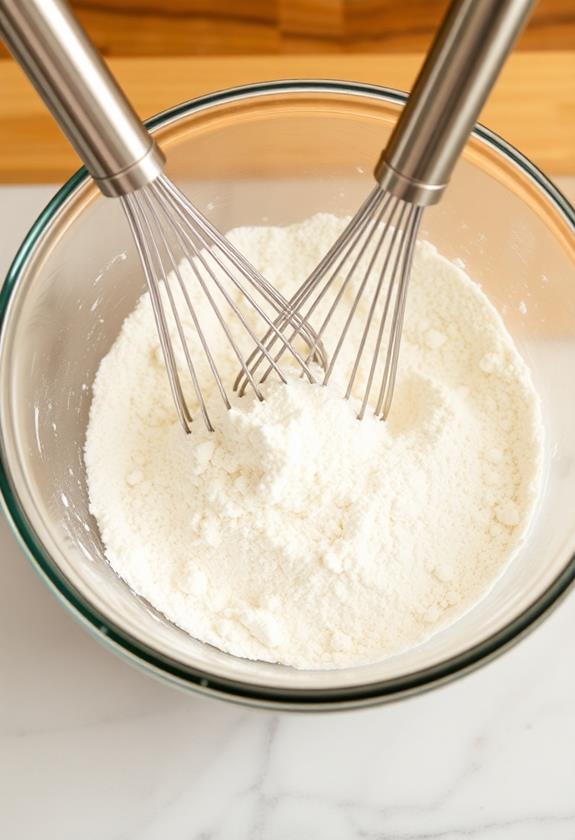
Gather your dry ingredients and whisk them together in a medium bowl. Start with one cup of all-purpose flour, then add half a teaspoon of baking soda and a quarter teaspoon of salt.
Whisking vigorously not only combines the ingredients but also adds a bit of air, which helps in achieving that perfect cookie cup texture. It's a bit like a mini workout, but don't worry—you won't break a sweat!
Mixing them well guarantees your cookie cups rise evenly and bake to a delightful golden brown. Consider using a fork if you're feeling rebellious, though a whisk is your trusty sidekick here.
Step 3. Cream Butter and Sugars Together
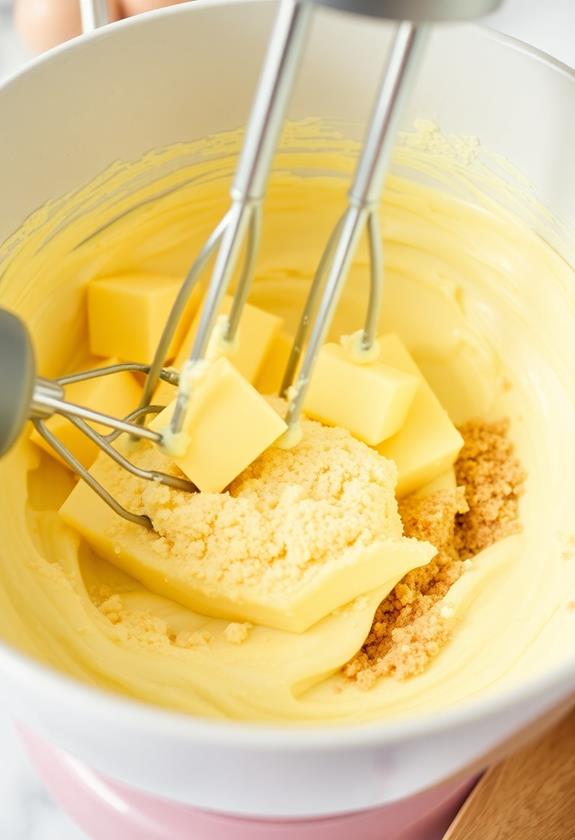
Creaming butter and sugars is an essential step in creating the perfect texture for your cookie cups. Grab your mixing bowl and throw in the softened butter, granulated sugar, and brown sugar.
Use an electric mixer on medium speed to beat these ingredients together until they're light and fluffy. This usually takes about 2-3 minutes, so feel free to practice your dance moves while you wait!
Don't skip this step—it incorporates air, giving your cookie cups that delightful, melt-in-your-mouth texture. If you're mixing by hand, channel your inner superhero for some vigorous whisking!
Once everything's blended and looking like a soft, creamy cloud, you're ready to move on to the next step. Remember, patience here pays off with perfectly textured cookie cups!
Step 4. Create Dough Wells in Tin
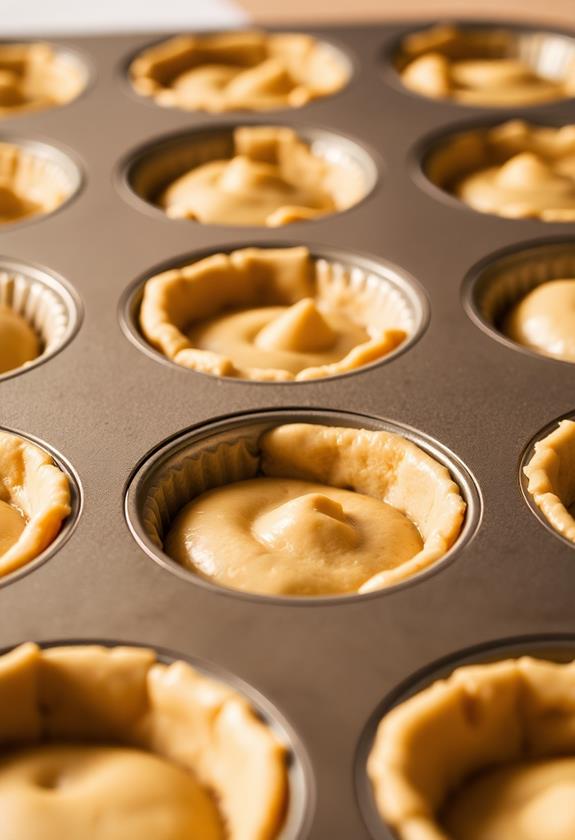
With your butter and sugars perfectly creamed, it's time to get hands-on with the dough.
Grab a small portion of that irresistible cookie dough and gently press it into each muffin tin, aiming for about a tablespoon in each.
Use your thumbs or a spoon to create a small well in the center; think of it like crafting tiny, delicious cookie bowls.
Don't worry if it's not perfect—imperfection adds character!
Be sure the dough cups aren't too thin or too thick; you want them sturdy enough to hold their future creamy filling.
Your muffin tin should resemble a miniature cookie cup army ready for the next delicious step.
Enjoy the process, and maybe sneak a taste of dough while you're at it!
Step 5. Fill Wells With Cheesecake Mixture
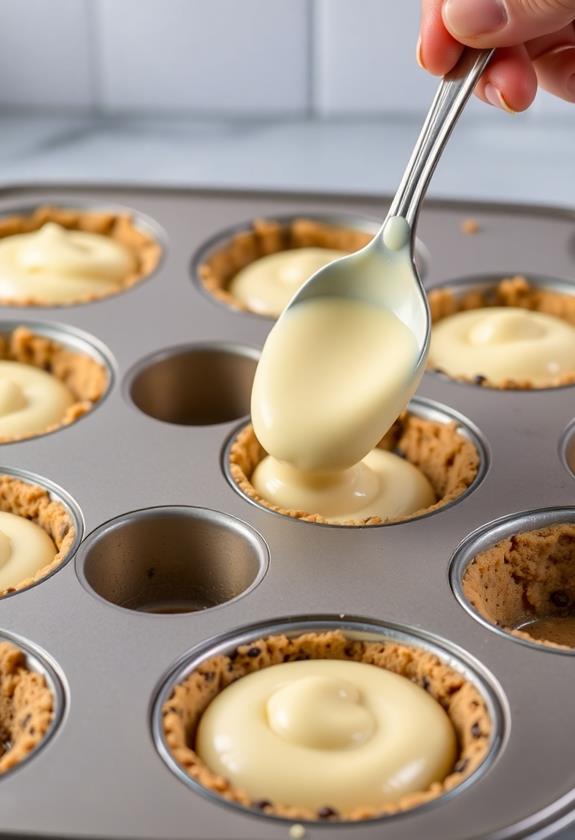
As your dough wells stand ready, it's time to bring in the star of the show—the cheesecake mixture. Grab a spoon and scoop that creamy goodness into each well, filling them just to the brim. Don't hold back; you're aiming for a delightful balance of cookie and cheesecake in every bite. If you spill a little, it's just extra flavor on the edge!
A little tip: give the tin a gentle tap on the counter to level out the mixture. This helps it settle nicely, ensuring an even bake.
If you're feeling fancy, add a dollop of your favorite jam or a few chocolate chips on top for a delicious twist. Once filled, they're all set for the oven, ready to transform into irresistible treats.
Final Thoughts
Bite into the perfect balance of creamy and chewy with these Cheesecake Cookie Cups, and you'll understand why they're a crowd favorite.
They're like a party for your taste buds, combining two desserts we all love. Don't be surprised if you find yourself sneaking back for seconds or thirds.
These little treats are versatile, too—you can top them with anything from fresh berries to a drizzle of chocolate.
They're easy to store, so you can make them ahead of time and have them ready for any occasion. Plus, they're a breeze to make, even if you're not a baking pro.
Frequently Asked Questions
Can I Use Gluten-Free Flour for the Cookie Dough?
You can definitely use gluten-free flour for the cookie dough. Just guarantee it's a 1:1 substitute for all-purpose flour. This way, you'll maintain the texture and flavor of the dough without gluten. Enjoy your baking!
How Do I Prevent the Cookie Cups From Sticking to the Tin?
To prevent cookie cups from sticking, thoroughly grease the muffin tin or use paper liners. Ascertain the cups cool completely before removal. You can also try a silicone muffin pan, which often offers easier release.
What Are Some Alternative Toppings for Cheesecake Cookie Cups?
Try topping your cheesecake cookie cups with crushed nuts, coconut flakes, or a sprinkle of cinnamon. You could also use a dollop of whipped cream or a drizzle of honey for added flavor and visual appeal.
Can I Freeze Cheesecake Cookie Cups for Later Use?
Yes, you can freeze cheesecake cookie cups for later use. Wrap them tightly in plastic wrap, then place in an airtight container. When you're ready to enjoy, thaw them in the refrigerator overnight for best results.
How Can I Make These Cookie Cups Vegan?
To make these cookie cups vegan, replace butter with vegan margarine, cream cheese with a plant-based alternative, and use flaxseed meal mixed with water as an egg substitute. Opt for dairy-free chocolate chips and plant-based toppings.
Conclusion
You've done it! Your cheesecake cookie cups are a delightful combo of creamy and crunchy, perfect for any occasion. Remember to let them cool before diving in, or you might have a gooey mess on your hands—literally! These treats are as versatile as they are tasty, so feel free to get creative with toppings like fresh fruit or a drizzle of chocolate. Enjoy your masterpiece, and don't be surprised if they disappear quickly. Happy baking!

