Lemon Thumbprint Cookies Recipe

You're about to set out on a culinary journey with Lemon Thumbprint Cookies that melds simplicity and sophistication. Imagine the aroma of buttery dough infused with zesty lemon zest filling your kitchen. Begin by creaming butter and sugar, gradually transforming them into a smooth, fragrant base. With each step, your anticipation builds as you incorporate vanilla and flour, setting the stage for the star ingredient—lemon curd. But before you rush to fill those thumbprints, there's an essential technique that guarantees perfection. Curious? There's more to discover about achieving that irresistible golden finish.
Recipe
Lemon Thumbprint Cookies are a delightful treat that combines the invigorating tang of lemon with the rich, buttery flavor of traditional thumbprint cookies. Perfect for any occasion, these cookies are easy to make and require only a few basic ingredients. The process is straightforward, making it an enjoyable baking project for both beginners and experienced bakers alike.
Each cookie is shaped by pressing a thumb into the dough, creating a perfect well for a decadent lemon curd filling that gives a burst of flavor with every bite.
To begin, you'll need to cream together softened butter and sugar until the mixture is light and fluffy. Adding vanilla extract and lemon zest enhances the flavor profile, while gradually incorporating flour and salt guarantees a soft, pliable dough.
Once the dough is prepared, you'll form it into balls, create indentations with your thumb, and fill them with lemon curd. These cookies bake to perfection in about 12-15 minutes, resulting in a sweet and tangy treat that's visually appealing as well as delicious.
Ingredients:
- 1 cup unsalted butter, softened
- 1/2 cup granulated sugar
- 1 teaspoon vanilla extract
- 2 cups all-purpose flour
- 1/2 teaspoon salt
- 1 tablespoon lemon zest
- 1/2 cup lemon curd
To create these cookies, preheat your oven to 350°F (175°C) and line a baking sheet with parchment paper. In a large mixing bowl, cream the softened butter and sugar together until they form a light and fluffy mixture.
Add in the vanilla extract and lemon zest, mixing thoroughly. Gradually incorporate the flour and salt into the mixture until a soft dough forms. Roll tablespoon-sized portions of dough into balls and place them on the prepared baking sheet.
Use your thumb to press a small indentation into the center of each ball, then fill each indentation with a small spoonful of lemon curd. Bake in the preheated oven for 12-15 minutes, or until the edges of the cookies are lightly golden.
Let the cookies cool on the baking sheet for a few minutes before transferring them to a wire rack to cool completely.
For best results, verify that your butter is at room temperature before beginning; this will help create the ideal dough consistency. If the dough cracks when making indentations, simply reshape it with your fingers to maintain a smooth surface.
Chilling the dough for about 30 minutes before shaping the cookies can help prevent spreading during baking. If you prefer a more intense lemon flavor, consider increasing the amount of lemon zest or using a lemon-flavored curd.
Store any leftover cookies in an airtight container to maintain their freshness. Enjoy these delightful treats with a cup of tea or coffee for a perfect afternoon snack.
Cooking Steps
Let's get those Lemon Thumbprint Cookies started by warming up your oven to a cozy 350°F, ensuring it's ready for baking magic.
Begin by creaming together your butter and sugar until they're as light and fluffy as a cloud, then add a splash of vanilla and a sprinkle of lemon zest to really wake up those flavors.
Gradually mix in the flour, roll the dough into cute little balls, make a thumb-sized dent in each, and fill them with lemon curd—it's like giving each cookie its own little hug of sunshine!
Step 1. Preheat Oven to 350°F

Begin your cookie-making journey by preheating your oven to 350°F (175°C). This step guarantees your Lemon Thumbprint Cookies bake evenly, so don't skip it!
Imagine your oven as a cozy space where all the ingredients come together for a delightful treat. While you wait for it to heat up, take a moment to gather your baking essentials.
Is your oven ready yet? Perfect! Remember, a preheated oven is like a welcoming handshake for your cookies, setting the stage for a successful bake.
If your oven's a bit stubborn, use this time to check your oven thermometer's accuracy—it's your culinary compass.
Step 2. Cream Butter and Sugar Together

Start by frequently ensuring your butter is at room temperature, as this will make creaming it with the sugar much easier. Trust me, you don't want to wrestle with a stubborn stick of butter.
Grab your electric mixer, or a trusty wooden spoon if you're feeling old-school, and combine the butter and sugar in a large mixing bowl. Beat them together until the mixture is light and fluffy—like a cloud you wish you could nap on.
This step helps incorporate air, giving your cookies a delightful texture. If your arms aren't tired yet, keep mixing until you can't see any sugar granules.
Step 3. Add Vanilla and Lemon Zest

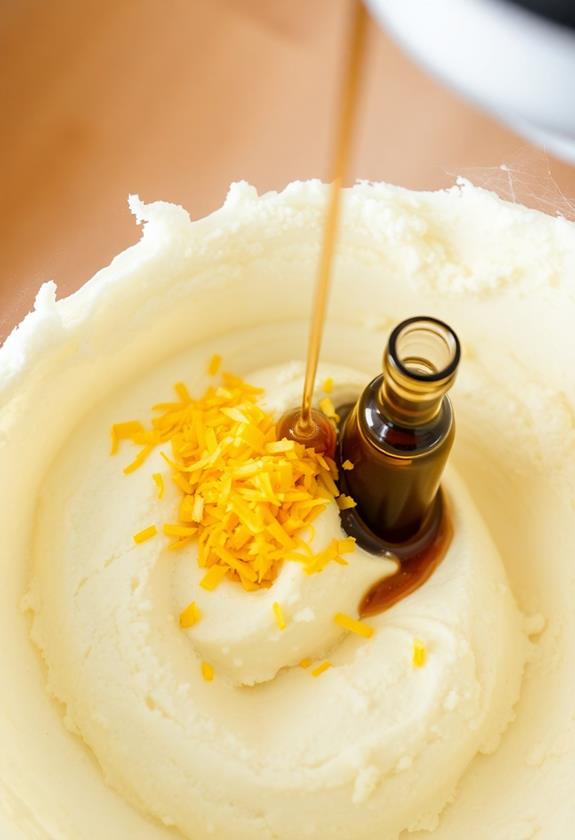
With your butter and sugar perfectly creamed, it's time to enhance the flavor profile of your dough. Add a teaspoon of vanilla extract, letting its sweet aroma mingle with the buttery base.
Now, here's where the magic happens: grab a lemon and zest away. You'll need about a tablespoon—just the bright yellow part, not the bitter white underneath. This zest packs a punch of citrusy goodness, elevating your cookies to a whole new level.
Mix everything well, ensuring the vanilla and lemon zest are evenly distributed. It might feel like a mini workout, but hey, it's worth it for those zesty cookies.
Your dough should smell like a sunny day, ready to bring smiles when baked.
Step 4. Gradually Mix in Flour

The dough's transformation begins as you gradually incorporate the flour and salt.
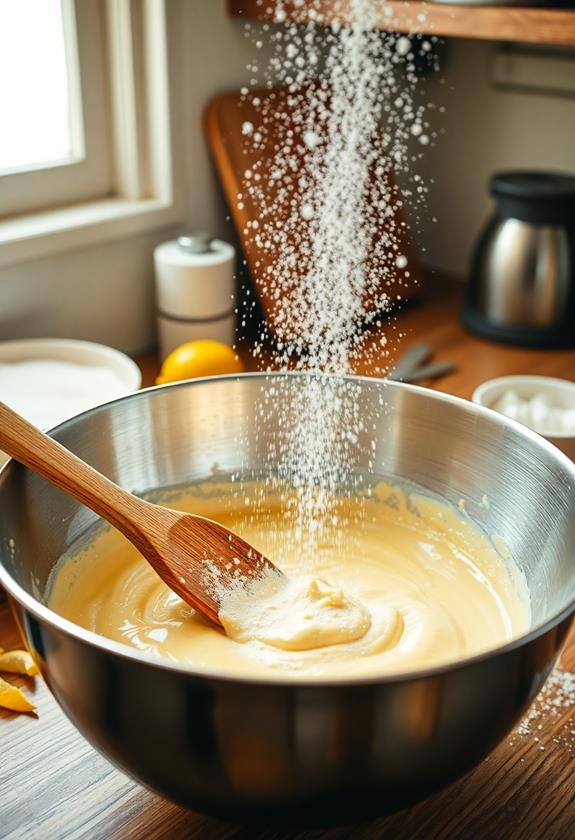
Start by adding just a bit of the flour mixture to your creamed butter, sugar, vanilla, and lemon zest. Mix gently, using a spatula or a mixer on low speed, to avoid a floury explosion in your kitchen.
Keep adding the flour in small amounts, ensuring each addition is well-blended before more goes in. You'll notice the dough losing its stickiness and gaining structure—like magic, but tastier!
If you feel like you're wrestling a bag of flour, remember, patience is key. It's like teaching a dog tricks—slow and steady wins the cookie race.
Soon, you'll have a soft, pliable dough ready for the next delightful step.
Step 5. Indent Dough, Add Lemon Curd

Once your dough is ready, it's time to shape it into delightful cookies. Roll tablespoon-sized portions into smooth balls, resisting the urge to juggle them like a circus performer.
Place each ball on a parchment-lined baking sheet, giving them enough space to spread out and live their best cookie lives.
Now, the fun part: use your thumb to press a gentle indentation into the center of each ball. If your dough cracks, don't panic—just give it a little TLC with your fingers.
Next, fill each well with a small spoonful of lemon curd, like you're adding a dollop of sunshine.
Your cookies are now ready to bake, bringing that zesty lemon goodness to your taste buds soon!
Final Thoughts
Many bakers find Lemon Thumbprint Cookies to be a delightful addition to their recipe repertoire. They're not just tasty; they're a joy to make. You'll love how the bright, tangy lemon curd pairs perfectly with the buttery cookie base. It's like a little burst of sunshine in every bite!
Don't be surprised if these cookies disappear quickly; they're that good.
If you're looking to impress at your next gathering or just want a treat for yourself, these cookies are a great choice. Remember, practice makes perfect, so don't worry if your first batch isn't flawless.
Enjoy the process, tweak the lemon zest or curd to suit your taste, and most importantly, have fun with it. Happy baking!
Frequently Asked Questions
Can I Use Salted Butter Instead of Unsalted Butter?
Yes, you can use salted butter instead of unsalted butter. Just reduce the added salt in the recipe to balance the flavors. Salted butter will slightly enhance the overall taste, giving your cookies a richer flavor profile.
How Long Can I Store the Cookies in an Airtight Container?
You can store the cookies in an airtight container for up to a week. Make sure they're completely cool before sealing them in the container to keep their texture crisp and their flavor fresh throughout the storage period.
Is There a Substitute for Lemon Curd in This Recipe?
You can substitute lemon curd with your favorite fruit jam or preserve. Apricot or raspberry work great, adding a different yet delightful twist. Just make certain it complements the cookie's flavor, keeping them delicious and enjoyable.
Can I Freeze the Cookie Dough Before Baking?
Yes, you can freeze the cookie dough before baking. Shape the dough into balls, make indentations, and freeze on a baking sheet. Once solid, transfer them to a container. Bake directly from frozen, adding a few minutes.
What Is the Best Way to Zest a Lemon for This Recipe?
To zest a lemon, grip it firmly and use a microplane grater. Gently rub the lemon against the grater, avoiding the bitter white pith. Rotate as needed, collecting only the vibrant yellow zest.
Conclusion
You've done it! With each bite of your lemon thumbprint cookies, you'll taste the perfect blend of zesty lemon and buttery goodness. These little delights are not only a treat for your taste buds, but also a joy to make—nothing beats the satisfaction of pressing that thumbprint just right! Serve them at gatherings, or keep them for yourself (we won't tell). Enjoy the process, savor the results, and don't forget to share the love and cookies!


