Key Lime Pie Recipe
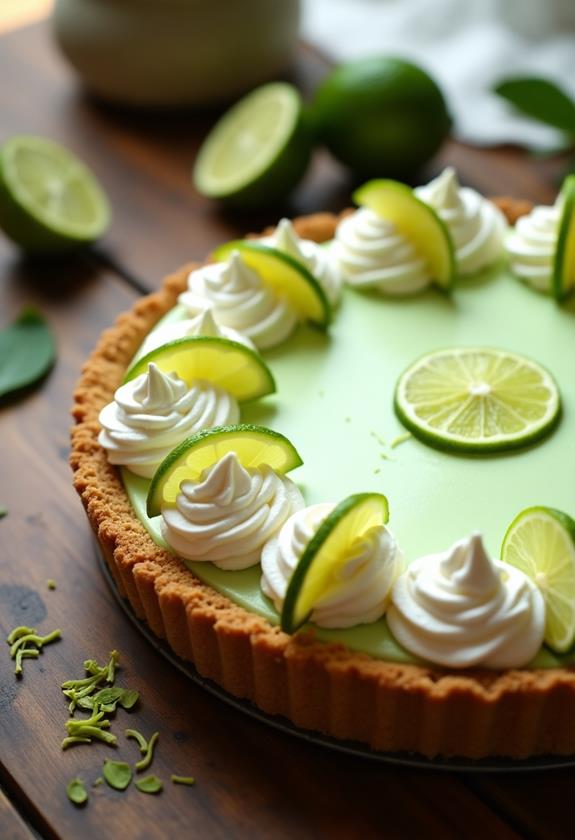
You've decided to make a Key Lime Pie, a classic dessert known for its balance of tart and sweet flavors. Start by preheating your oven and preparing the graham cracker crust, which requires just a few simple ingredients. Once you've pressed and baked the crust, the focus shifts to crafting a smooth and tangy filling with key lime juice as the star. But here's the twist—how can you guarantee that signature creamy texture without overbaking? There's an essential step that might surprise you, and it could be the difference between a good pie and a great one.
Recipe
Key Lime Pie is a delightful and invigorating dessert that captures the essence of the tropics with its tangy and sweet flavors. Originating from the Florida Keys, this pie has gained popularity for its creamy filling and crunchy graham cracker crust, making it a favorite at gatherings and celebrations. The authentic version of this pie uses key limes, which are known for their tartness and aromatic qualities, adding a unique twist to the classic lime pie.
To prepare this delicious treat, begin by making the graham cracker crust. Combine graham cracker crumbs, melted butter, and sugar until the mixture resembles wet sand. Press this mixture firmly into a pie pan to form the crust, then bake it to achieve a golden-brown base.
The filling is a simple blend of key lime juice, sweetened condensed milk, egg yolks, and lime zest, creating a smooth and luscious filling. Once poured into the crust, the pie is baked briefly and then chilled to set its delightful texture.
Ingredients:
- 1 ½ cups graham cracker crumbs
- ½ cup unsalted butter, melted
- ¼ cup granulated sugar
- 3 large egg yolks
- 1 can (14 oz) sweetened condensed milk
- ½ cup key lime juice
- 1 tablespoon lime zest
For the cooking instructions, start by preheating your oven to 350°F (175°C). In a mixing bowl, stir together the graham cracker crumbs, melted butter, and sugar until well combined. Firmly press the mixture into the bottom and up the sides of a 9-inch pie pan to create the crust. Bake the crust for about 10 minutes, then set it aside to cool.
In a separate bowl, whisk together the egg yolks, sweetened condensed milk, key lime juice, and lime zest until smooth. Pour the filling into the cooled crust and bake for another 15 minutes. Allow the pie to cool to room temperature before refrigerating it for at least 2 hours to set.
For the best results, always use fresh key lime juice as it greatly enhances the flavor of the pie. If you can't find key limes, a combination of regular lime juice and a bit of lemon juice can be substituted.
It's crucial to chill the pie thoroughly so that the filling sets properly, ensuring a perfect slice every time. Garnish the pie with whipped cream or lime slices to elevate its presentation and add an extra layer of flavor. Enjoy your homemade Key Lime Pie as an invigorating and satisfying dessert after any meal.
Cooking Steps
First, you'll want to preheat your oven to 350°F—it's like giving your pie a warm hug before the real baking begins!
Next, mix your graham cracker crumbs, melted butter, and sugar until you've got something resembling wet sand; then, press this sandy goodness into your pie pan to form a sturdy crust.
Pop that crust in the oven for a quick 10-minute tan, and while it cools, whisk the filling ingredients together until they're as smooth as a jazz tune.
Step 1. Preheat Oven to 350°F
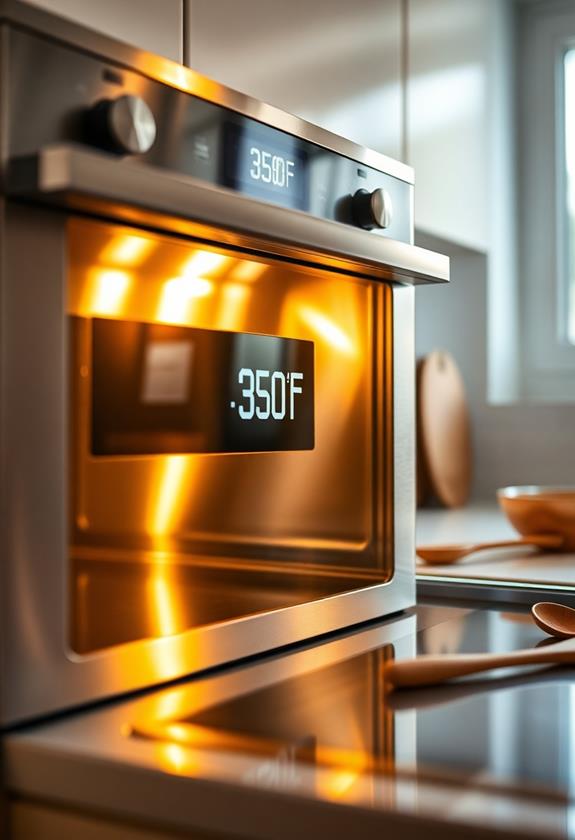
Before diving into the delicious task of crafting your Key Lime Pie, you'll reliably want to guarantee your oven is ready to go. Preheat it to 350°F, ensuring it's nice and toasty for baking your pie to perfection.
You might think of this step as giving your oven a head start—like stretching before a workout. It's essential for achieving that perfectly baked crust and filling.
If you've ever been tempted to skip preheating, resist! An oven that's too cool can lead to uneven baking, and nobody wants a soggy pie.
Step 2. Combine Crust Ingredients Thoroughly
With your oven preheated to 350°F, you're ready to prepare the crust.
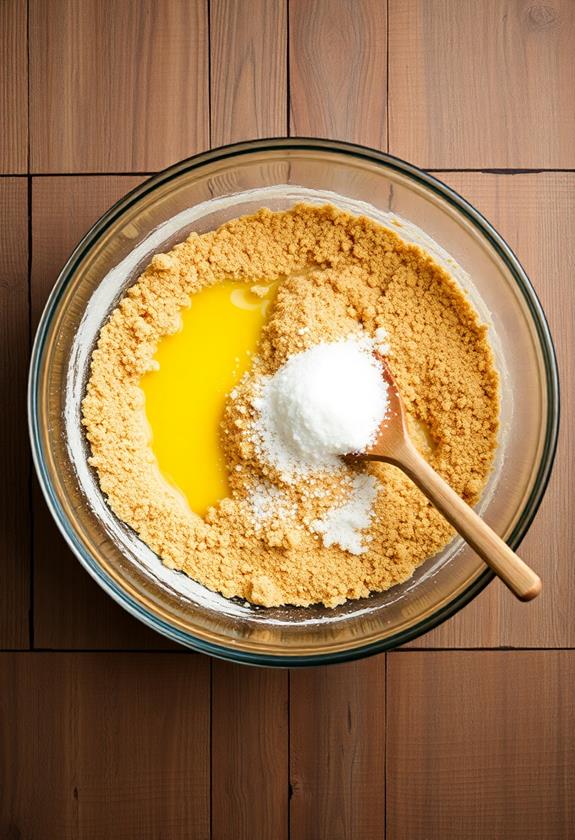
Grab a mixing bowl and toss in 1 ½ cups of graham cracker crumbs, ½ cup of melted butter, and ¼ cup of granulated sugar.
Now, here's where the fun begins—dig in with a sturdy spoon or your hands, mixing until the ingredients resemble wet sand.
Remember, you're not building a sandcastle, but a delicious pie crust foundation!
Make certain the butter coats every crumb, creating a mixture that holds together when pressed.
If it feels a bit like a beach day, you're doing it right.
This thorough mixing guarantees you'll get that perfect crunchy texture when baked.
Voilà, your crust mixture is ready for its next adventure!
Step 3. Press Crust Into Pie Pan
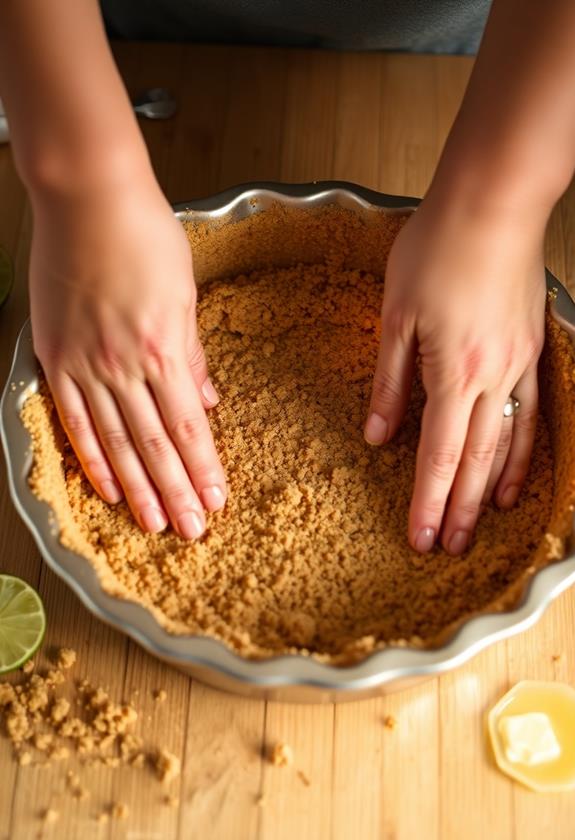
Now that your crust mixture is ready, grab your 9-inch pie pan and start pressing the mixture firmly into the bottom and up the sides.
Don't be shy—use your fingers or the back of a spoon to really pack it in there! You want a nice, even layer that'll hold up that luscious filling later.
Make sure to press the crust up the sides as well, ensuring a stable edge for your pie. If you notice any thin spots, sprinkle a bit more of the mixture and press again.
Think of it like a fun, edible art project—it's okay if it's not perfect! Just aim for even coverage and a snug fit, and you'll have a pie crust that's up to the task.
Step 4. Bake Crust for 10 Minutes
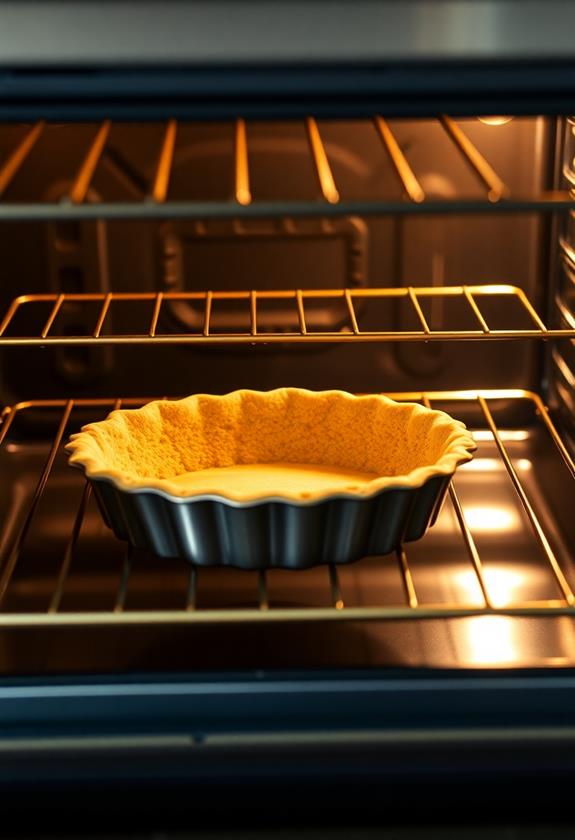
Once your crust is perfectly pressed into the pie pan, pop it into the oven set at 350°F (175°C) for exactly 10 minutes. This brief baking time is essential for setting the crust, giving it a delightful crunch that complements the creamy filling.
You're not aiming for a golden-brown masterpiece here—just a light bake to firm things up. Keep an eye on it, though; you don't want it to overbake. If your crust starts to look suspiciously darker around the edges, it's time to pull it out.
Let it cool completely before moving on to the next steps. A warm crust might melt your filling—nobody wants lime soup instead of pie! So, patience is key, and your taste buds will thank you.
Step 5. Whisk Filling Until Smooth
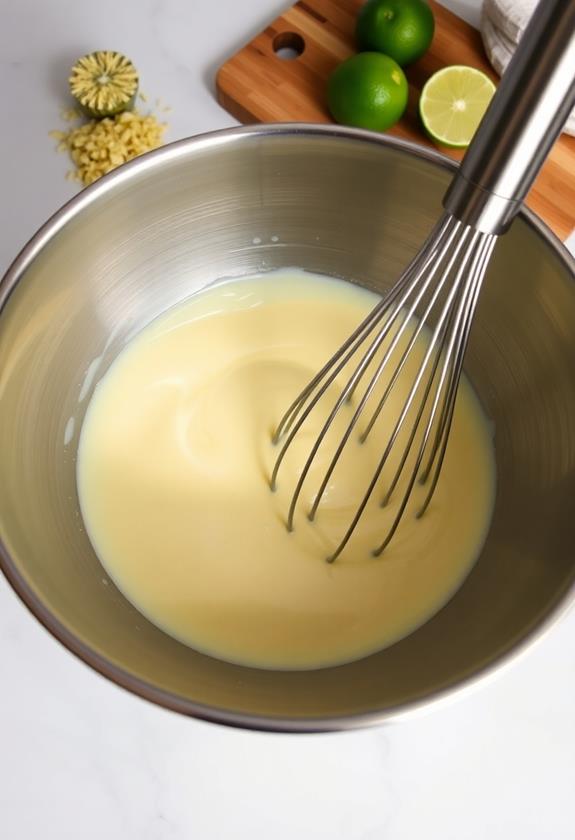
After allowing your crust to cool completely, it's time to focus on creating the luscious filling.
Grab a medium-sized mixing bowl and crack in those 3 large egg yolks. Add the can of sweetened condensed milk, half a cup of key lime juice, and a tablespoon of lime zest.
Now, it's time to whisk everything together. Use a whisk and mix with gusto until the filling is silky smooth, with no lumps or bumps. It should look creamy and delicious, like a tropical dream in a bowl!
If your arm starts to tire, envision the tangy, sweet pie you'll soon savor. Remember, a smooth filling guarantees every bite is a delightful, mouth-puckering experience.
Keep whisking until perfection is achieved!
Final Thoughts
A slice of Key Lime Pie is like a burst of sunshine on your plate, delivering a revitalizing escape with every bite.
It's the perfect way to wrap up any meal, leaving your taste buds singing with joy. You've created a dessert that's both simple and sophisticated, a reflection of the magic of key limes.
Don't be surprised if you find yourself making it again and again—it's that good!
Remember, the secret is in the fresh lime juice, so squeeze those limes with love.
If you've got a sense of humor, imagine yourself as a pie whisperer, guiding each ingredient to its rightful place.
Frequently Asked Questions
Can I Use Regular Limes Instead of Key Limes?
You can use regular limes instead of key limes, but the taste will be slightly different. Mix regular lime juice with a bit of lemon juice to mimic the tartness and aroma of key limes for better results.
How Long Does Key Lime Pie Last in the Fridge?
In the fridge, your Key Lime Pie lasts about 2 to 3 days. Make sure you cover it well to maintain freshness. If you need it longer, consider freezing it for up to a month. Enjoy!
Is It Possible to Make This Pie Gluten-Free?
You can make this pie gluten-free by using gluten-free graham crackers for the crust. Confirm all other ingredients are gluten-free, and double-check labels. Enjoy a delicious, tangy Key Lime Pie without worrying about gluten!
Can I Freeze Key Lime Pie for Later Use?
You can freeze Key Lime Pie for later use. Wrap it tightly in plastic wrap and aluminum foil to prevent freezer burn. Thaw in the refrigerator overnight before serving. This method keeps the pie fresh and delicious.
What Are Some Alternative Crust Options for Key Lime Pie?
You can try using a vanilla wafer crust, coconut crust, or a nut-based crust like almond or pecan for your Key Lime Pie. Each choice adds a unique texture and flavor that complements the tart filling perfectly.
Conclusion
You've done it! Your Key Lime Pie is ready to impress. Once it's chilled, slice into that creamy, zesty goodness and prepare to wow your taste buds. Don't forget a dollop of whipped cream or a cheeky lime slice on top for that final flourish. Share it with friends, or keep it all to yourself—we won't judge! Remember, baking is all about enjoying the process and the delicious results, so savor every bite and have fun!

