Easy Halloween Fudge Recipe
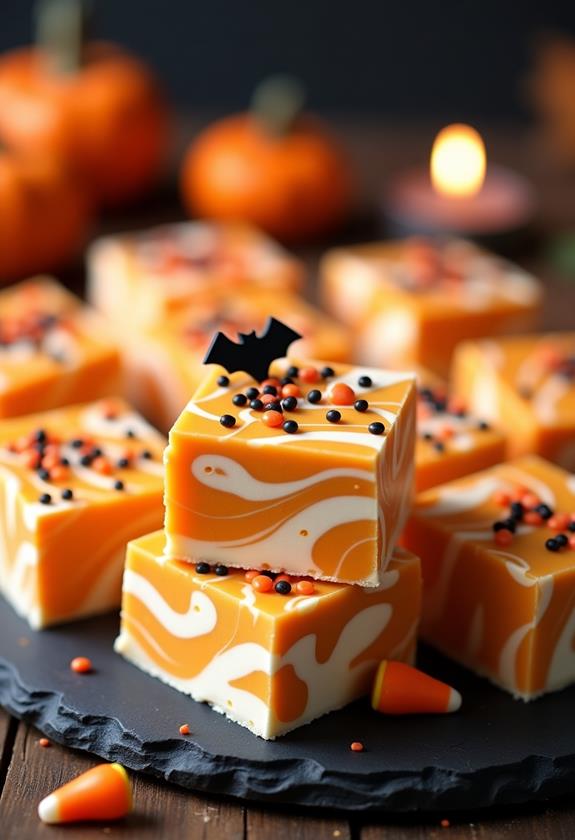
You're about to discover a Halloween treat that's both simple and satisfying: Easy Halloween Fudge. Imagine combining the creamy richness of white chocolate with the convenience of sweetened condensed milk, resulting in a dessert that's as easy to make as it is delicious. But there's more to this fudge than just its taste; the vibrant colors and festive sprinkles add a touch of Halloween magic. So, how do you create that perfect marbled effect without spending hours in the kitchen? Let's explore the steps that make this recipe a true festive delight.
Recipe
Indulge in the spooky spirit of Halloween with a simple yet delightful fudge recipe that's sure to impress. This easy Halloween fudge combines the creamy richness of white chocolate with the festive flair of orange swirls and themed sprinkles, making it an ideal treat for any Halloween celebration.
With minimal ingredients and straightforward steps, this fudge is perfect for both novice cooks and experienced bakers looking for a quick, seasonal dessert. Whether you're preparing for a party or simply craving a sweet snack, this fudge will add a touch of magic to your festivities.
The recipe begins with melting white chocolate chips with sweetened condensed milk, creating a smooth base that's flavored with vanilla extract. By dividing the mixture and adding orange food coloring to half, you can create a marbled effect that captures the essence of Halloween.
Topped with sprinkles or candy corn, this fudge not only tastes delicious but also looks the part. The final product is a set of beautifully swirled squares that are both visually appealing and satisfying to the taste buds.
Ingredients:
- 3 cups white chocolate chips
- 1 can sweetened condensed milk (14 ounces)
- 1 teaspoon vanilla extract
- Orange food coloring
- Halloween-themed sprinkles or candy corn
In a medium saucepan over low heat, combine the white chocolate chips and sweetened condensed milk, stirring continuously until fully melted and smooth. Remove from heat and mix in the vanilla extract.
Divide the mixture into two bowls, adding orange food coloring to one and stirring until the desired color is achieved. Pour the uncolored fudge into an 8×8 inch parchment-lined baking dish, followed by the orange fudge, swirling with a knife for a marbled look.
Top with Halloween-themed sprinkles or candy corn, then refrigerate for at least 2 hours until set. Once firm, cut into squares and serve.
For best results, melt the chocolate slowly over low heat to avoid scorching, which can impact texture and flavor. Feel free to customize toppings with mini chocolate chips, crushed cookies, or edible glitter for added flair.
If time is short, the fudge can be placed in the freezer to set more quickly. This treat can also be prepared a day ahead, making it convenient for busy Halloween schedules. Enjoy your festive, hauntingly good fudge!
Cooking Steps
Let's get started on making your Halloween fudge by first lining an 8×8 inch baking dish with parchment paper—trust me, it makes removal a breeze and saves you from a sticky situation!
Next, grab a medium saucepan and melt the white chocolate chips and sweetened condensed milk over low heat, stirring constantly like you're casting a tasty spell, until the mixture is smooth.
Once you've added the vanilla and mixed it well, go ahead and split the mixture into two bowls, add orange food coloring to one, and have fun swirling the colors together in the dish for a marbled masterpiece that'll wow your taste buds.
Step 1. Line Baking Dish With Parchment
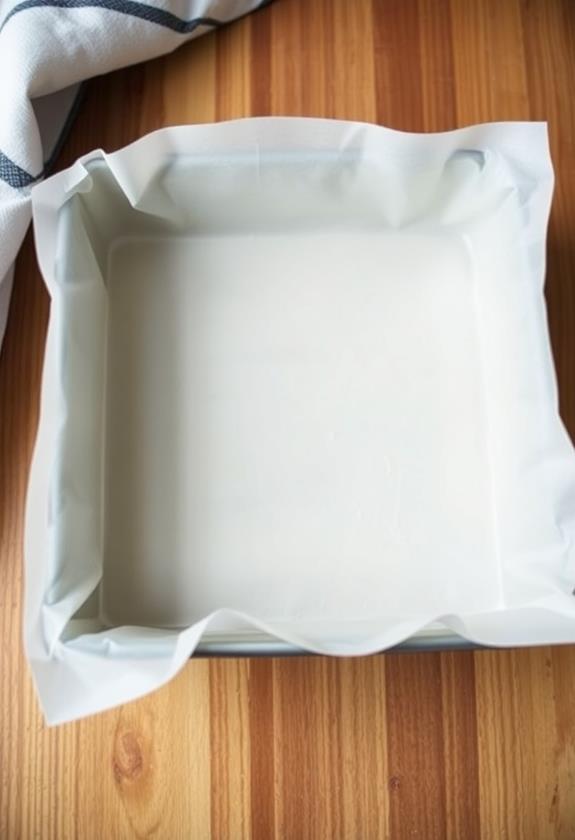
To guarantee easy removal of your fudge once it's set, start by lining an 8×8 inch baking dish with parchment paper.
Trust me, you don't want your spooky treat sticking like a ghost to its haunt! Cut the parchment so it fits snugly, allowing a bit to overhang the sides—these will become handy little handles for lifting the fudge out later.
If the paper's being a bit unruly, a dab of butter can help anchor it down. This simple step saves you from any sticky situations and keeps your fudge looking frightfully fabulous.
Plus, cleanup's a breeze! Just toss the parchment when you're done.
Now that your dish is prepped, you're ready to conjure up your delicious Halloween fudge magic!
Step 2. Melt Chocolate and Milk Together
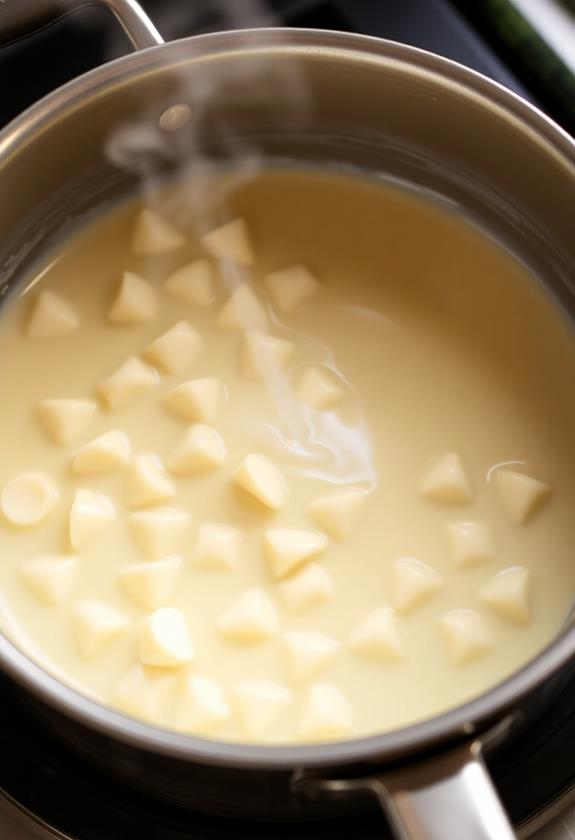
With your dish lined and ready, it's time to get cooking. Grab a medium saucepan and place it over low heat. Toss in 3 cups of white chocolate chips, followed by the entire can of sweetened condensed milk.
Stir continuously, making sure the chocolate doesn't play tricks on you by sticking to the bottom. Keep the heat gentle—no need to spook your ingredients into scorching!
As you stir, you'll notice the chocolate chips slowly surrendering to the creamy milk, creating a smooth, velvety mixture that's as irresistible as a Halloween candy haul.
Be patient; perfection takes time, even in the kitchen. Once the chocolate is fully melted and the consistency's just right, you'll be ready to move on to the next step.
Step 3. Add Vanilla and Mix
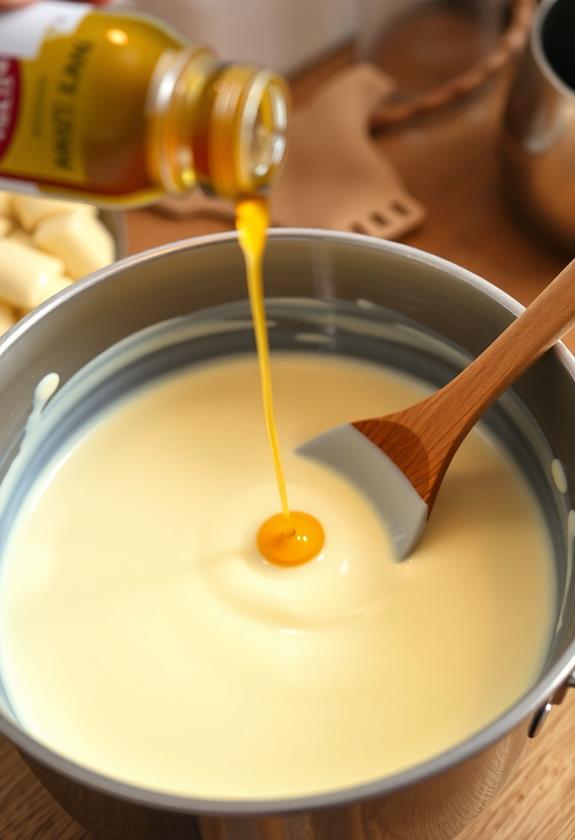
Now that your chocolate mixture is smooth and velvety, it's time to elevate the flavor with a teaspoon of vanilla extract. Gently pour it in, and watch as the aroma wafts up, teasing your senses.
Using a spatula or a wooden spoon, stir the mixture thoroughly, ensuring the vanilla is evenly distributed. You'll notice the subtle change as the vanilla melds with the chocolate, enhancing its already rich taste.
Keep stirring, but don't get too carried away—unless you're aiming for an arm workout worthy of Halloween candy indulgence! This step is essential, as it guarantees each bite of fudge will be infused with that sweet vanilla essence.
Step 4. Color Mixture With Orange Dye
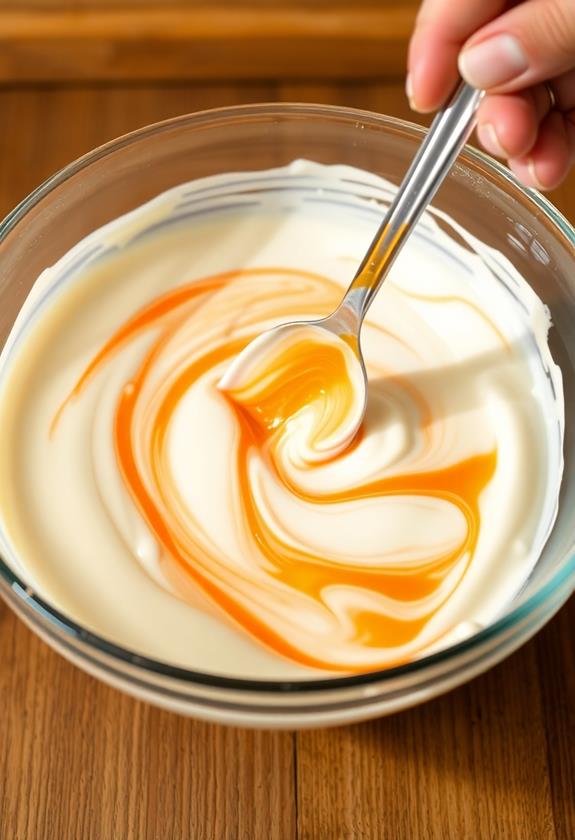
Ever wondered how to give your fudge a festive flair? Adding orange dye is your secret weapon!
Start by dividing your melted fudge mixture into two bowls. In one bowl, add a few drops of orange food coloring. Stir gently until the color is evenly distributed, aiming for that perfect pumpkin hue.
Feel free to add more drops if you want a bolder shade, but remember, a little goes a long way! Don't worry if your hands get a bit messy—it's all part of the fun.
Just make sure your orange mixture is smooth and vibrant before moving on. Now, you've got a batch of Halloween-ready fudge that's bound to impress your sweet tooth and your guests alike!
Step 5. Swirl Colors for Marbled Effect
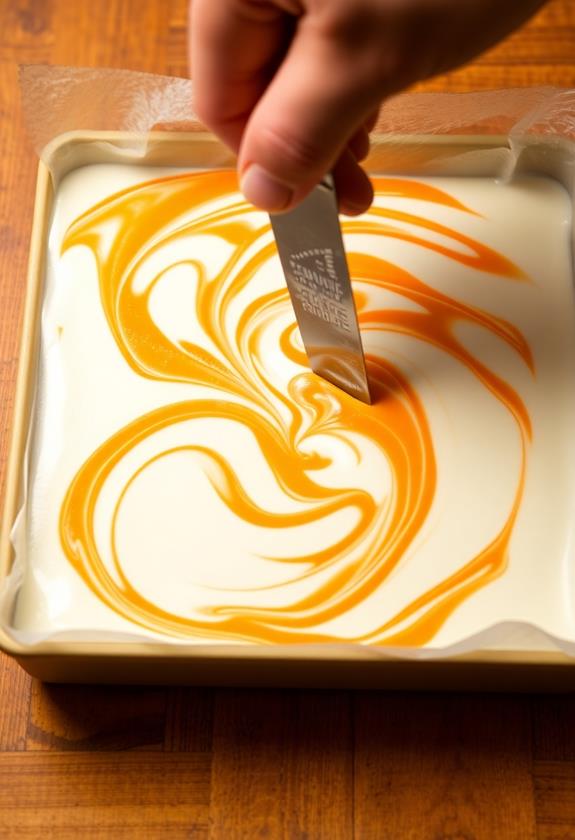
Creating a marbled effect with your Halloween fudge is both simple and visually stunning. After you've divided the fudge mixture and added the orange dye, it's time to get creative.
Pour the uncolored fudge into your prepared dish first, spreading it evenly. Next, drizzle the orange fudge over the top.
Now, grab a knife and start swirling! Gently drag the knife through the fudge, mixing the colors in a fun, random pattern. Don't overdo it; you want distinct, vibrant swirls. Think of it like creating edible art—it's your masterpiece! If you make a mistake, just tell everyone it's a new avant-garde design.
Once swirled to perfection, sprinkle on those Halloween-themed goodies, and refrigerate. Voilà! You've got a spooky treat.
Final Thoughts
As you wrap up your Halloween preparations, this easy fudge recipe might just become your go-to treat.
It's quick, fun, and sure to impress any ghoul or goblin visiting your home. You won't need to worry about spending hours in the kitchen, leaving you more time to enjoy the festivities.
Plus, the marbled effect adds a spooky flair that's hard to resist.
[DIRECTIONS]:
Frequently Asked Questions
Can I Use Milk Chocolate Chips Instead of White Chocolate Chips?
You can substitute milk chocolate chips for white chocolate chips, but the flavor and color will differ. Milk chocolate offers a richer taste, shifting the fudge from its intended festive look. Adjust food coloring accordingly for desired vibrancy.
How Should I Store Leftover Fudge to Keep It Fresh?
Store leftover fudge in an airtight container to keep it fresh. Keep it at room temperature for up to a week, or refrigerate for longer shelf life. Avoid direct sunlight and heat to maintain its texture and flavor.
Is There a Substitute for Sweetened Condensed Milk?
You can substitute sweetened condensed milk with a mixture of evaporated milk and sugar. For every cup of sweetened condensed milk, use one cup of evaporated milk and 1¼ cups of sugar. Stir well until dissolved.
Can I Make This Fudge Without Food Coloring?
Absolutely, you can make this fudge without food coloring. It won't affect the taste, just the appearance. You can still enjoy its deliciousness and maybe use Halloween-themed sprinkles to add a festive touch instead.
How Long Does the Fudge Last Once Made?
Once you've made the fudge, it lasts about one to two weeks when stored properly. Keep it in an airtight container at room temperature for best results. Refrigerating it can extend its freshness, ensuring a delightful treat.
Conclusion
So, you've whipped up this delicious Halloween fudge, and now it's time to dig in! It's rich, creamy, and looks like a treat straight out of a spooky dream. Remember, the marbled effect is the star here, so don't stress if it's not perfect—imperfections add character, right? Enjoy sharing it with friends, or indulge solo, because you've earned it. Plus, cleanup's a breeze thanks to the parchment paper, so you've got more time for Halloween fun!

