Strawberry Cake Recipe
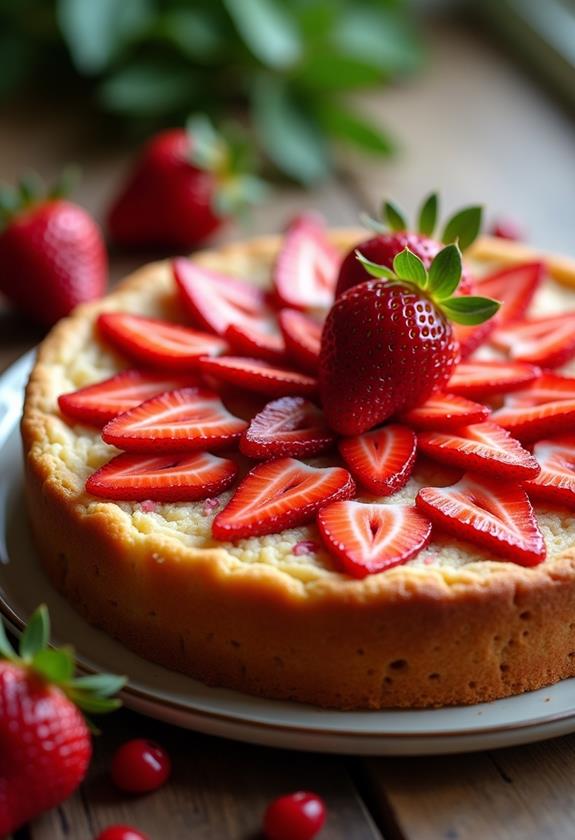
Imagine you're about to create a strawberry cake that perfectly balances sweetness and the natural tartness of fresh strawberries. You start by gathering simple ingredients you probably already have at home. As you cream the butter and sugar, the kitchen fills with a comforting aroma. But here's where the magic begins: folding in those vibrant strawberry slices. It's a simple step, yet essential for that burst of flavor in every bite. Curious about how this transforms into a delightful dessert? There's more to discover, and perhaps a surprising twist you wouldn't want to miss.
Recipe
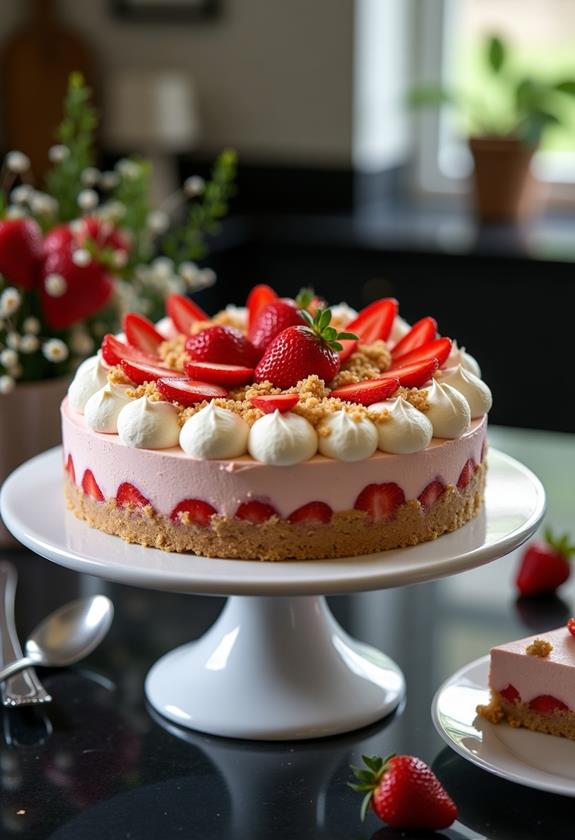
Strawberry cake is a delightful and visually appealing dessert that highlights the natural sweetness and vibrant color of fresh strawberries. Perfect for any occasion, this cake combines a fluffy, moist texture with the bright flavor of strawberries. The recipe is simple enough for both novice and experienced bakers, guaranteeing a successful and delicious outcome every time. The key to an exceptional strawberry cake is using fresh, ripe strawberries that enhance the cake's flavor profile with their natural sweetness and slight tartness.
The process begins with creating a smooth batter that incorporates the essence of strawberries, resulting in a cake that's as pleasing to the eyes as it's to the palate. Using basic ingredients like flour, sugar, and butter, along with strawberries as the star, this cake recipe is straightforward and easy to follow. Whether you choose to enjoy it plain, with a dusting of powdered sugar, or adorned with whipped cream or vanilla ice cream, this strawberry cake is sure to be a hit.
Ingredients:
- 1 ½ cups all-purpose flour
- 1 cup granulated sugar
- ½ cup unsalted butter, softened
- 2 large eggs
- ½ cup milk
- 1 teaspoon vanilla extract
- 1 ½ teaspoons baking powder
- ¼ teaspoon salt
- 1 ½ cups fresh strawberries, hulled and sliced
To prepare the strawberry cake, start by preheating your oven to 350°F (175°C) and greasing and flouring a round cake pan. In a large mixing bowl, cream together the butter and sugar until light and fluffy. Beat in the eggs one at a time, then stir in the vanilla extract.
In a separate bowl, mix the flour, baking powder, and salt, then gradually add this to the butter mixture alternately with the milk, starting and ending with the flour mixture. Gently fold in the sliced strawberries. Pour the batter into the prepared cake pan and bake for 30-35 minutes, or until a toothpick inserted into the center comes out clean. Allow the cake to cool in the pan for 10 minutes before transferring it to a wire rack to cool completely.
For the best results, make sure all your ingredients are at room temperature before starting the mixing process, as this helps in achieving a smoother batter and more even baking. Enhance the strawberry flavor by incorporating a tablespoon of strawberry puree into the batter.
If you want to make it more festive, consider adding a layer of cream cheese frosting or a dusting of powdered sugar once the cake has cooled. Remember, the fresher the strawberries, the better the cake will taste, so aim to use strawberries at their peak ripeness for maximum flavor and enjoyment.
Cooking Steps
Alright, let's get started on your strawberry cake!
First, crank up your oven to 350°F so it's nice and toasty when your batter's ready.
Next, you'll want to cream the butter and sugar together like they're old friends, then invite the eggs to the party one at a time—don't rush them, they're delicate guests.
Step 1. Preheat Oven to 350°F
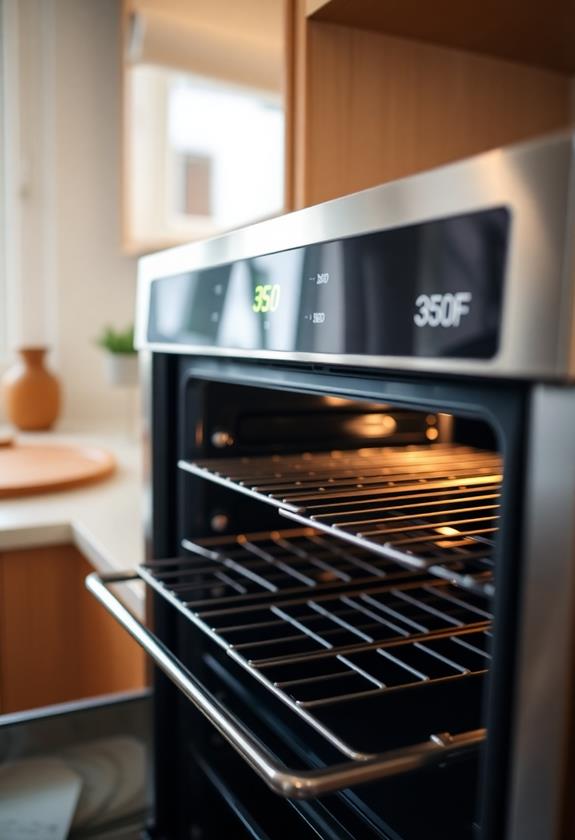
Before diving into the delicious details of making your strawberry cake, you'll want to begin by preheating your oven to 350°F (175°C). Think of this as giving your oven a warm-up before the main event. It's like a cozy blanket for your cake, ensuring it bakes evenly and rises beautifully.
Make sure your oven's ready to go before you start mixing ingredients. While your oven's getting toasty, take a moment to double-check it's set to the right temperature. A little patience here pays off big time in the end.
Use an oven thermometer if you have one, because oven dials can sometimes have minds of their own! With your oven preheating, you're setting the stage for baking success.
Step 2. Cream Butter and Sugar
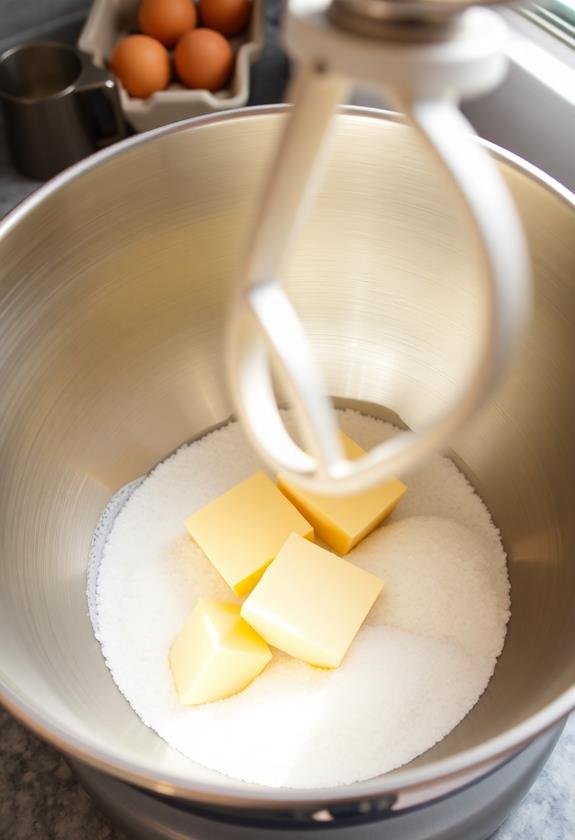
Start by creaming together the butter and sugar in a large mixing bowl until the mixture is light and fluffy. This step is essential, so don't rush it! Use an electric mixer if you've got one—your arm will thank you later.
The goal is to whip air into the mixture, giving your cake a soft texture. Here's a tip: make sure your butter is softened to room temperature before you start, or you'll find yourself fighting with stubborn, rock-hard lumps.
Once you see the mixture turn pale and fluffy, you're on the right track. If you're feeling fancy, imagine you're a contestant on a baking show, and the judges are nodding in approval.
Keep it fun and enjoy the process!
Step 3. Beat in Eggs Individually
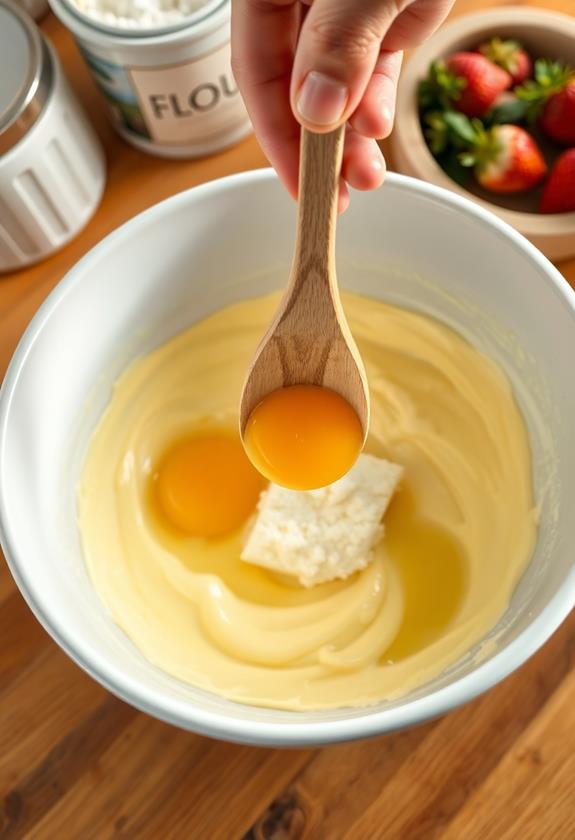
Incorporation is key when it comes to adding eggs to your cake batter. You'll want to crack those eggs one at a time, so they each get their moment in the spotlight.
Start by adding the first egg, then beat it into the butter and sugar mixture until it's completely blended. This method guarantees a smoother texture and helps your cake rise beautifully—think of it as giving each egg a chance to shine!
Adding eggs individually also prevents the batter from curdling, which can happen when too much moisture is added at once. Plus, it gives you a chance to practice your egg-cracking skills.
Step 4. Mix Dry Ingredients Separately
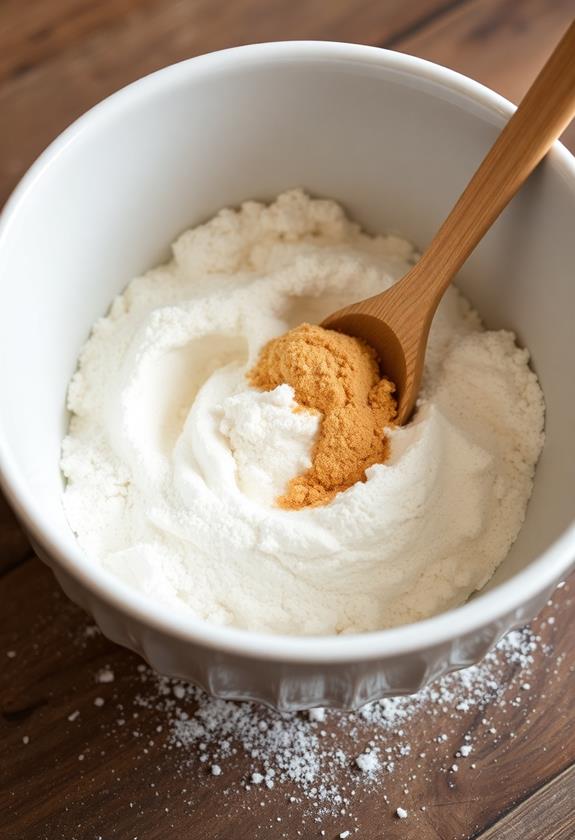
Once you've perfected the egg blending, it's time to focus on the dry ingredients. Grab a separate bowl and toss in the flour, baking powder, and salt.
Think of this as the cake's backbone, giving it structure and lift. Use a whisk or fork to combine them thoroughly—no one likes biting into a lump of baking powder!
Mixing these ingredients separately helps guarantee even distribution when you eventually blend everything together. It's like a secret handshake between the ingredients, making sure they get along.
Step 5. Fold in Sliced Strawberries
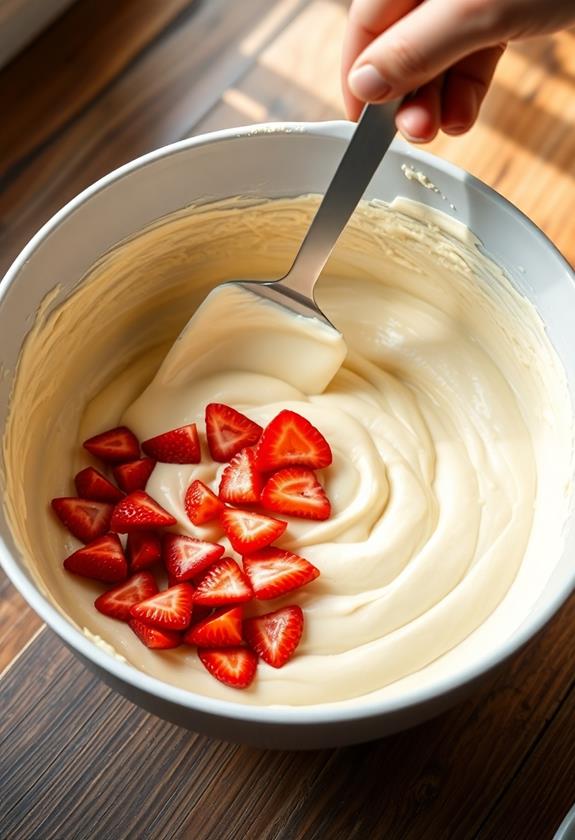
Gently fold the sliced strawberries into your prepared batter to add bursts of flavor and color to the cake. You don't want to crush them, so use a spatula, not a mixer.
Imagine you're tucking in a delicate friend, keeping the strawberries intact for that juicy surprise in every bite. Distribute them evenly throughout the batter, ensuring each slice has its moment to shine.
If you accidentally squish a few berries, don't worry—it's like adding a bit of strawberry confetti. Remember, the goal is a balanced mix, not a smoothie!
Once your strawberries are snugly nestled in the batter, you'll be on your way to a delightful strawberry cake that's as beautiful as it's delicious. Ready to bake that berry goodness?
Final Thoughts
Ultimately, making a strawberry cake is about enjoying the process and savoring the result.
You've gathered your ingredients, mixed, and baked, and now it's time to indulge. Let the cake cool, and maybe sneak a taste of those leftover strawberries. You can't rush perfection, after all!
Once cooled, consider dusting it with some powdered sugar or topping it with whipped cream.
Frequently Asked Questions
Can I Use Frozen Strawberries Instead of Fresh Ones?
Yes, you can use frozen strawberries, but make sure to thaw and drain them first. They might add extra moisture, so consider reducing the milk slightly. Fresh strawberries generally provide better texture and flavor.
How Do I Prevent the Strawberries From Sinking in the Batter?
To prevent strawberries from sinking, toss them in a bit of flour before folding into the batter. This helps them suspend evenly during baking. Make certain the batter isn't too thin, as thicker batter supports the fruit better.
What Is the Best Way to Store Leftover Strawberry Cake?
Wrap leftover cake tightly in plastic wrap or store it in an airtight container. Keep it in the refrigerator for up to three days. If you want to freeze it, slice it first for easier thawing.
How Can I Make the Cake Gluten-Free?
To make the cake gluten-free, replace regular flour with a gluten-free flour blend. Confirm it includes xanthan gum for structure. Double-check all ingredients for gluten. Follow the recipe as usual, and you'll enjoy a delicious gluten-free treat!
Can I Substitute Almond Milk for Regular Milk in This Recipe?
Yes, you can substitute almond milk for regular milk in this recipe. Use the same amount, and it'll work just fine. Almond milk adds a subtle nutty flavor, which complements the sweetness of the strawberries beautifully. Enjoy!
Conclusion
You've made it to the sweet finish line! Now that your strawberry cake is done, let it cool a bit before slicing. The aroma might make waiting tough, but trust me, it's worth it. Once ready, add a sprinkle of powdered sugar or a dollop of whipped cream for that extra yum factor. Enjoy every bite, knowing you've baked a delightful treat that's as fun to make as it is to eat. Happy baking, and even happier tasting!

