No Bake Apple Butter Cheesecake Recipe
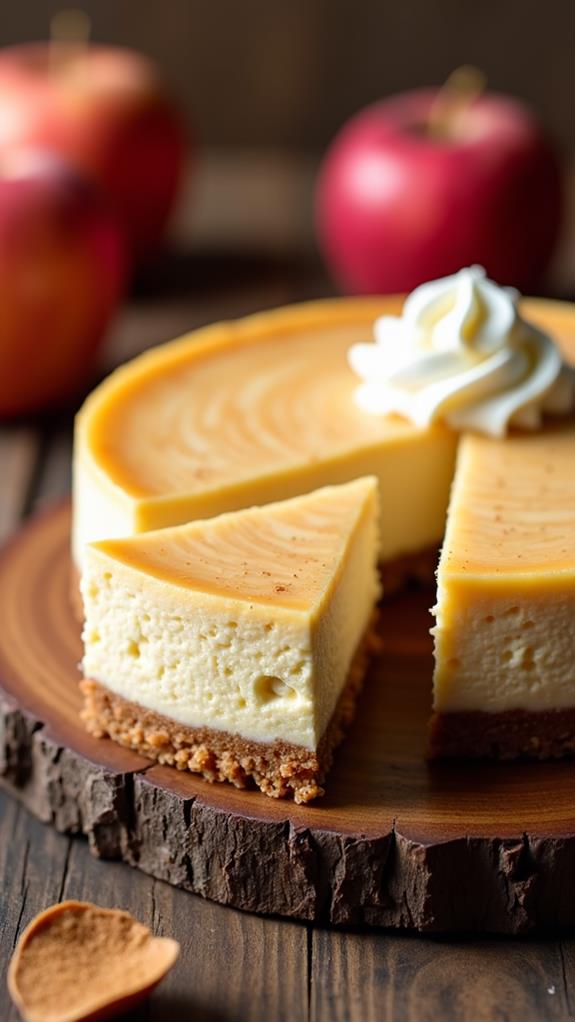
Imagine preparing a dessert that requires no oven and yet impresses like a gourmet creation. The No Bake Apple Butter Cheesecake offers just that, with its creamy filling and aromatic apple butter. You'll appreciate how the buttery graham cracker crust complements the rich flavors, creating a balance that's hard to resist. As you plan your next gathering, consider how effortlessly this cheesecake can come together in a few simple steps. But what's the secret to achieving that perfect texture and flavor combination? Let's explore how each ingredient plays its part in this delectable treat.
Recipe
The No Bake Apple Butter Cheesecake is a perfect dessert choice for those who love the creamy richness of cheesecake combined with the spiced sweetness of apple butter. This dessert requires no baking, making it an easy and convenient option for any occasion. With a buttery graham cracker crust and a smooth apple butter-infused cream cheese filling, this cheesecake is both simple and delicious.
Whether you're preparing it for a casual gathering or a special event, this no-bake treat will surely impress your guests and leave them craving for more.
To start, you'll create a flavorful crust using graham cracker crumbs, which provides a wonderful base for the luscious filling. The filling is made by blending softened cream cheese with apple butter, powdered sugar, and vanilla extract, creating a harmonious blend of flavors. This mixture is lightened by folding in whipped heavy cream, resulting in a silky, smooth texture.
Once assembled, the cheesecake needs to chill in the refrigerator for a few hours to set properly, guaranteeing each slice holds its shape when served.
Ingredients:
- 1 1/2 cups graham cracker crumbs
- 1/4 cup granulated sugar
- 1/2 cup unsalted butter, melted
- 16 oz cream cheese, softened
- 1 cup apple butter
- 1/2 cup powdered sugar
- 1 teaspoon vanilla extract
- 1 cup heavy whipping cream
To prepare the No Bake Apple Butter Cheesecake, begin by mixing the graham cracker crumbs, granulated sugar, and melted butter in a bowl until well combined. Press this mixture firmly into the bottom of a springform pan to form an even crust.
In another bowl, beat the softened cream cheese until smooth, then add the apple butter, powdered sugar, and vanilla extract, mixing until fully incorporated. In a separate bowl, whip the heavy cream until stiff peaks form and gently fold it into the cream cheese mixture.
Pour the filling over the prepared crust, smoothing the top with a spatula. Refrigerate the cheesecake for at least 4 hours or until set.
For the best results, use full-fat cream cheese to achieve a richer texture and flavor. If you prefer a thicker crust, consider increasing the amount of graham cracker crumbs. When pressing the crust into the pan, verify it's packed tightly to prevent crumbling when serving.
Allow the cheesecake to chill in the refrigerator for the recommended time, or even overnight for maximum firmness. For a decorative touch, garnish with a dollop of whipped cream or a sprinkle of cinnamon just before serving.
Cooking Steps
Let's start whipping up that No Bake Apple Butter Cheesecake! First, mix those crust ingredients like you're on a mission—no crumb left behind—and press them into your pan with all the enthusiasm of a kid in a sandbox.
When it comes to the filling, channel your inner zen master: beat the cream cheese until it's as smooth as a jazz tune, gently fold in the whipped cream like you're cradling a kitten, and then chill that masterpiece for a few hours (or more) to let the magic happen.
Step 1. Mix Crust Ingredients Thoroughly
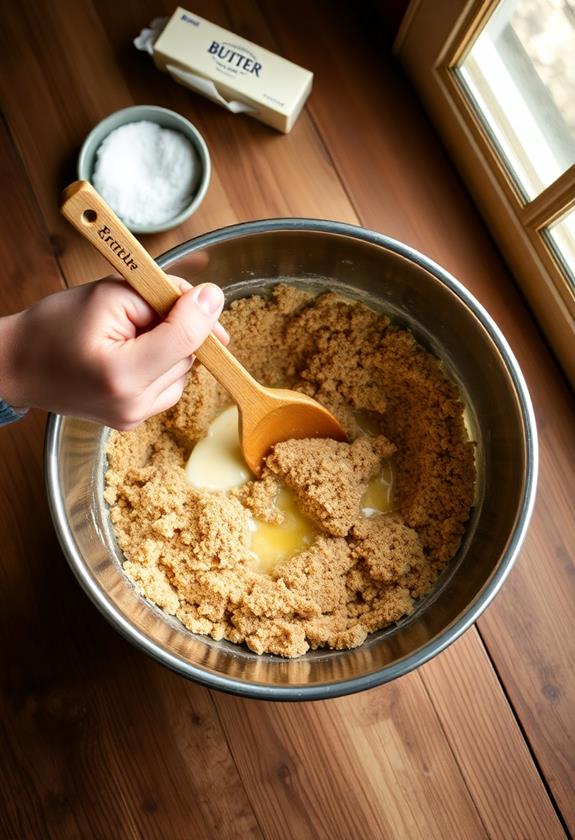
Start by combining the graham cracker crumbs, granulated sugar, and melted butter in a mixing bowl. It's a simple task, but don't underestimate its importance. You'll want to guarantee everything is mixed thoroughly, so arm yourself with a good-sized spoon or spatula.
Stir with enthusiasm, making sure the butter evenly coats every crumb. Imagine giving each graham cracker crumb a little butter hug; this guarantees your crust holds together and doesn't crumble apart later.
Pay attention to the texture—it should feel like damp sand, clumping together when you pinch it between your fingers. If it's too dry, add a smidge more melted butter. But if it's too wet, well, you might've gotten a little too butter-happy! Don't worry, you can always add a sprinkle more of graham cracker crumbs to fix it.
Mixing thoroughly is your key to a uniform crust, so resist the urge to rush this step. Think of it like giving your cheesecake the solid foundation it deserves.
With a little patience and care, you're setting the stage for a dessert that's not just delicious but structurally sound and ready to impress.
Step 2. Press Crust Into Pan
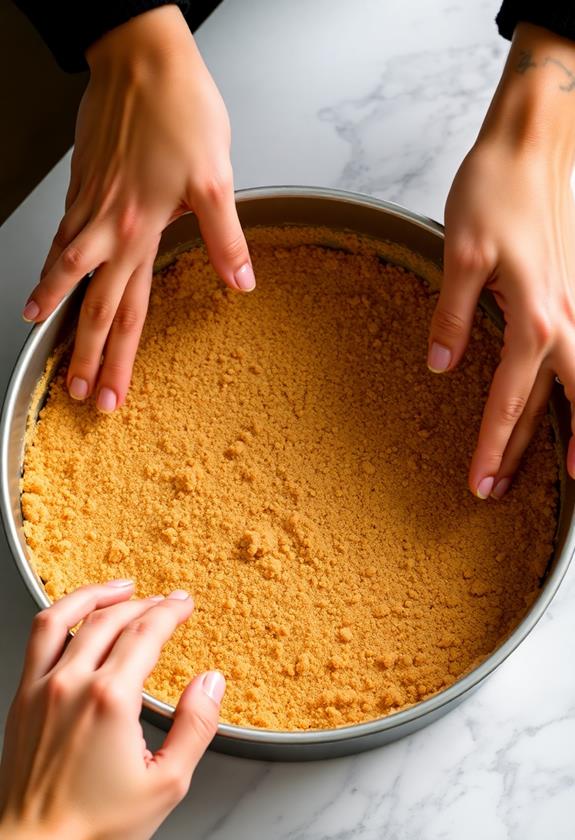
Precision becomes your ally as you press the crust into the pan. You've mixed your graham cracker crumbs, sugar, and melted butter to a perfect consistency, and now it's time to get hands-on.
Start by pouring the crumb mixture into the bottom of your springform pan. Use your fingers or the back of a spoon to distribute the crumbs evenly, guaranteeing every nook and cranny is covered.
Don't be shy—apply firm pressure to pack those crumbs down tightly. Imagine you're giving them a supportive hug, encouraging them to stick together. This guarantees your crust holds its shape and doesn't crumble when you slice into your cheesecake later.
If you're feeling fancy, use a flat-bottomed glass to smooth the surface, giving your crust a professional touch.
Step 3. Beat Cream Cheese Smoothly
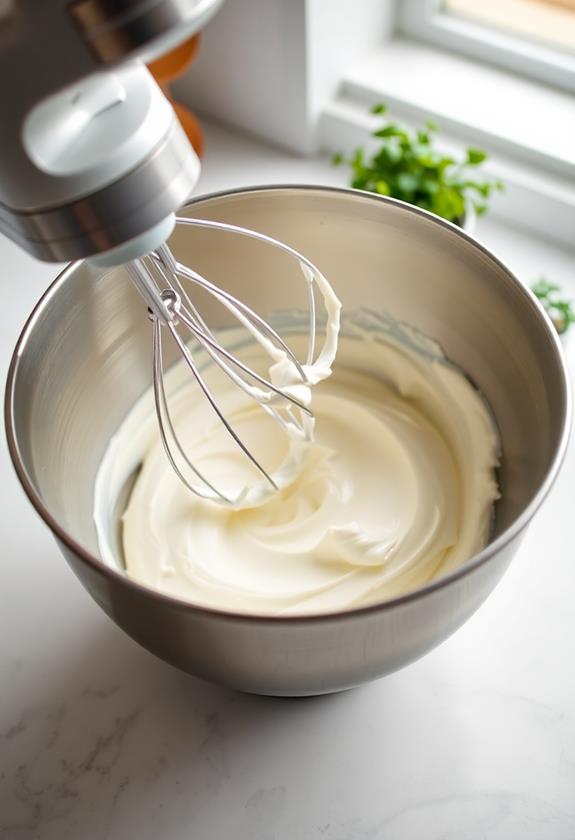
With your crust chilling in the pan, grab a large mixing bowl and focus on the cream cheese. It's time to show that cream cheese who's boss! Make certain it's softened to room temperature; otherwise, you might end up with a lumpy mess that'll make your cheesecake more "unique" than you'd like.
Use an electric mixer on medium speed to beat the cream cheese. This is your chance to channel your inner rockstar, so get into the groove as you blend until the texture is smooth and creamy.
A handy tip: scrape down the sides of the bowl occasionally with a spatula to guarantee every bit gets mixed. Trust me, you don't want any sneaky lumps hiding out.
Once smooth, add in the apple butter, powdered sugar, and vanilla extract. These ingredients are like your cheesecake's backup singers, enhancing the star of the show. Mix again until everything is well combined and silky.
Imagine you're creating the base for a masterpiece—smooth, harmonious, and utterly delicious. Take a moment to appreciate this creamy concoction. You're practically a cheesecake maestro now! Just wait until you taste the final product.
Step 4. Fold Whipped Cream Gently
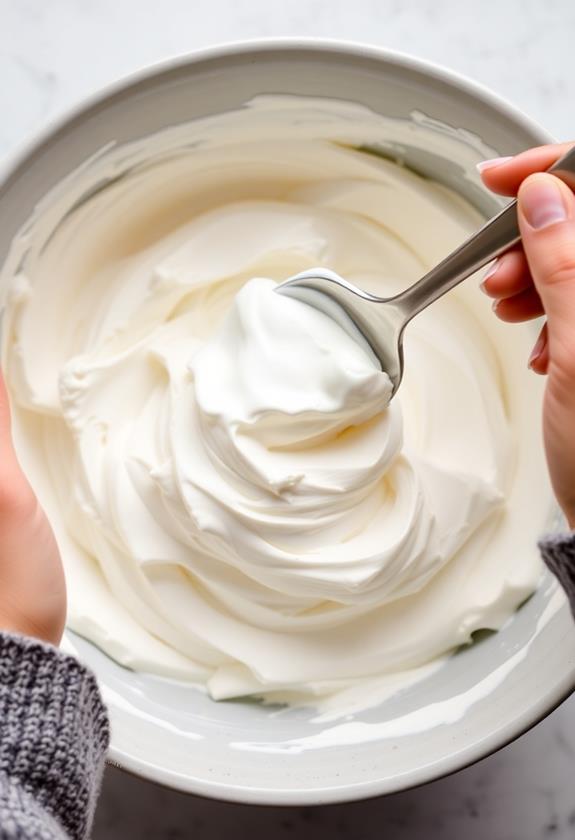
You've mastered the art of preparing the cream cheese mixture, and now it's time to add some lightness to your cheesecake with whipped cream. Whipping the cream until stiff peaks form is key, but folding it in gently is the secret to a fluffy cheesecake. Imagine you're handling a delicate treasure—because you are!
Start by spooning a small amount of whipped cream into the cream cheese mixture. Use a spatula to gently fold it in, scooping from the bottom and lifting the mixture over the top. Rotate the bowl as you go, ensuring you're evenly mixing without deflating the cream. It might feel like a slow dance, but trust me, it's worth it.
Continue adding the whipped cream in batches, repeating the folding process each time. Resist the urge to stir vigorously—your cheesecake will thank you! This gentle folding keeps the air in the whipped cream, creating a light, airy texture that complements the rich cream cheese beautifully.
Step 5. Chill Cheesecake for Hours
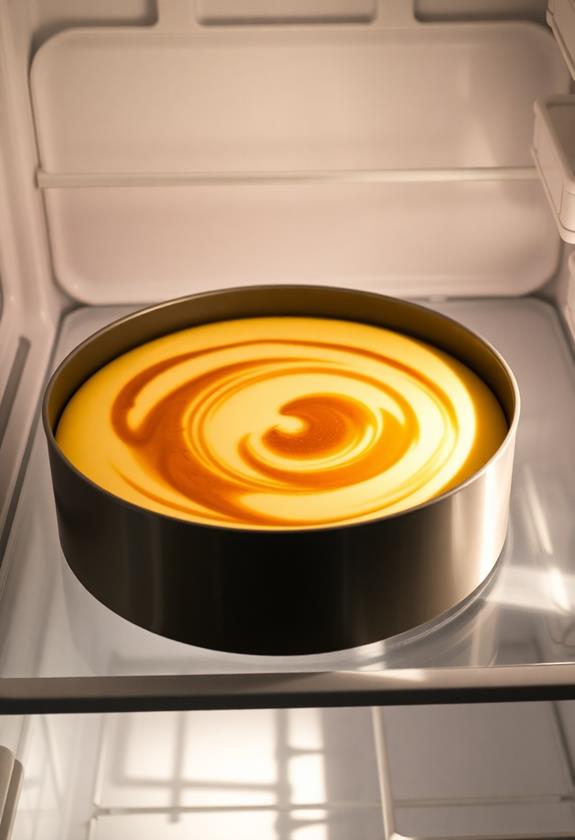
After you've meticulously folded the whipped cream into the cream cheese mixture, it's time to let your cheesecake chill and set. Pop that luscious creation into the fridge, and trust me, this step is essential. You're not just letting it cool, you're letting it transform into a slice of creamy perfection. Think of it like a caterpillar turning into a butterfly—only much tastier!
For the best results, let your cheesecake chill for at least four hours. If you can resist the temptation, overnight is even better—yes, patience is a virtue, even in dessert making! This extended chilling time guarantees the filling firms up nicely, making it easy to slice and serve.
Want a pro tip? Cover the cheesecake with plastic wrap to prevent any fridge odors from sneaking in. Nobody wants their dessert tasting like last night's leftovers!
While you're waiting, why not plan a fun activity? Watch a movie, read a book, or dream about the delightful moment when you finally get to dig in. Remember, good things come to those who wait, and soon enough, you'll be savoring every delicious bite of your no-bake masterpiece.
Final Thoughts
Why not add the No Bake Apple Butter Cheesecake to your dessert repertoire?
It's a delightful way to impress friends and family without breaking a sweat in the kitchen. With its creamy, rich filling and a hint of sweet, spiced apple butter, this cheesecake is a crowd-pleaser.
Plus, no oven means less stress and more time to enjoy the company of your loved ones. Who wouldn't want that?
As you prepare this cheesecake, remember that a tightly packed crust prevents messy slices.
So, channel your inner construction worker and press that crust down with some gusto! If you're feeling adventurous, sprinkle some cinnamon on top for a little extra flair.
Your guests will think you're a culinary genius, and only you need to know how simple it was.
[DIRECTIONS]:
Frequently Asked Questions
Can I Substitute Apple Butter With Another Fruit Spread?
You can substitute apple butter with another fruit spread, like pumpkin butter or peach preserves, for a different flavor. Just guarantee it's a thick consistency to maintain the cheesecake's texture. Experiment and find what suits your taste best!
How Long Can the Cheesecake Be Stored in the Refrigerator?
You can store the cheesecake in the refrigerator for up to five days. Make sure you cover it with plastic wrap or keep it in an airtight container to maintain its freshness and prevent it from absorbing other odors.
Is There a Gluten-Free Option for the Graham Cracker Crust?
You can easily make the crust gluten-free by using gluten-free graham crackers. Just crush them into crumbs and proceed with the recipe as usual. You'll enjoy the same delicious taste without worrying about gluten.
Can I Use Low-Fat Cream Cheese Instead of Full-Fat?
You can use low-fat cream cheese, but expect a slightly less rich and creamy texture. It may also affect the cheesecake's firmness. If you're okay with a lighter version, go ahead and make the substitution.
How Can I Prevent the Cheesecake From Cracking?
To prevent cracks, guarantee your cream cheese is fully softened before mixing. Beat the mixture gently to avoid incorporating too much air. Letting the cheesecake set in the fridge for ample time also helps maintain its smooth texture.

