Air Fryer Onion Rings Recipe
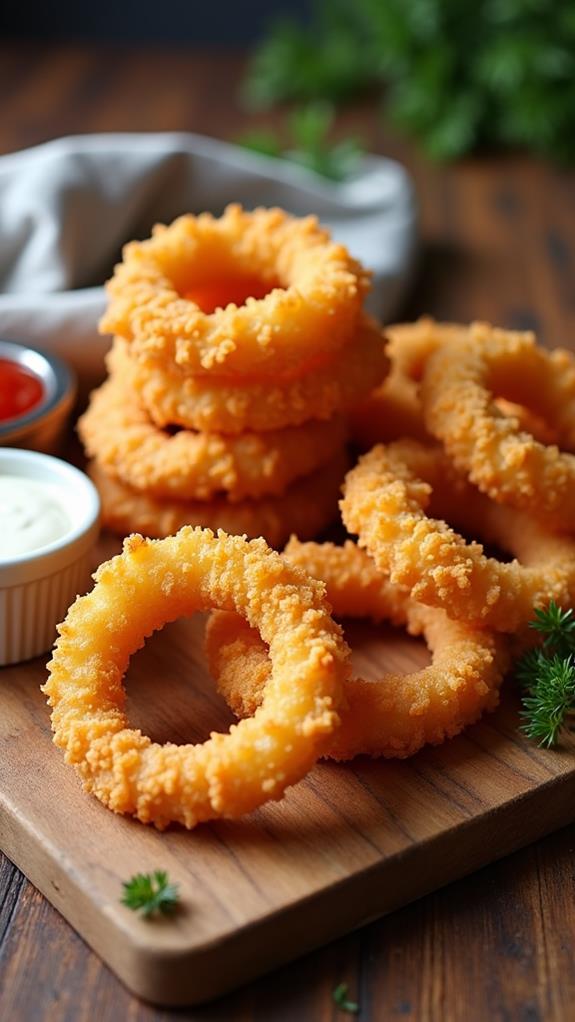
You're about to discover how to make onion rings that are not only crisp and delicious but also a healthier choice. Using an air fryer, you can achieve that satisfying crunch with minimal oil. Start by slicing onions into perfect rings, then coat them with a savory mix of buttermilk, seasoned flour, and panko breadcrumbs. With a preheated air fryer set to 400°F, you're just steps away from a guilt-free indulgence. Curious about how to make these onion rings a crowd-pleaser at your next gathering? There's more to uncover in this simple yet impressive recipe.
Recipe
Onion rings are a beloved snack that combines a tender onion interior with a satisfying crunchy exterior. While traditional methods of making onion rings can leave them greasy, using an air fryer offers a healthier alternative that still delivers that perfect crunch. This method reduces the amount of oil required, making it a healthier option without sacrificing taste. By using simple ingredients and an air fryer, you can easily prepare delicious homemade onion rings that are perfect for a quick appetizer or a delightful side dish.
The process of making air fryer onion rings is straightforward and suitable for both novice and experienced cooks. The hot air circulation in the air fryer guarantees that the onion rings are cooked evenly and achieve a delightfully crispy texture. With just a few steps, you can transform raw onions into a tasty treat that will please any crowd. This recipe provides a healthier twist to the classic snack, allowing you to enjoy the flavors you love with fewer calories.
Ingredients:
- 2 large onions
- 1 cup all-purpose flour
- 1 teaspoon baking powder
- 2 teaspoons salt
- 1 teaspoon black pepper
- 1 cup buttermilk
- 2 cups panko breadcrumbs
- Cooking spray
To make air fryer onion rings, begin by slicing the onions into 1/4-inch thick rings and separating them. Set up three bowls: one with the flour, baking powder, salt, and pepper mixed together; a second with the buttermilk; and a third with the panko breadcrumbs. Dredge each onion ring in the flour mixture, dip it into the buttermilk, and then coat it thoroughly with the panko breadcrumbs.
Preheat your air fryer to 400°F (200°C). Arrange the coated onion rings in a single layer in the air fryer basket, making sure they aren't overcrowded. Lightly spray them with cooking spray and cook for 8-10 minutes, flipping halfway through, until they're golden brown and crispy.
For extra tips, make certain the onion rings are evenly coated with the breadcrumbs to achieve the best crunch. If your air fryer is smaller, consider cooking the onion rings in batches to avoid overcrowding, which can result in uneven cooking.
Serve the onion rings immediately for peak texture, and pair them with a favorite dipping sauce like ranch or spicy ketchup to enhance their flavor. Adjust the seasoning according to your preference, and enjoy your crispy, delicious air fryer onion rings.
Cooking Steps
Let's get started on making those air fryer onion rings!
First, slice your onions into nice, thick rings—just thick enough to make you feel like a pro chef.
Mix up your flour and spices in one bowl, dip those rings in buttermilk like they're going for a swim, and then coat them with panko breadcrumbs for that perfect crunch.
Step 1. Slice Onions Into Rings
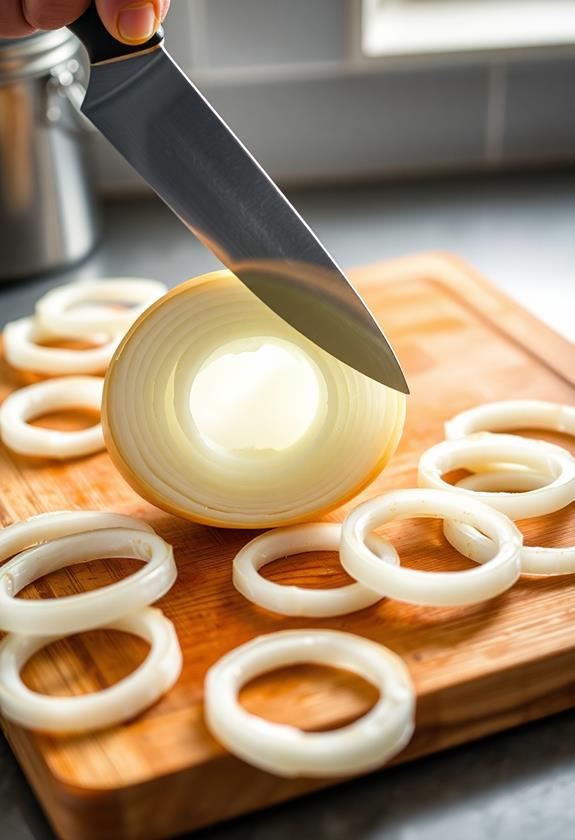
To start the process of making air fryer onion rings, grab two large onions and a sharp knife.
First, peel the onions, removing the outer skin layer—think of it as unwrapping a present, but with less excitement and more tears.
Once peeled, slice off the ends, creating a nice flat surface to work with.
Now, slice each onion into 1/4-inch thick rings, trying to keep them uniform for even cooking.
Separate each layer, making sure you've got a good collection of rings.
Don't worry if you shed a tear or two; it's a rite of passage in onion slicing.
Step 2. Mix Flour and Spices
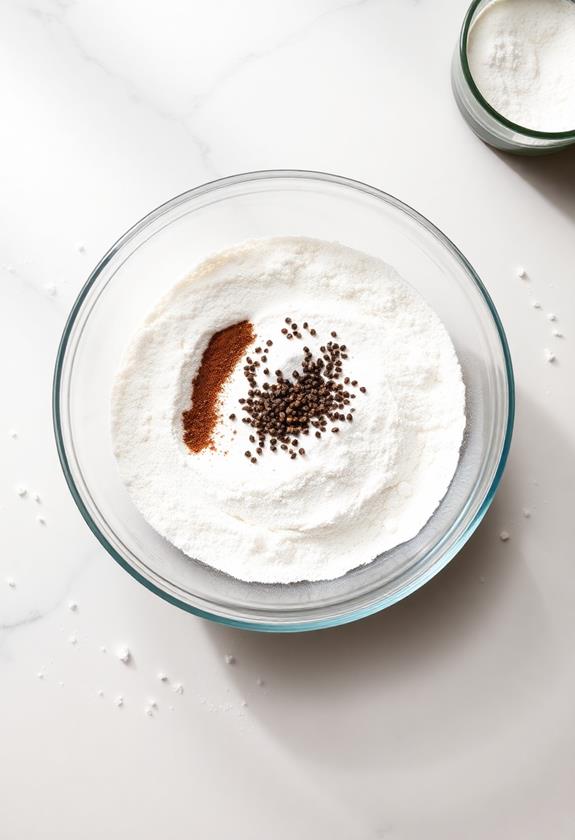
Gather up your flour, baking powder, salt, and black pepper to get started on the coating mix. Imagine you're a mad scientist, concocting the perfect blend for crispy onion rings!
In a medium-sized bowl, combine one cup of flour with a teaspoon of baking powder. Sprinkle in two teaspoons of salt and a teaspoon of black pepper. Stir everything together like you're casting a spell for deliciousness.
This mix will be the first stop on your onion rings' journey to crispiness. Make sure it's well blended, with no sneaky clumps hiding out. You want each onion ring to be evenly coated, so they all get that magical crunch.
Get ready to transform those humble onions into a snack sensation!
Step 3. Dip Rings in Buttermilk
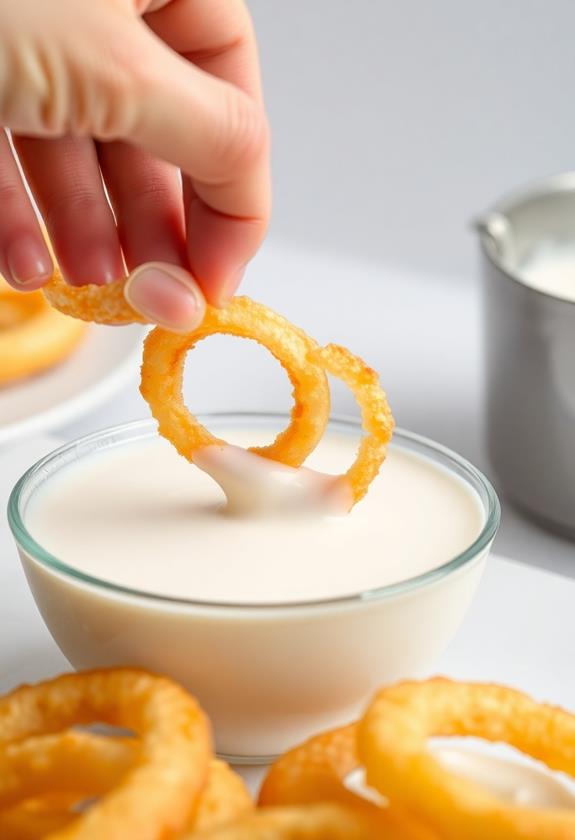
Now that you've got your flour mixture ready, it's time to plunge into the buttermilk bath!
Grab an onion ring and give it a good dunk in the buttermilk. You'll want to make sure it's fully coated, like it's on a luxurious spa day. This step adds flavor and helps the breadcrumbs stick later, so don't skimp on the buttermilk love.
You might feel tempted to rush, but take your time and enjoy the process. Picture the onion rings soaking up that tangy goodness, preparing for their crispy destiny.
As you dip, make sure to gently shake off any excess buttermilk. You don't want them too drippy, just perfectly doused.
Now, you're ready for the next crunchy adventure!
Step 4. Coat With Panko Breadcrumbs
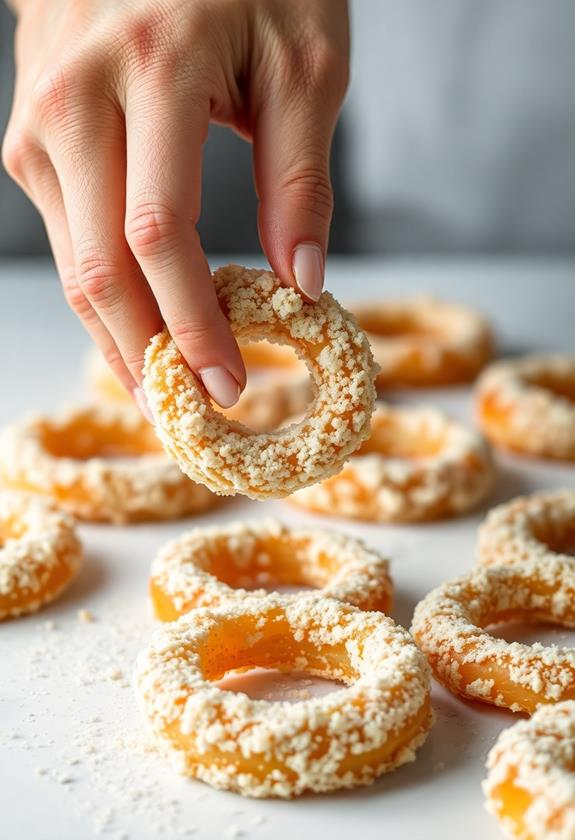
The breadcrumb coat is where the magic happens, transforming your onion rings into golden, crispy delights.
Take the onion rings you've just dipped in buttermilk and get ready to give them a crunchy makeover. Dunk each ring into the panko breadcrumbs, ensuring every nook and cranny is well-covered.
Don't be shy—press those breadcrumbs on firmly, like you're giving them a gentle hug. This step is vital for achieving that crunch we all know and love.
You might feel like a breadcrumb fairy, sprinkling joy everywhere. If you find some spots stubborn, just give them a little more love with another dip and coat.
Step 5. Preheat Air Fryer to 400°F
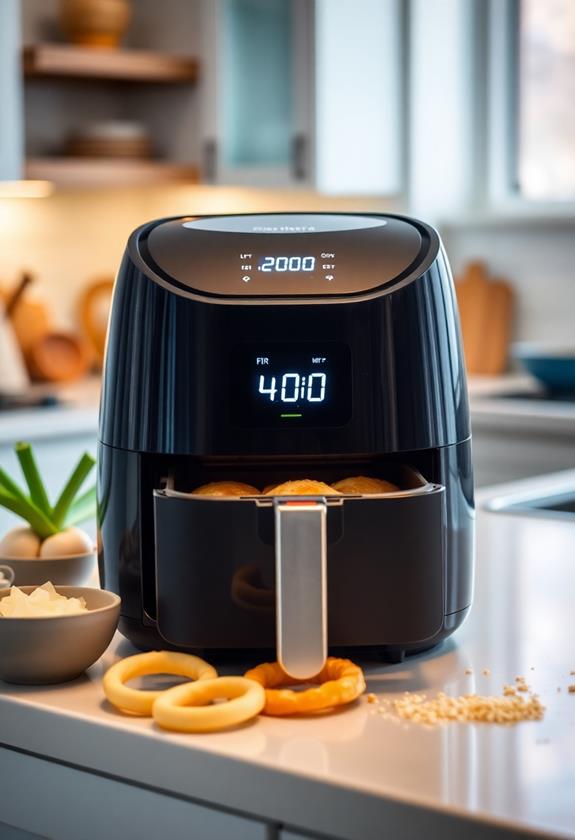
Before you begin cooking, preheat your air fryer to 400°F (200°C). It's like warming up for a race—vital for that perfect crisp!
You want your onion rings to greet a hot, ready-to-go air fryer, ensuring they cook evenly. While it heats up, you can finish prepping your ingredients, maybe have a little dance party in your kitchen—why not?
Preheating is essential; it helps achieve that golden-brown finish we all love. If your air fryer has a preheat setting, use it. If not, just let it run for about 3-5 minutes.
Think of it as setting the stage for a crunchy masterpiece. Remember, a well-preheated air fryer is your secret weapon to crispy, delicious onion rings!
Final Thoughts
Ultimately, making onion rings in an air fryer transforms a traditionally greasy snack into a healthier, crispy delight.
You'll love how easy it's to whip up a batch without the hassle of deep frying. The air fryer's hot air circulation gives each ring a delightful crunch, making them a hit at any gathering.
So, don't be shy—try out different seasoning blends to keep things exciting! Whether you're a kitchen newbie or an onion ring aficionado, this recipe is a game-changer.
Plus, you can enjoy them guilt-free, knowing they're lighter on the calories. Who knew healthier could taste this good?
Just don't forget to have your favorite dipping sauce ready—because once you start munching, you won't want to stop!
Frequently Asked Questions
Can I Use Gluten-Free Flour for This Recipe?
Yes, you can use gluten-free flour for this recipe. Just substitute the all-purpose flour with your preferred gluten-free blend. Verify it's a 1:1 ratio substitute for best results. You'll still achieve crispy, delicious onion rings.
How Do I Store Leftover Onion Rings?
To store leftover onion rings, place them in an airtight container lined with paper towels. Refrigerate them for up to three days. When you're ready to enjoy them again, reheat in the air fryer for ideal crispiness.
Can I Make These Onion Rings in Advance?
Yes, you can make the onion rings in advance. Prepare and coat them, then store them in the fridge on a tray. When ready, air fry them fresh for the best texture and serve immediately.
What Type of Onion Works Best for Onion Rings?
You should opt for large, sweet onions like Vidalia or Walla Walla. Their natural sweetness and lower sulfur content enhance flavor and texture. Slice them evenly for consistent results. You'll enjoy a perfect balance of sweetness and crunch.
Can I Substitute Regular Breadcrumbs for Panko?
Yes, you can use regular breadcrumbs instead of panko, but expect a different texture. Panko provides a lighter, crunchier coating. If you prefer a softer crust, regular breadcrumbs will work just fine for your onion rings.


