Apple Crisp Cheesecake Recipe
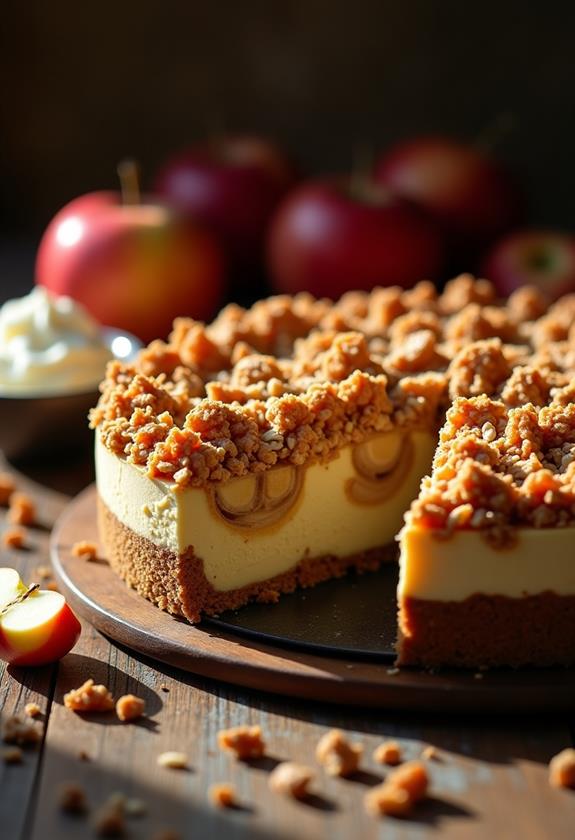
You might find that an Apple Crisp Cheesecake marries the creamy indulgence of classic cheesecake with the comforting warmth of apple crisp. This dessert offers an intriguing blend of textures and flavors without overwhelming the senses. As you consider preparing it, you'll start by setting your oven to 350°F and readying a 9-inch springform pan. Mixing cream cheese and sugar leads to a smooth base, but it's the addition of fresh apples layered atop that transforms this dish. Now, imagine the aroma as it bakes. Curious about the final steps to elevate your dessert?
Recipe
Apple Crisp Cheesecake is a delightful combination of creamy cheesecake and the comforting, spiced flavors of apple crisp. This dessert is perfect for fall, as it brings together the rich texture of cheesecake with the warm spices and natural sweetness of baked apples. The crisp topping adds a satisfying crunch, making it a crowd-pleaser for gatherings or special occasions. With simple ingredients and straightforward steps, this recipe is suitable for both novice and experienced bakers who want to create a memorable dessert.
To start, preheat your oven to 350°F (175°C) and prepare a 9-inch springform pan. The base of the cheesecake is a graham cracker crust, which you make by mixing graham cracker crumbs with melted butter and pressing it into the pan. The cheesecake layer is a mix of softened cream cheese, granulated sugar, eggs, and vanilla extract. Sliced apples are layered on top of the cheesecake mixture, followed by a crumble topping made of brown sugar, cinnamon, nutmeg, flour, oats, and cubed butter. This dessert bakes into a perfectly balanced treat with a creamy center, fruity layer, and crunchy topping.
Ingredients:
- 1 1/2 cups graham cracker crumbs
- 1/4 cup melted butter
- 1/2 cup granulated sugar
- 2 (8 oz) packages cream cheese, softened
- 2 large eggs
- 1 teaspoon vanilla extract
- 3 cups peeled, sliced apples
- 1/2 cup brown sugar
- 1 teaspoon ground cinnamon
- 1/2 teaspoon ground nutmeg
- 1/2 cup all-purpose flour
- 1/2 cup rolled oats
- 1/4 cup cold butter, cubed
To assemble the Apple Crisp Cheesecake, press the graham cracker mixture into the bottom of the prepared springform pan to form the crust. Beat the softened cream cheese and granulated sugar until smooth, then add the eggs one at a time, followed by the vanilla extract. Pour this mixture over the crust and smooth the top.
Layer the sliced apples evenly over the cheesecake mixture. In another bowl, combine the brown sugar, cinnamon, nutmeg, flour, and oats, then cut in the cold butter until the mixture resembles coarse crumbs. Sprinkle this topping over the apples. Bake the cheesecake for 50-60 minutes until the top is golden and the center is set. Allow it to cool to room temperature before refrigerating for at least 4 hours.
For the best results, use firm apples like Granny Smith or Honeycrisp, which hold their shape and provide a nice tartness. Confirm the cream cheese is at room temperature before mixing to avoid lumps and achieve a smooth filling. If the cheesecake begins to brown too quickly, cover it loosely with aluminum foil to prevent over-browning.
Serve the cheesecake chilled for the best texture and flavor, and consider adding a dollop of whipped cream or a scoop of vanilla ice cream for an extra indulgent touch.
Cooking Steps
First things first, preheat your oven to 350°F, because you don't want to end up with a cheesecake that's as cold as a polar bear's nose.
Grab a 9-inch springform pan and get ready to show those graham cracker crumbs who's boss by pressing them into a solid crust.
Now, in a bowl, mix cream cheese and sugar until smooth as a jazz saxophone, then add eggs and vanilla extract, giving it a good stir before layering the apples over this creamy concoction.
Step 1. Preheat Oven to 350°F
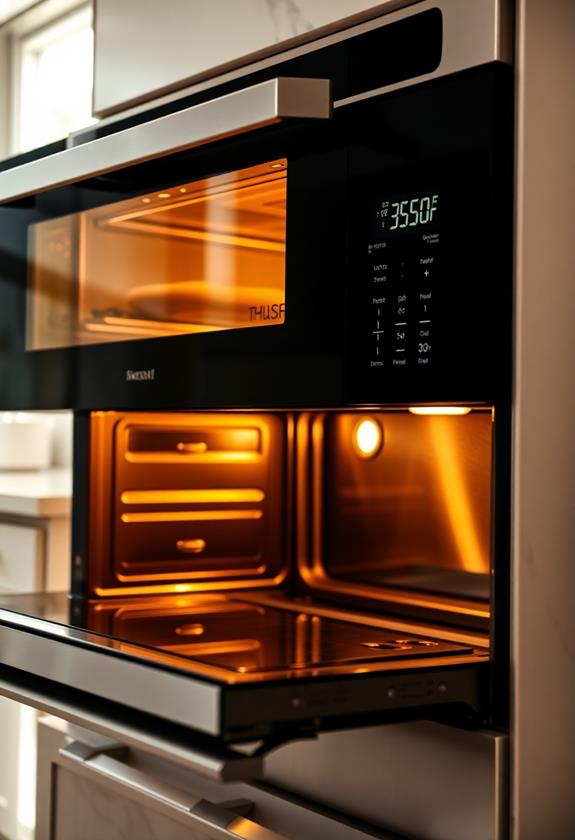
As you commence on creating this delicious Apple Crisp Cheesecake, start by making sure your oven is ready by preheating it to 350°F (175°C). This step is essential, setting the stage for your cheesecake to bake evenly.
Picture your oven as a warm hug for your dessert—trust me, you'll want it prepped and cozy before anything else goes in! While it heats up, take a moment to gather your ingredients.
Preheating guarantees the cheesecake sets properly, preventing any soggy or undercooked surprises. It's like the difference between a crisp high-five and a limp handshake—nobody wants the latter!
Step 2. Prepare 9-Inch Springform Pan
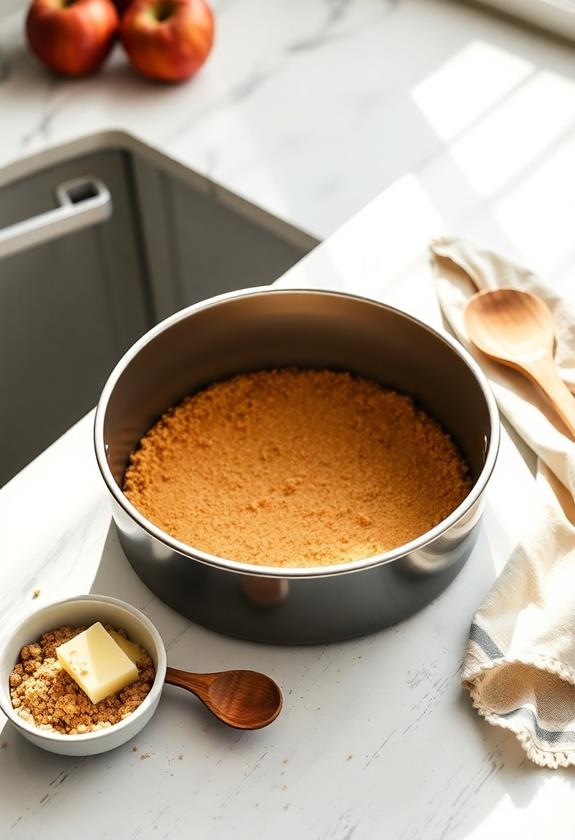
With your oven preheating, it's time to prepare the 9-inch springform pan, which will be the foundation for your Apple Crisp Cheesecake.
First, grab your graham cracker crumbs and melted butter. Mix them together in a bowl until they're well combined—think of it as a delicious sandy beach for your cheesecake to sunbathe on!
Press this mixture firmly into the bottom of your springform pan, creating an even crust. Use the back of a spoon or your fingers to make sure it's nice and compact.
This crust will hold everything together, so make sure it's solid. Once done, set the pan aside. It's now ready to embrace the creamy cheesecake filling that's coming its way!
Step 3. Mix Cream Cheese, Sugar
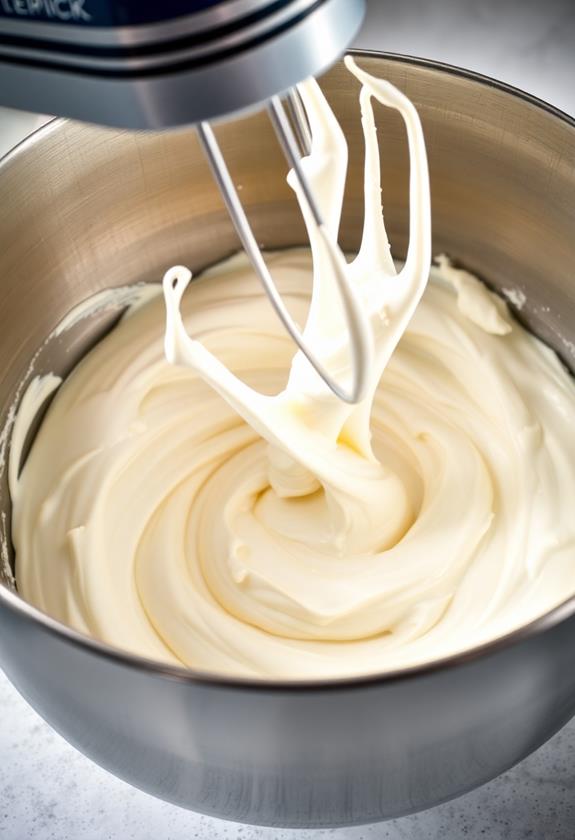
Grab your mixing bowl and get ready to create the creamy foundation of your Apple Crisp Cheesecake.
Start by tossing in two 8-ounce packages of softened cream cheese. It's essential that they're at room temperature, unless you enjoy battling stubborn lumps—consider it a wrestling match you'd rather avoid.
Next, add half a cup of granulated sugar.
Now, mix with enthusiasm until you achieve a smooth, velvety consistency. You're aiming for a texture smoother than a jazz saxophone solo.
As you mix, feel free to channel your inner rockstar, because why not? Just keep mixing until you're certain there's no trace of sugar grains.
Congratulations, you've just laid the groundwork for a cheesecake that'll have everyone asking for seconds!
Step 4. Add Eggs, Vanilla Extract
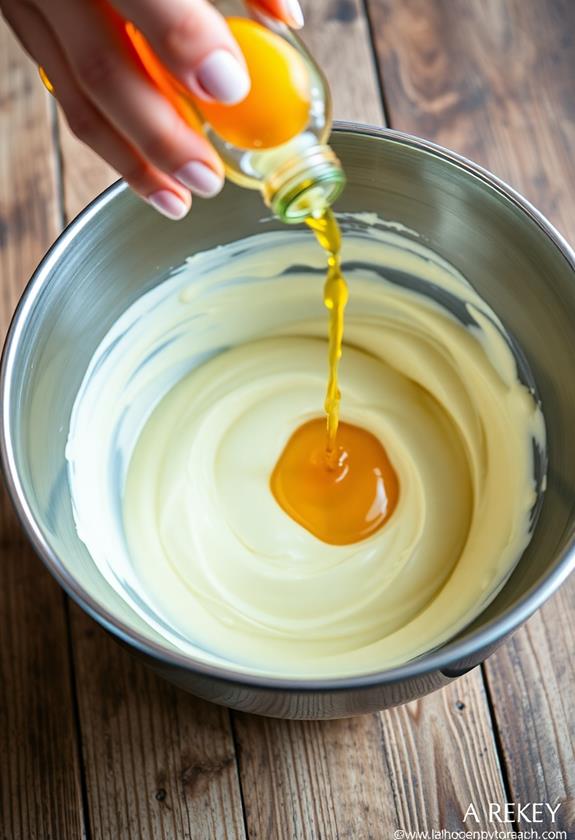
Now that your cream cheese mixture is smooth and ready, it's time to add the eggs. Crack them one at a time into the bowl, mixing gently after each addition. This guarantees the eggs are well incorporated and helps maintain that creamy texture.
Next, pour in the vanilla extract, which adds a lovely hint of flavor that complements the apple crisp topping. Stir it in with a little flair—just imagine you're on a cooking show!
Step 5. Layer Apples Over Cheesecake Mixture
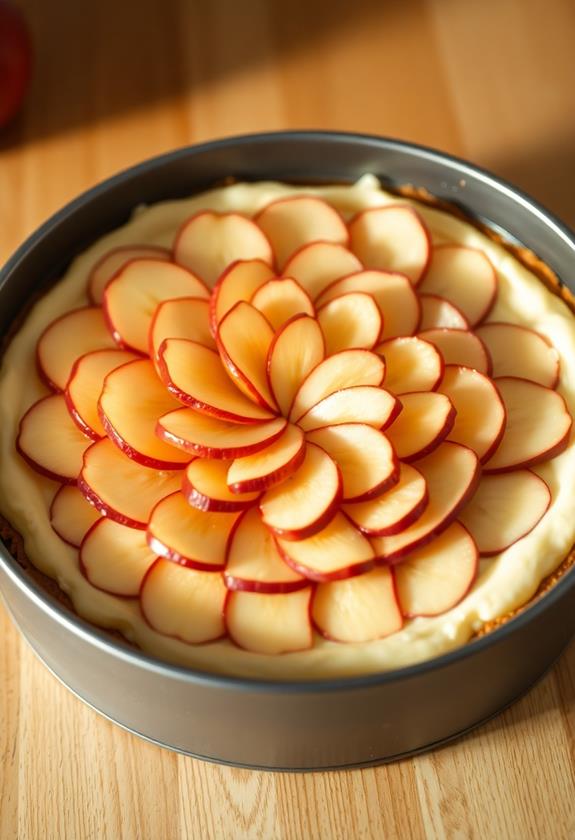
Once your cheesecake mixture is smooth and ready in the pan, it's time to add the apples. Grab those perfectly peeled and sliced apples, and arrange them lovingly over the cheesecake layer.
Don't worry about making it look perfect—think of it as apple art! Spread them evenly for a delightful bite in every slice. Remember, these apples are the stars, bringing that juicy sweetness and hint of tartness.
Now, a tip: Use Granny Smith or Honeycrisp apples for their crispness and flavor. They won't turn into apple mush while baking.
As you layer, imagine each apple slice as a ticket to flavor town! This step is quick, but it lays the foundation for your delicious apple crisp topping. Enjoy the process!
Final Thoughts
As you savor your Apple Crisp Cheesecake, you'll appreciate the harmonious blend of comforting flavors and textures that make this dessert truly exceptional. The combination of creamy cheesecake, spiced apples, and crunchy topping is pure magic.
Remember, using firm apples keeps the texture just right, while room temperature cream cheese guarantees a smooth filling. Don't worry if you've got crumbs on your shirt—that's just part of the fun!
This cheesecake is perfect for impressing guests or treating yourself on a cozy night in. It's a dessert that feels like a warm hug, especially with a dollop of whipped cream or ice cream on top.
Frequently Asked Questions
Can I Use Gluten-Free Graham Crackers for the Crust?
Yes, you can use gluten-free graham crackers for the crust. Simply substitute them for regular graham crackers in the same amount. You'll still achieve a delicious crust, ensuring the dessert is suitable for gluten-free guests.
How Do I Store Leftover Apple Crisp Cheesecake?
Store leftover cheesecake by wrapping it tightly in plastic wrap or placing it in an airtight container. Keep it in the refrigerator for up to five days. For longer storage, freeze it for up to three months.
What Type of Apples Work Best for This Recipe?
You should use firm apples like Granny Smith or Honeycrisp for this recipe. They hold their shape well during baking and provide a nice tartness that perfectly complements the sweetness of the cheesecake for a balanced flavor.
Can I Make This Cheesecake Without a Springform Pan?
You can definitely make this cheesecake without a springform pan. Use a regular cake pan lined with parchment paper, ensuring it hangs over the edges. This helps lift the cheesecake out easily. Just be cautious when serving.
How Long Can I Keep the Cheesecake in the Refrigerator?
You can keep the cheesecake in the refrigerator for up to five days. Make certain it's covered well to maintain freshness. If you want to extend its shelf life, slice and freeze individual portions for later enjoyment.
Conclusion
You've made it to the end, and now it's time to enjoy your masterpiece! With each bite of this Apple Crisp Cheesecake, you'll taste the creamy cheesecake mingling with spiced apples and that irresistible crunchy topping. Don't be surprised if it disappears quickly—everyone will want seconds! Remember, it's okay if the kitchen gets a little messy; that's how you know you had fun. So grab a fork, share the joy, and savor every delicious moment.

