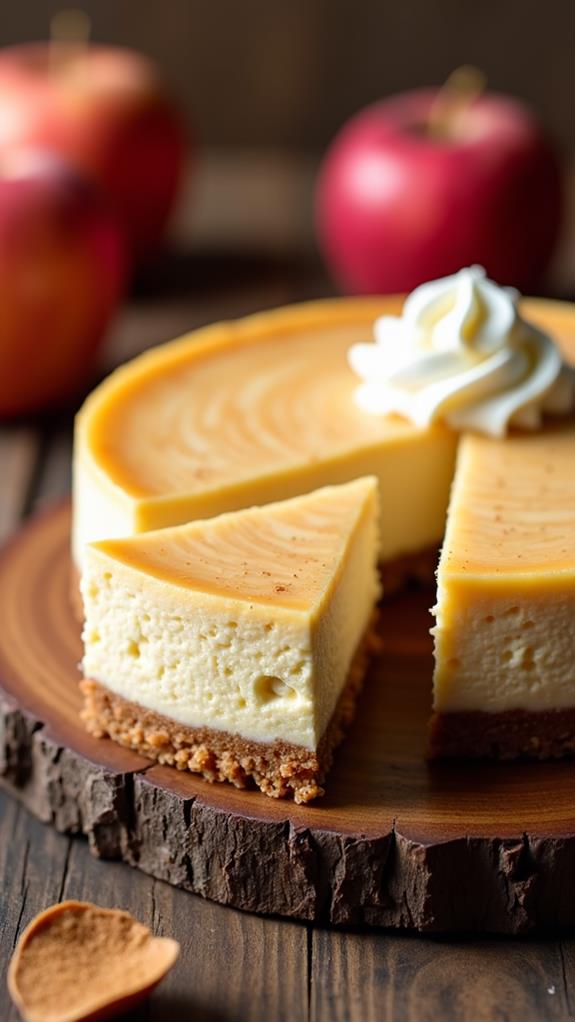
Apricot Tart Recipe
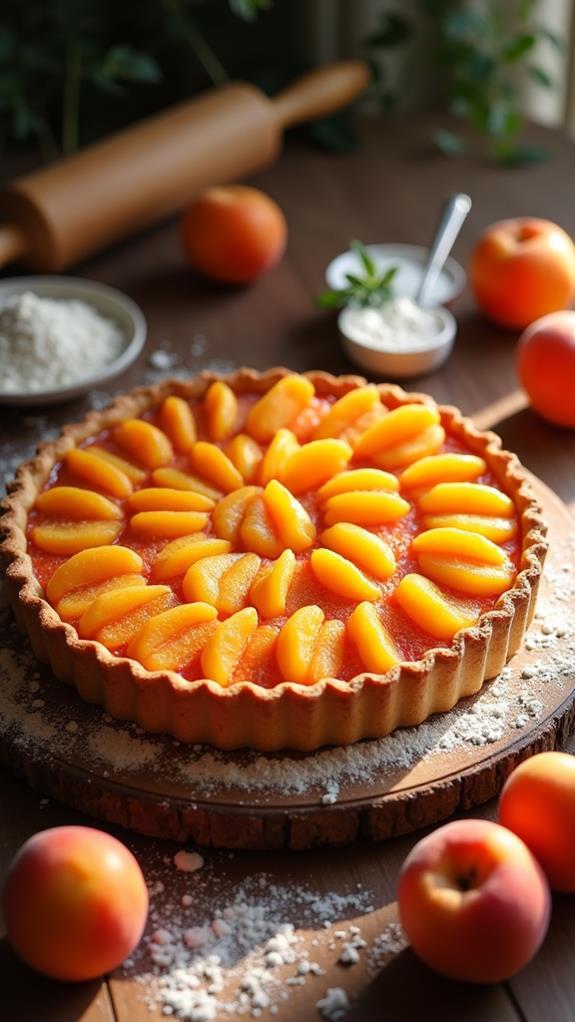
You're about to set off on a culinary journey that combines simplicity with elegance: the apricot tart. This recipe starts with crafting a flaky crust that sets the stage for the sweet, luscious filling of apricot preserves and fresh apricot halves. Have you ever wondered about the secret to achieving that perfect balance between a crisp pastry and a tender fruit filling? As you prepare to roll the dough into your tart pan, the key steps to mastering this dessert are just around the corner. Would you like to discover what transforms this tart into a truly satisfying treat?
Recipe
Apricot tart is a simple yet elegant dessert that beautifully showcases the natural sweetness of apricots. The tart begins with a buttery, crisp pastry crust that forms the foundation for the luscious fruit topping. This dessert is perfect for any occasion, whether you're looking to impress guests at a dinner party or simply enjoy a sweet treat. The combination of the flaky crust and juicy apricots creates a delightful contrast in textures, while the subtle sweetness of the apricots is complemented by the rich flavor of the crust.
To prepare the apricot tart, start by making the pastry crust. The process involves combining flour, sugar, and salt, and then incorporating chilled butter until the mixture resembles coarse crumbs. An egg yolk and cold water are added to bring the dough together. Once the dough is ready, it's rolled out and fitted into a tart pan, then chilled to maintain its shape during baking.
The filling is made by heating apricot preserves and cornstarch until thickened, spread over the crust, and topped with fresh apricot halves. The tart is then baked to golden perfection, allowing the flavors to meld beautifully.
Ingredients:
- 1 1/2 cups all-purpose flour
- 1/2 cup unsalted butter, chilled and diced
- 1/4 cup granulated sugar
- 1/4 teaspoon salt
- 1 egg yolk
- 2 tablespoons cold water
- 1 cup apricot preserves
- 1 tablespoon cornstarch
- 8-10 fresh apricots, halved and pitted
- 2 tablespoons sugar
To make the apricot tart, begin by preparing the pastry crust. In a bowl, mix the flour, sugar, and salt, then cut in the chilled butter until the mixture resembles coarse crumbs. Add the egg yolk and cold water, mixing until a dough forms. Roll out the dough on a floured surface, fit it into a tart pan, and chill for 30 minutes.
Preheat the oven to 375°F (190°C). In a small saucepan, combine the apricot preserves and cornstarch, heating until thickened. Spread this mixture over the chilled crust, arrange the apricot halves on top, and sprinkle with sugar. Bake for 35-40 minutes until the crust is golden and the apricots are tender.
For the best results, use ripe but firm apricots to maintain the tart's texture. If the tart's edges brown too quickly while baking, cover them with foil to prevent burning. Serving the tart warm or at room temperature enhances its flavors, and for an extra touch of indulgence, consider adding a scoop of vanilla ice cream or a dollop of whipped cream on top.
Cooking Steps
Let's get started on your apricot tart by combining the dry ingredients first—flour, sugar, and salt—in a mixing bowl, which is as easy as pie, or tart in this case!
Next, you'll add the chilled butter and use a pastry cutter or your fingers to mix it in until it looks like a crumbly mess, but don't worry, that's exactly what you want.
Once that's done, mix in the egg yolk, roll the dough into the tart pan, and give it a nice 30-minute nap in the fridge to chill out before baking.
Step 1. Combine Dry Ingredients First
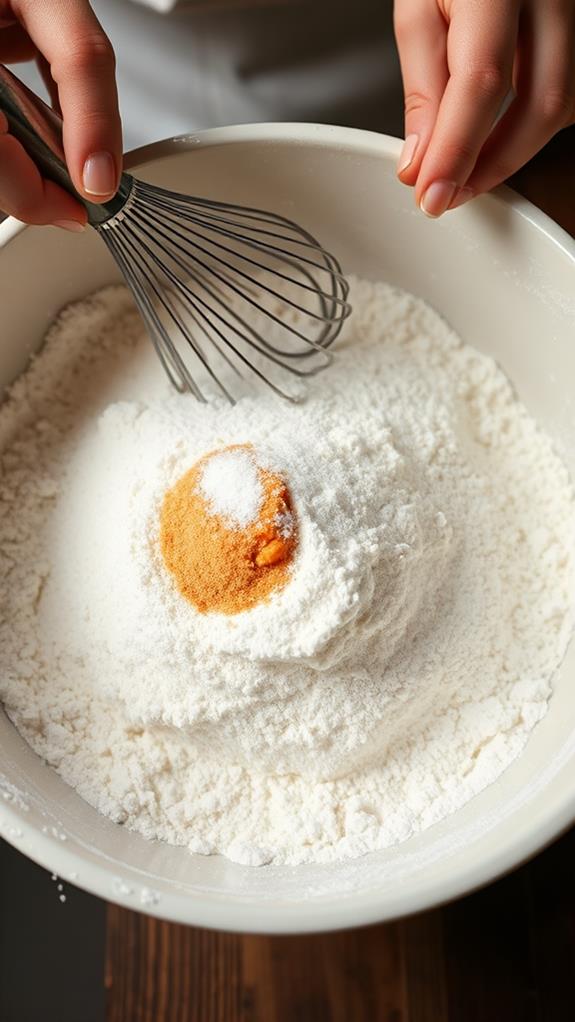
To start the preparation of your apricot tart, you'll want to combine the dry ingredients first. Grab a mixing bowl and toss in 1 1/2 cups of all-purpose flour, 1/4 cup of granulated sugar, and 1/4 teaspoon of salt.
Give it a good stir with a whisk or fork, making sure everything's evenly mixed. Imagine you're conducting a tiny orchestra of ingredients, playing the symphony of your soon-to-be-tart.
Mixing dry ingredients first guarantees they distribute evenly throughout the dough, preventing any surprise salty or sweet spots. Plus, it feels like a mini science experiment without all the explosions.
Step 2. Add Chilled Butter Next
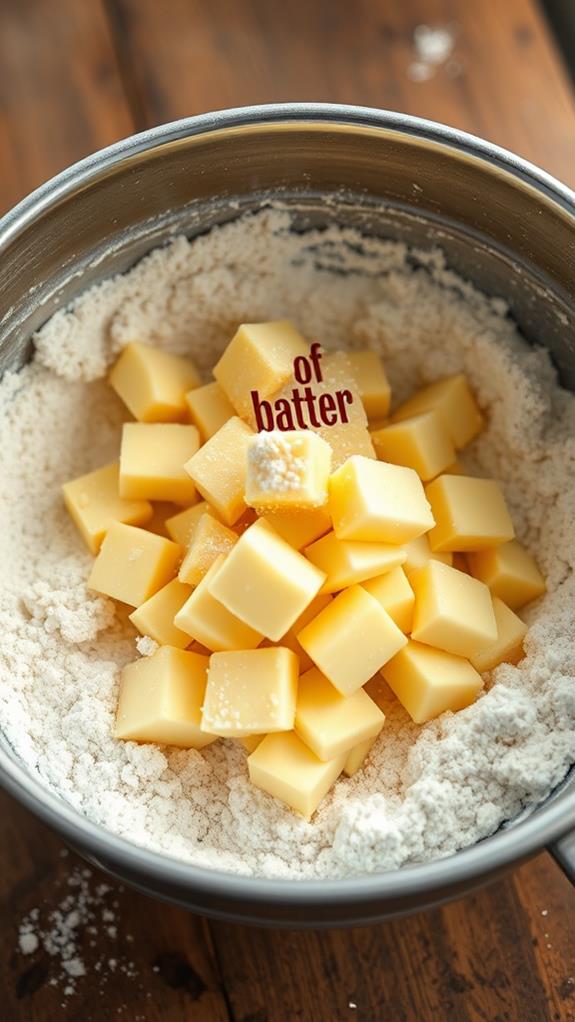
Having combined the dry ingredients, it's time to add the chilled butter. Grab your diced, unsalted butter, and toss it into the flour mixture.
Here's where the fun begins: use a pastry cutter or your fingers to cut the butter into the flour. You're aiming for a texture like coarse crumbs, so think of it as making buttery snowflakes!
If you feel like a kid playing with sand, you're on the right track. Keep the butter cold throughout this process; it's the secret to a flaky crust.
If your kitchen is warm, pop the mixture into the fridge for a minute. Don't fret if your hands get messy—it's all part of the culinary adventure.
You're doing great!
Step 3. Mix in Egg Yolk
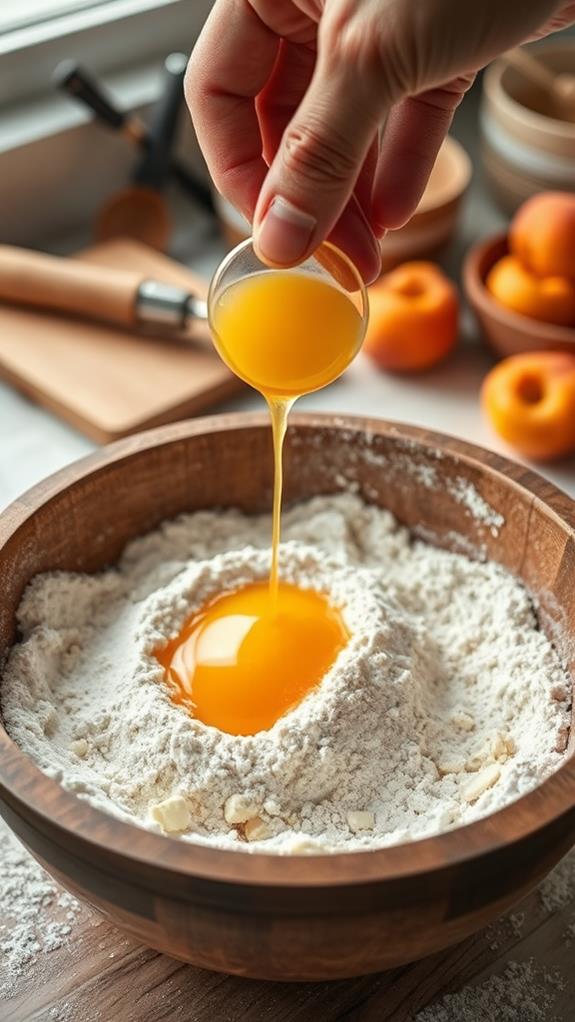
Now that your butter-flour mixture resembles coarse crumbs, it's time to bring in the egg yolk. Go ahead and crack that egg confidently, separating the yolk with the finesse of a pro.
Add the yolk to your crumbly mixture. This little gem will work its magic, binding everything together like a glue that doesn't need an arts and crafts degree.
Use a fork or your trusty fingers to mix until the dough starts clumping. If this dough was any more cooperative, it would buy you dinner!
You can add a splash of cold water if it's feeling too dry. But remember, don't overdo it—nobody wants a soggy pastry.
With patience and a touch of humor, you're on your way to tart perfection!
Step 4. Roll Dough Into Tart Pan
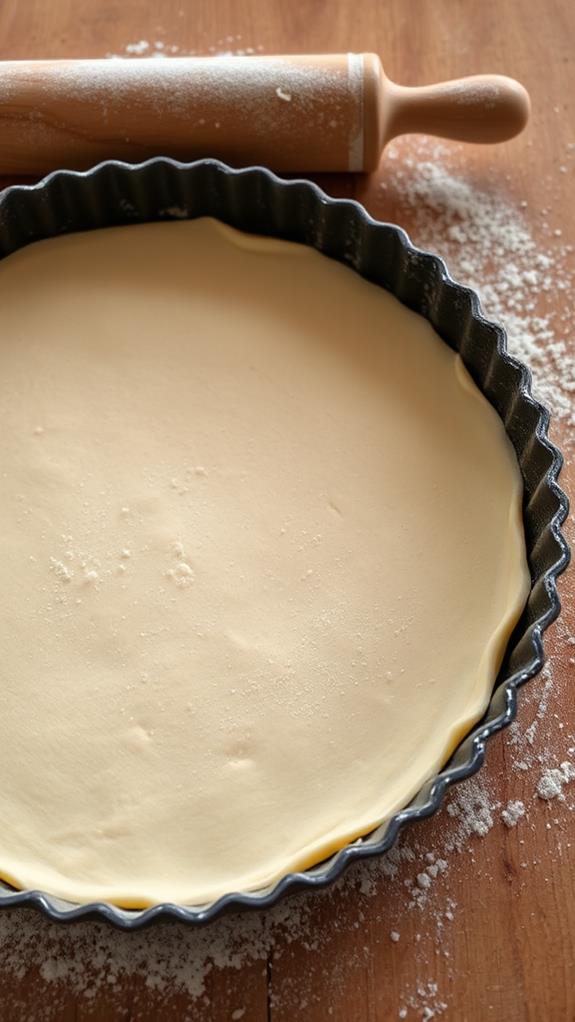
Gently roll out your dough on a floured surface, ensuring it's about an eighth of an inch thick. You've got this!
Keep your rolling pin moving in all directions to maintain an even thickness. Once rolled, carefully lift the dough using your rolling pin—don't worry, it's not as tricky as it sounds!
Drape the dough over your tart pan. Now, for the fun part: fitting it snugly into the pan.
Press lightly along the bottom and sides, making sure there are no air bubbles. If you find any tears, patch them with extra dough. Trim the edges with a knife for a clean look.
Step 5. Chill Crust for 30 Minutes
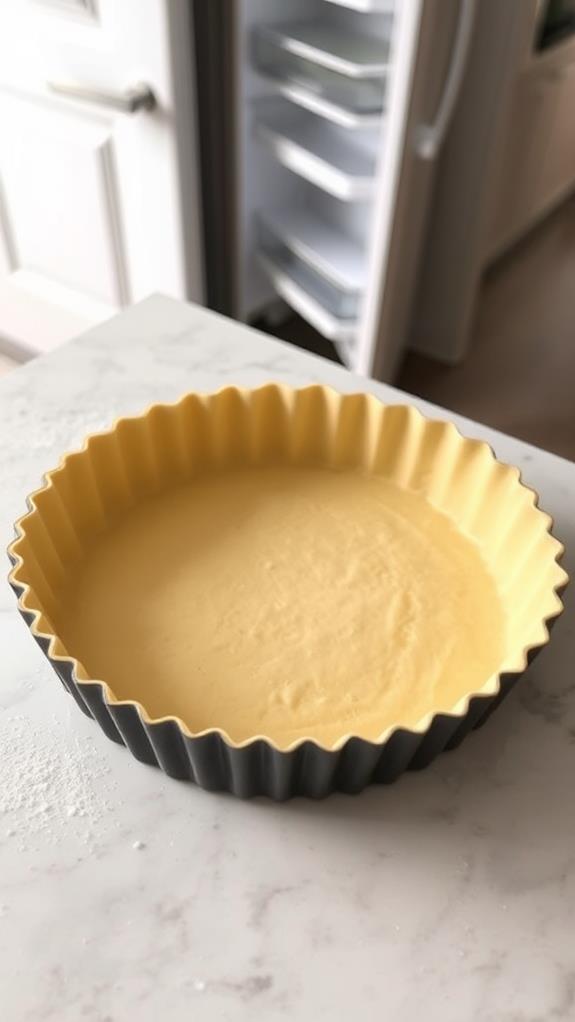
Once your tart base is snugly fitted in the pan, it's time to let it rest.
Pop it in the fridge for 30 minutes. This chill time isn't just a coffee break for your dough—it's essential for keeping the crust flaky and preventing it from shrinking during baking. The butter in the dough firms up, turning into delicious, flaky layers when baked.
So, resist the urge to skip this step!
While waiting, you can serenely sip tea, or frantically clean the flour-snowstorm left in your kitchen.
Remember, patience pays off. Your future self will thank you when slicing into that perfectly crisp crust. Plus, a well-chilled crust equals easy-peasy transfer from pan to plate.
Enjoy the pause!
Final Thoughts
As you savor each bite of the apricot tart, it's clear that the combination of fresh apricots and buttery pastry creates a dessert that's both simple and sophisticated.
You've taken everyday ingredients and transformed them into something extraordinary. Whether it's your first attempt or you're a seasoned baker, the joy of creating this treat is undeniable.
Don't worry if a few apricots shift during baking; it just adds character!
Remember, the tart isn't just a dessert—it's a conversation starter. Picture yourself sharing it with friends, their eyes widening at the first taste.
Next time, try experimenting with a dash of cinnamon or a sprinkle of almond slices for added flair.
Ultimately, you've crafted a dessert that's sure to impress.
Frequently Asked Questions
Can I Use Frozen Apricots Instead of Fresh Ones?
Yes, you can use frozen apricots instead of fresh ones. Thaw them first and pat dry to remove excess moisture. This prevents the tart from becoming soggy, ensuring a similar texture and flavor to fresh apricots.
How Can I Make the Tart Gluten-Free?
To make the tart gluten-free, substitute the all-purpose flour with a gluten-free flour blend. Check that the cornstarch is gluten-free too. Verify all ingredients you're using are labeled gluten-free for a safe and delicious dessert.
What Is the Best Way to Store Leftover Apricot Tart?
Store leftover apricot tart in an airtight container in the refrigerator to maintain freshness. If you'd like to enjoy it warm later, gently reheat slices in the oven or microwave. This keeps it tasting delicious and fresh.
Can I Substitute Apricot Preserves With Another Fruit Preserve?
You can substitute apricot preserves with another fruit preserve, like peach or raspberry, to suit your taste. Just guarantee the flavor complements the fresh apricots. This substitution adds a unique twist to your tart's flavor profile.
How Do I Prevent the Tart Crust From Becoming Soggy?
To prevent a soggy tart crust, blind bake it first by lining with parchment and adding pie weights. Let it cool before adding filling. This guarantees the crust stays crisp and supports the delicious toppings.
Conclusion
You've made it to the end, and your apricot tart is ready to shine! With its crisp, buttery crust and sweet, juicy apricots, this dessert is sure to impress. Don't forget to let it cool a bit before slicing, unless you enjoy molten apricot lava! Pair it with a scoop of vanilla ice cream for an extra treat. Enjoy the fruits of your labor, literally, and share the deliciousness with friends and family, if you're feeling generous!


