Biscoff Cheesecake Recipe
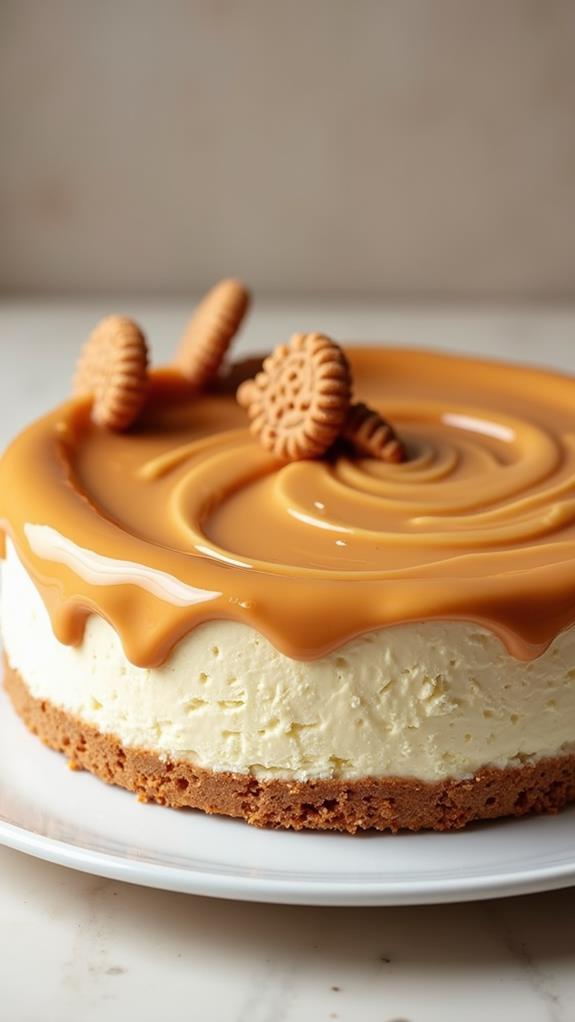
Imagine the satisfaction of combining the spiced, caramel notes of Biscoff with the creamy texture of cheesecake. You've probably wondered how to get that perfect balance of flavors and textures. Well, creating a Biscoff cheesecake isn't as challenging as it might seem. You've got the cookies, the cream cheese, and the secret step that makes it all come together seamlessly. But what exactly is that step? Before you slip into culinary bliss, there's one essential aspect of this recipe that transforms it from ordinary to extraordinary. Curious about what it might be?
Recipe
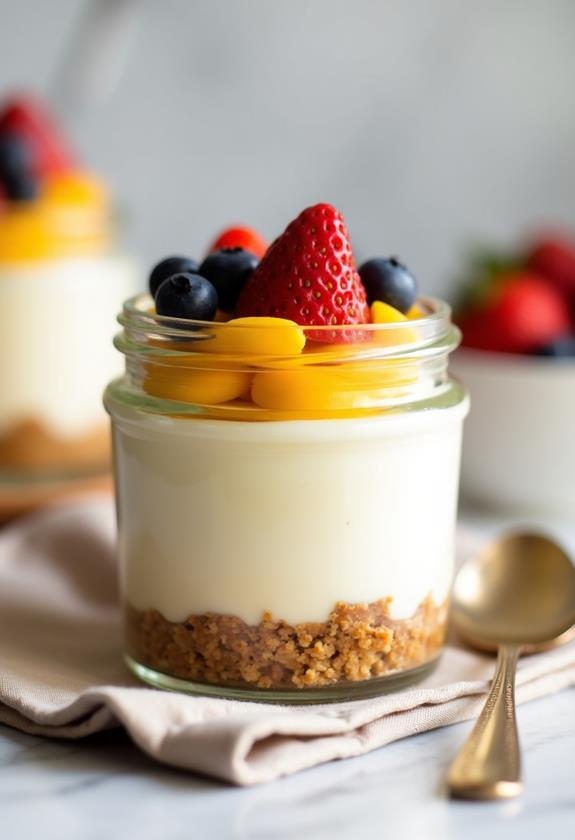
Biscoff cheesecake is an indulgent dessert that beautifully combines the spicy sweetness of Biscoff cookies with the creamy texture of cheesecake. With its crunchy cookie crust, velvety filling, and a delightful topping of Biscoff spread, this cheesecake is a treat for the senses.
Whether you're preparing it for a special occasion or simply to satisfy a sweet craving, this recipe is straightforward and rewarding, guaranteeing a delicious outcome every time.
The unique flavor profile of Biscoff cookies, reminiscent of cinnamon and caramel, pairs perfectly with the rich cheesecake filling. The process of making this cheesecake is both satisfying and simple, involving basic steps that even novice bakers can follow with ease.
The result is a stunning dessert that's as pleasing to the eyes as it's to the palate, certain to impress anyone who takes a bite.
Ingredients:
- 250g Biscoff cookies
- 100g unsalted butter, melted
- 500g cream cheese
- 100g powdered sugar
- 1 teaspoon vanilla extract
- 200ml heavy cream
- 150g Biscoff spread
To prepare the Biscoff cheesecake, begin by crushing the Biscoff cookies into fine crumbs and mixing them with the melted butter to form a crust.
Press this mixture into the base of a springform pan and place it in the refrigerator to chill. In a large bowl, beat together the cream cheese, powdered sugar, and vanilla extract until smooth and creamy.
In a separate bowl, whip the heavy cream until soft peaks form, then gently fold the whipped cream into the cream cheese mixture.
Pour this cheesecake filling over the chilled crust, smoothing the surface. Slightly melt the Biscoff spread and drizzle it artistically over the top of the cheesecake.
Refrigerate the assembled cheesecake for at least 4 hours, or until it's fully set, before serving.
For best results, make certain all ingredients are at room temperature before starting, as this will help achieve a smoother texture for the cheesecake.
If you prefer a firmer crust, consider baking it at 180°C (350°F) for about 10 minutes before adding the cheesecake filling.
When drizzling the Biscoff spread, use a spoon to create decorative swirls for an elegant finish.
Confirm the cheesecake is refrigerated long enough to set properly, allowing for neat and perfect slices when serving.
Enjoy your luscious homemade Biscoff cheesecake!
Cooking Steps
To kick off your Biscoff cheesecake adventure, crush the cookies into fine crumbs, mixing them with melted butter like you're giving them a warm buttery hug.
Then press this mixture into a pan and send it on a chilly vacation in the fridge.
While your crust chills, beat together the cream cheese, powdered sugar, and vanilla until it's smoother than a jazz saxophone solo.
Next, channel your inner gentle giant as you fold in the whipped cream, keeping it light and airy, like you're handling a cloud.
Step 1. Crush Cookies for Crust
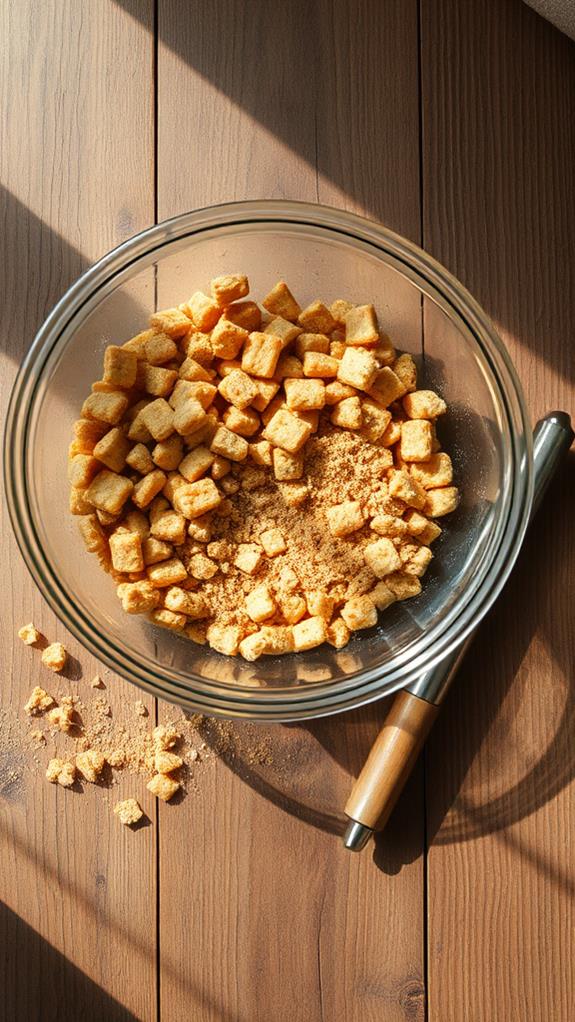
Start by transforming a batch of Biscoff cookies into fine crumbs to form the base of your cheesecake.
Grab a rolling pin or a food processor, and let's put those cookies to work. If you're using a rolling pin, toss the cookies in a plastic bag first—no one wants a kitchen covered in cookie dust! Crush them until they resemble beach sand, but without the sunburn.
If you've got a food processor, pulse the cookies until they're finely ground. Remember, the finer the crumbs, the better your crust will hold together.
Feel free to nibble on a cookie or two while you work; after all, the chef deserves a taste test!
Once crushed, set the crumbs aside, ready for the next step.
Step 2. Mix Crumbs With Melted Butter
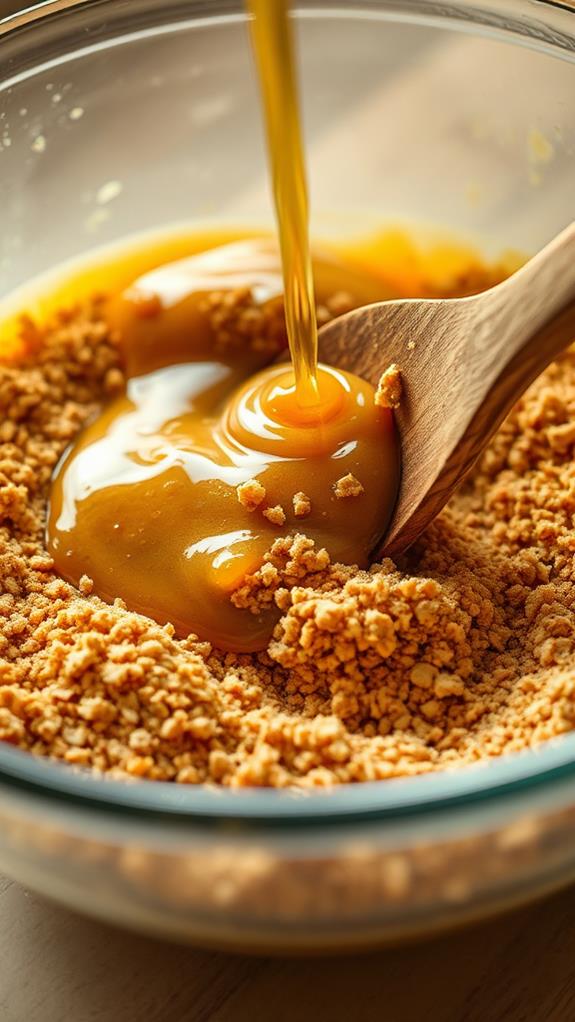
Once your cookie crumbs are ready, it's time to combine them with melted butter.
Grab a mixing bowl, toss in those lovely Biscoff crumbs, and pour the melted butter over them. You might think, "Butter makes everything better," and in this case, you're absolutely right!
Use a spoon or spatula to mix until the crumbs look like wet sand—trust me, it's more appealing than it sounds. You'll want every crumb to be coated, so don't rush; give it a little love.
If your kitchen feels like a beach party with all that sandy goodness, you're on the right track.
This buttery crumb concoction will form the foundation of your cheesecake, giving it that irresistible crunch.
Step 3. Chill Crust in Refrigerator
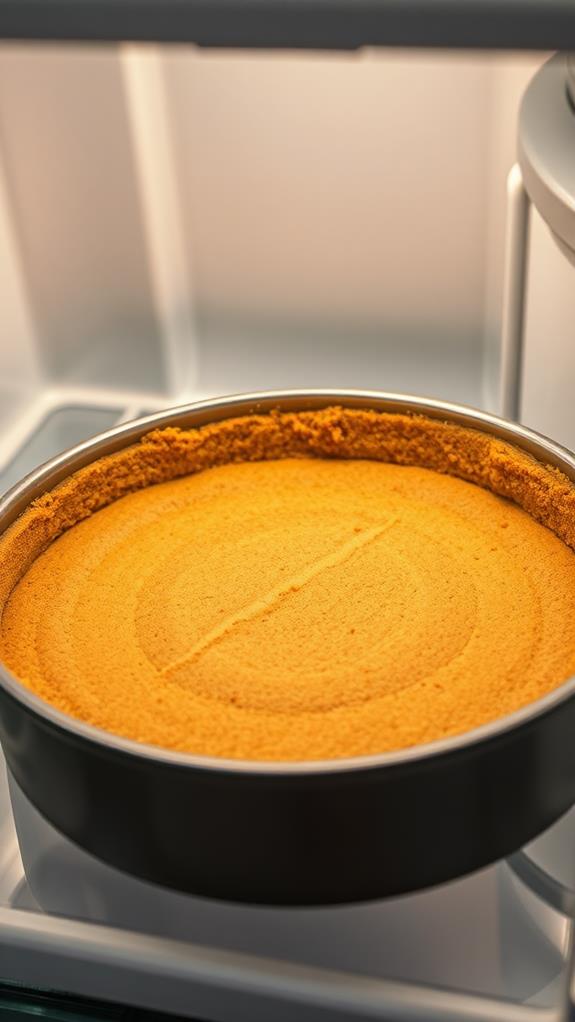
With your buttery crumb base ready, it's time to let the refrigerator work its magic. Place the crust in the fridge, allowing it to chill for at least 30 minutes. This step guarantees the crust firms up nicely, so it doesn't crumble when you add the creamy filling.
Think of this as the crust taking a little nap before the big show—everyone needs their beauty rest, right?
Make certain your fridge is set to a cool temperature, as anything too warm might leave you with a sad, droopy crust.
While waiting, you can do a little dance of excitement or maybe tidy up your workspace. By the time the crust is ready, you'll have a solid foundation for your dreamy Biscoff cheesecake masterpiece!
Step 4. Beat Cream Cheese Mixture
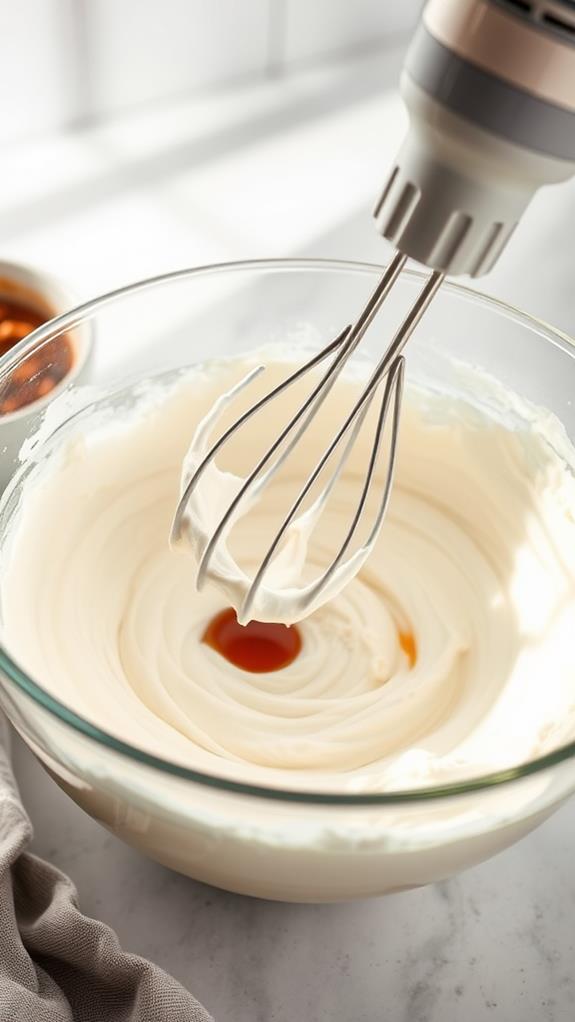
Next, gather your cream cheese, powdered sugar, and vanilla extract, and place them in a large mixing bowl.
Using an electric mixer, beat the ingredients on medium speed until you achieve a smooth, creamy consistency.
Don't rush this step; it's like giving your cheesecake a luxurious spa treatment!
Make certain there are no lumps hiding in the mixture because nobody wants a surprise chunk of cream cheese.
As you mix, you'll notice the aroma of vanilla wafting up, tempting you to taste a spoonful—resist, if you can!
If you're feeling especially fancy, scrape down the sides of the bowl with a spatula to guarantee everything's well-mixed.
This creamy concoction is the heart of your cheesecake, setting the stage for deliciousness.
Step 5. Fold Whipped Cream Gently
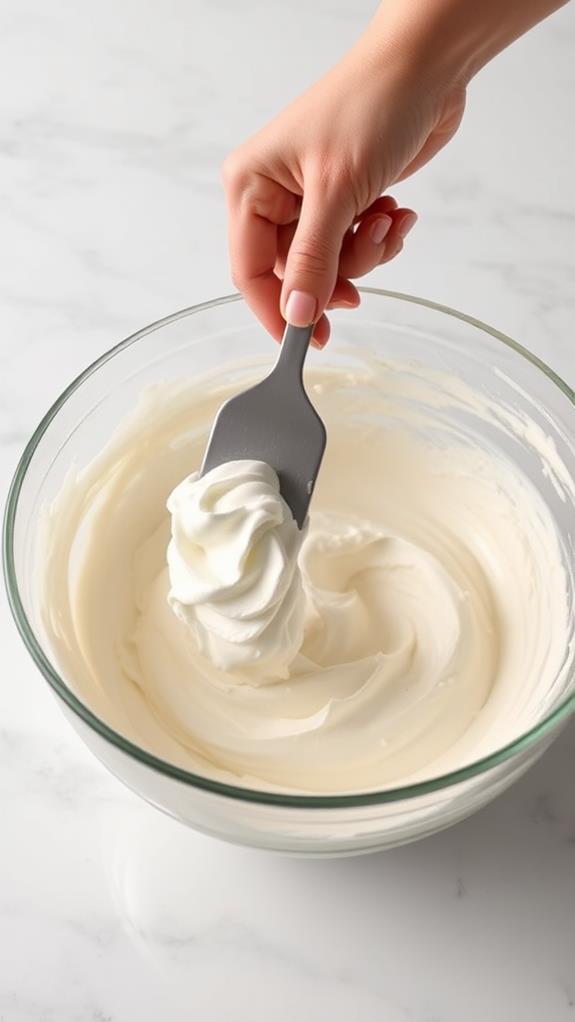
You're now at a crucial point in crafting your Biscoff cheesecake. You've got your whipped cream ready, and it's time to fold it into the cream cheese mixture.
This step is essential for achieving that dreamy, airy texture we all adore. Take a spatula and gently scoop the whipped cream over the cream cheese mixture.
Now, with gentle, sweeping motions, fold the cream in. Imagine you're folding a soft blanket; you want to be gentle, not aggressive. This helps keep the air in the whipped cream, giving your cheesecake its lightness.
Don't rush—patience is key here. A few lumps are fine, and remember, you're not at a gym, so no need to flex those muscles too much!
Final Thoughts
Ultimately, crafting a Biscoff cheesecake isn't just about following a recipe; it's an experience that brings both creativity and satisfaction.
You've transformed simple ingredients into a masterpiece, one that promises to impress at any gathering. The process is straightforward, yet offers room for personal flair, whether it's adding decorative swirls or adjusting the crust's texture.
You've embraced the delightful blend of Biscoff's cinnamon-caramel essence with creamy cheesecake.
Don't stress over minor imperfections—they're part of the homemade charm! Remember to let your cheesecake chill thoroughly; patience is key.
When you finally slice into your creation, savor each bite and share the joy with family and friends. After all, dessert is best enjoyed in good company, with a smile and perhaps an extra forkful!
Frequently Asked Questions
Can I Use a Different Type of Cookie for the Crust?
You can definitely use a different type of cookie for the crust. Try using graham crackers, Oreos, or digestive biscuits. Just crush them and mix with melted butter as you would with the original recipe.
How Long Can the Cheesecake Be Stored in the Refrigerator?
You can store the cheesecake in the refrigerator for up to five days. Make certain it's covered well to maintain freshness. If you want to keep it longer, consider freezing it for up to three months.
Is It Possible to Make a Vegan Version of This Cheesecake?
Yes, you can create a vegan version! Substitute dairy ingredients with vegan cream cheese and coconut cream. Use vegan butter and cookies for the crust. Make certain all ingredients are plant-based. Enjoy your delicious vegan-friendly dessert!
Can I Use Low-Fat Cream Cheese for a Lighter Version?
Yes, you can use low-fat cream cheese for a lighter version. It'll reduce the calorie content slightly while still maintaining a creamy texture. Just make certain you beat it well to achieve the desired smoothness in your cheesecake.
How Do I Prevent Cracks in the Cheesecake Filling?
To prevent cracks in your cheesecake filling, make certain ingredients are at room temperature and avoid overmixing. Bake slowly in a water bath and let it cool gradually. Don't open the oven door during baking to maintain even temperature.
Conclusion
Now that you've mastered the Biscoff cheesecake, you're ready to impress at any gathering! It's hard to resist that creamy filling and crunchy crust combo, isn't it? Remember, patience is key—let it chill for those vital hours so each slice is perfection itself. And hey, if you sneak a taste of that Biscoff spread while drizzling, we won't judge! Enjoy this delightful treat, and watch as everyone swoons over your dessert skills. Happy indulging!

