Cheesecake Water Bath Recipe
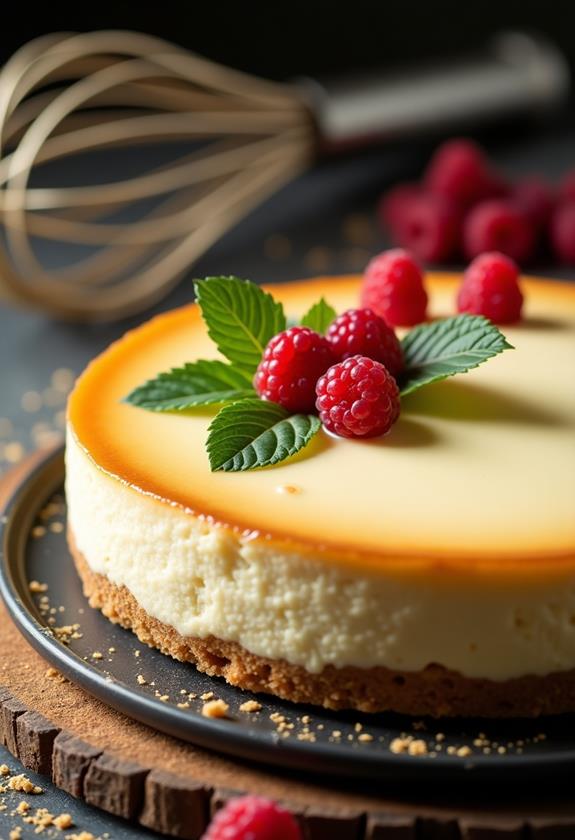
When you commence on making a cheesecake with the water bath method, you're ensuring a dessert that's both creamy and crack-free. It might sound complex, but with a few careful steps, like mixing your graham cracker crumbs with melted butter and beating cream cheese to a smooth consistency, you can achieve bakery-quality results at home. Why does this method work so well, and what's the trick to mastering the technique without stress? Stick around as we explore how these simple steps transform your cheesecake into a show-stopping centerpiece.
Recipe
Cheesecake is a delightful dessert that combines a creamy filling with a buttery crust, creating a rich and indulgent experience. To achieve the perfect cheesecake, a water bath method is highly recommended, as it helps maintain moisture, prevent cracks, and guarantee even baking. While the process may seem intimidating, it's quite straightforward and yields spectacular results.
Begin by focusing on the crust, typically made from crushed graham crackers mixed with melted butter, which forms a sturdy base. The filling, crafted from cream cheese, sugar, eggs, and a few other ingredients, is where the cheesecake gets its signature texture and taste.
To start, preheat your oven to 325°F (160°C). Prepare the crust by mixing graham cracker crumbs with melted butter and pressing it firmly into the bottom of a springform pan. For the filling, beat softened cream cheese until smooth, then gradually incorporate sugar and vanilla extract. Add eggs one at a time, guaranteeing each is fully blended before adding the next. Mix in sour cream and flour until smooth, then pour the filling over the prepared crust.
Wrap the springform pan in foil to prevent water infiltration, place it in a larger roasting pan, and fill the roasting pan with hot water halfway up the side of the springform pan. Bake for 55-60 minutes, or until the center is set but slightly jiggly. Allow the cheesecake to cool in the oven with the door ajar for an hour, then refrigerate for at least 4 hours before serving.
Ingredients:
- 1 1/2 cups graham cracker crumbs
- 1/4 cup melted butter
- 24 ounces cream cheese, softened
- 1 cup granulated sugar
- 1 teaspoon vanilla extract
- 3 large eggs
- 1/2 cup sour cream
- 1/4 cup all-purpose flour
- Foil and hot water for the water bath
Cooking your cheesecake using a water bath is a gentle method that guarantees an even bake and a smooth, crack-free surface. After mixing the crust ingredients, press them into the springform pan and set it aside.
Blend the cream cheese until smooth and add the sugar and vanilla extract slowly. Incorporate the eggs one by one, followed by the sour cream and flour. Pour the filling over the crust, wrap the pan in foil to keep water out, and place it in a larger pan filled with hot water. Bake until the center is set but slightly jiggly. Allow the cheesecake to cool in the oven, then chill in the refrigerator for at least four hours before serving.
For best results, guarantee your cream cheese is completely softened before mixing to avoid lumps. Use heavy-duty foil to wrap the springform pan, preventing water from seeping in and ruining the crust.
During baking, periodically check the water level in the roasting pan and replenish with more hot water if needed. Allow the cheesecake to cool gradually to room temperature before refrigerating, which helps prevent cracks and guarantees a perfectly smooth top. Enjoy your beautifully baked cheesecake!
Cooking Steps
Let's get started on your cheesecake by preheating your oven to 325°F, because nobody wants a cold oven surprise!
Mix those graham cracker crumbs with melted butter until they feel like wet sand, then press them into your pan to create a sturdy crust.
Next, beat that cream cheese until it's smoother than a jazz playlist, and don't forget to add the eggs one at a time, making sure each is fully mixed in before throwing in the next—it's like a little egg party!
Step 1. Preheat Oven to 325°F
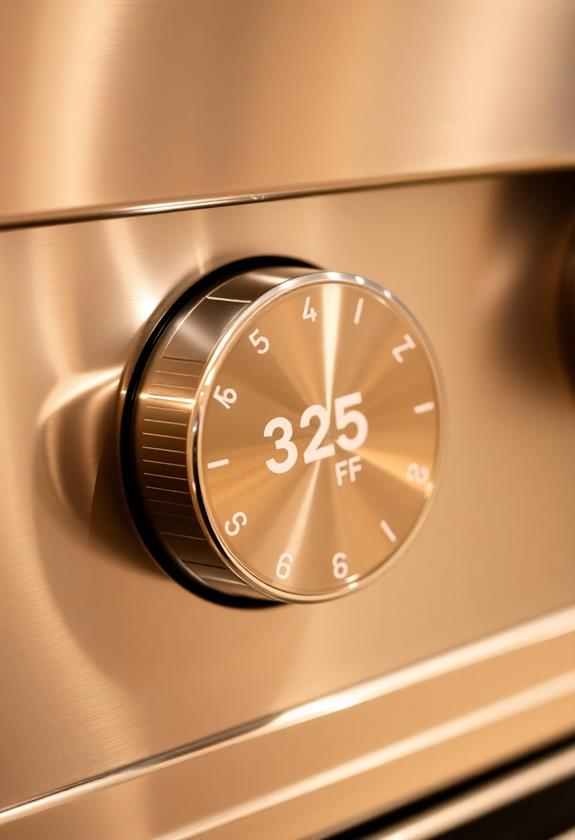
To kick off the cheesecake-making process, start by preheating your oven to 325°F (160°C).
Think of this as giving your oven a warm hug, getting it ready for the cheesecake magic that's about to happen. Preheating guarantees that your cheesecake bakes evenly, avoiding any surprises like a lopsided dessert.
So, turn that dial or press those buttons, and let the oven do its thing!
While you're waiting for it to reach the right temperature, gather your ingredients and equipment.
It's the perfect time to double-check your recipe and make certain everything is ready for action.
Consider it your chance to channel your inner culinary maestro, orchestrating everything so smoothly that even Gordon Ramsay would be impressed!
Step 2. Mix Crumbs With Melted Butter
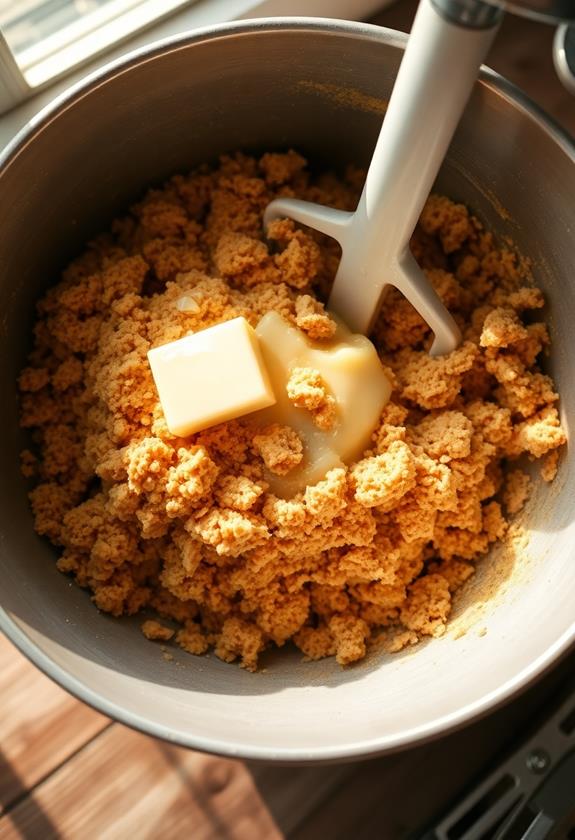
Start by grabbing your graham cracker crumbs and melted butter. In a medium bowl, combine these two ingredients, ensuring every crumb gets a buttery hug.
Use a fork or your fingers—it's more fun this way—to mix them until they resemble wet sand. If it feels like you're making sandcastles, you're doing it right! This delightful mixture will be the foundation of your cheesecake, so don't rush it.
Once mixed, pour the crumbly goodness into your springform pan. Use the bottom of a glass or a measuring cup to press it down firmly and evenly, creating a solid crust.
Step 3. Beat Cream Cheese Until Smooth
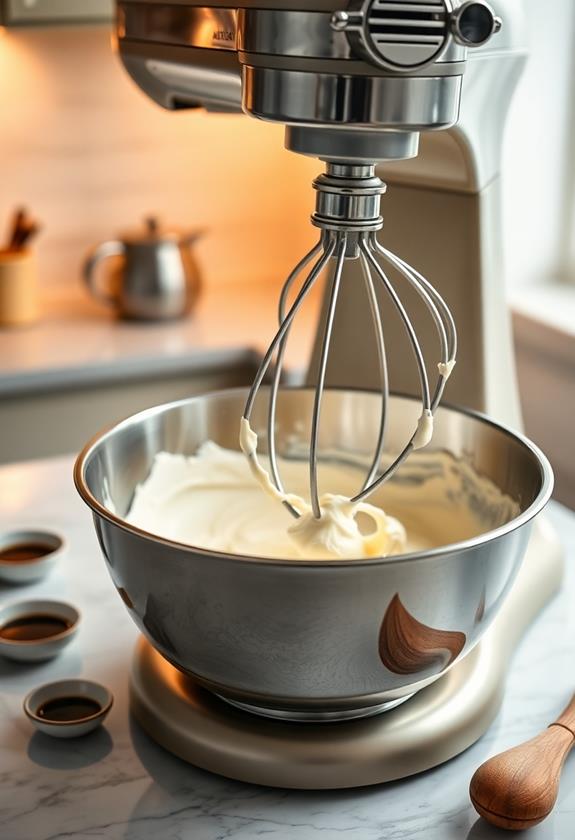
With the crust ready and waiting, it's time to focus on the creamy heart of your cheesecake. Grab your softened cream cheese and toss it into a large mixing bowl.
Now, channel your inner DJ and start beating it—your goal is a smooth, lump-free texture. A hand mixer works wonders here, and it'll get you that silky, creamy consistency you're aiming for.
Don't rush; take a few minutes to guarantee everything's blended wonderfully. This step is essential because any lumps will show up later like uninvited party guests.
If your cream cheese isn't soft enough, microwave it briefly, but don't let it melt. Once it's as smooth as a jazz melody, you're ready to move on to sweetening things up!
Step 4. Add Eggs Individually, Mixing Thoroughly
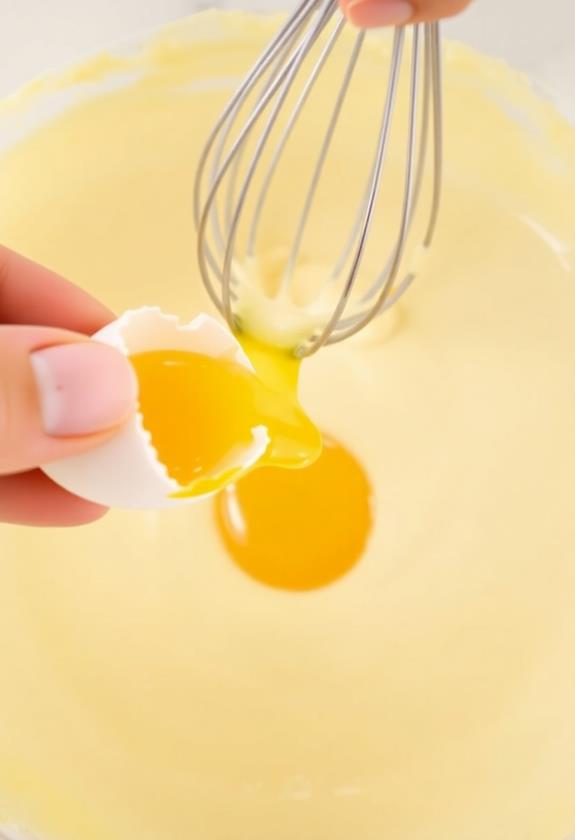
Crack each egg individually into your mixing bowl, letting it join the creamy dance that's already underway.
As you do this, make certain to mix thoroughly after each addition, guaranteeing each egg is fully incorporated before moving on to the next.
This step may feel a bit repetitive, but trust me, it's essential for achieving a smooth and velvety texture.
Mixing one egg at a time helps prevent lumps and guarantees that the filling is perfectly combined.
Don't rush; let the eggs mingle slowly with the cream cheese and sugar.
If you're feeling adventurous, channel your inner DJ and imagine each egg as a new track, blending seamlessly into the mix.
Voilà, your filling is now ready for the next delicious step!
Step 5. Blend Sour Cream and Flour
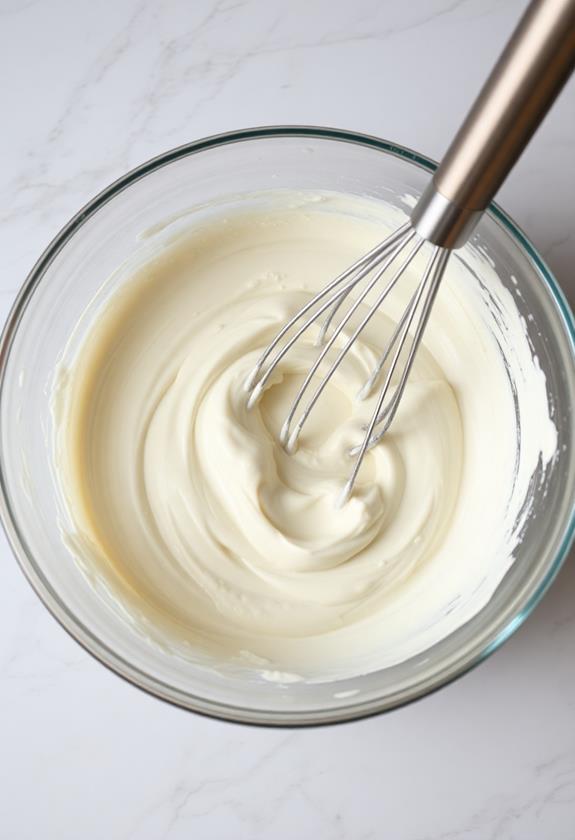
Next, it's time to bring together the final elements of your cheesecake filling. Grab your sour cream and flour, the dynamic duo that adds creaminess and stability.
First, scoop the sour cream into your mixing bowl. It's like the secret ingredient that whispers, "I've got your back!"
Now, sprinkle in the flour. This helps guarantee your cheesecake won't go rogue with a cracked top.
Blend these ingredients until the mixture looks smooth and luscious. Be gentle but thorough—think of it as a spa day for your batter. If you spot any lumps, give them a bit more mixing love.
Once it's all velvety, you're ready to pour this dreamy concoction over your crust, moving one step closer to cheesecake perfection!
Final Thoughts
Baking a cheesecake using a water bath might seem intimidating at first, but it's a technique well worth mastering for the perfect dessert.
Once you've conquered it, you'll find yourself wondering how you ever baked cheesecakes without it. The water bath method guarantees a silky texture and a crack-free top, making your cheesecake look like it just stepped off a magazine cover.
Sure, it requires a little extra effort—like wrapping that springform pan in foil like it's a precious gift—but the results are pure magic.
Remember, patience is key: let the cheesecake cool slowly before refrigeration.
It's a dessert that rewards care and attention, and with this technique, you're just one step away from cheesecake nirvana.
Enjoy every creamy bite!
Frequently Asked Questions
Can I Use a Different Type of Crust for My Cheesecake?
You can definitely use a different type of crust for your cheesecake. Experiment with crushed cookies, nuts, or even oatmeal. Just make sure it's well-pressed into the pan to create a sturdy base for your creamy filling.
How Do I Prevent Water From Leaking Into My Cheesecake During the Water Bath?
To prevent water from leaking into your cheesecake, wrap the springform pan in heavy-duty foil securely. Make certain it's tightly sealed, and consider using a silicone baking pan as an extra barrier. Always check for leaks before baking.
What Do I Do if My Cheesecake Cracks?
If your cheesecake cracks, don't worry. Simply cover it with a fruit topping or whipped cream to conceal the cracks. Remember to let it cool gradually next time to help prevent cracking. Enjoy your delicious dessert!
Can I Use Low-Fat Cream Cheese for a Lighter Cheesecake?
You can use low-fat cream cheese for a lighter cheesecake, but it might affect the texture and flavor. Expect a less creamy result. To balance it, consider adding a bit more sugar or vanilla for taste.
How Long Can I Store Cheesecake in the Refrigerator?
You can store cheesecake in the refrigerator for up to 5-7 days. Just make certain it's wrapped tightly or stored in an airtight container to maintain freshness and prevent it from absorbing other fridge odors. Enjoy your delicious treat!
Conclusion
You've done it! You've mastered the art of baking a cheesecake using a water bath. It's a bit like a spa day for your dessert, keeping it crack-free and oh-so-smooth. Remember, patience is key—letting it cool gradually before refrigerating is essential. Now, sit back, slice yourself a piece (or two), and enjoy the creamy perfection you've created. You've earned it, and your taste buds are in for a treat. Happy baking, and savor every bite!

