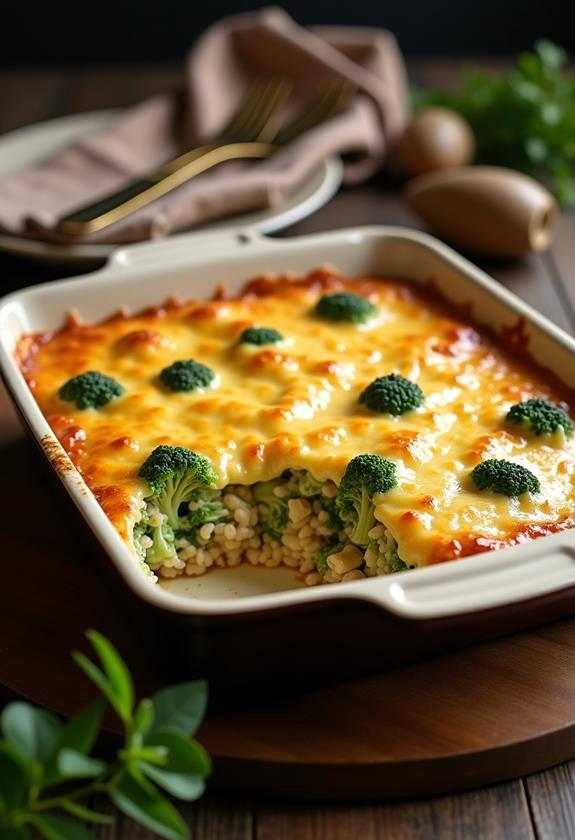
Cheesy Kielbasa Rice And Broccoli Skillet Recipe
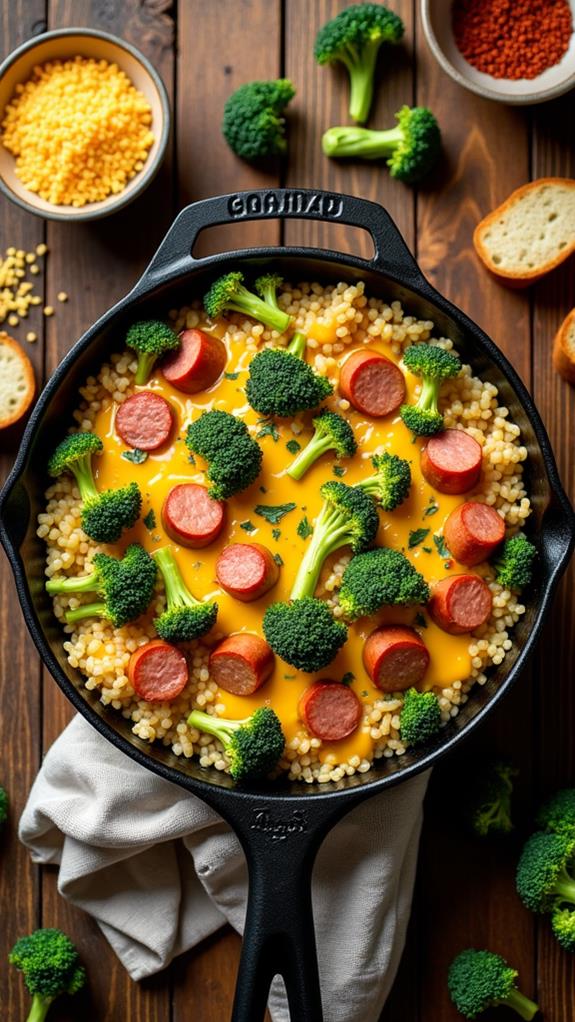
When comfort food meets convenience, magic happens in your kitchen. This Cheesy Kielbasa Rice And Broccoli Skillet recipe brings together smoky kielbasa, tender rice, vibrant broccoli, and melted cheese in one satisfying pan. Perfect for busy weeknights when you want something hearty without the hassle of multiple pots and pans.
This one-skillet wonder delivers all the flavors your family craves while keeping cleanup to a minimum. Ready in just 30 minutes, it’s the kind of meal that transforms simple ingredients into something truly special.
What is “Cheesy Kielbasa Rice And Broccoli Skillet”?
Cheesy Kielbasa Rice And Broccoli Skillet is the ultimate comfort food mashup that combines smoky Polish kielbasa with fluffy rice, fresh broccoli, and plenty of melted cheese. This hearty one-pan meal originated from the practical need to create filling, nutritious dinners using pantry staples and minimal cleanup.
The beauty of this dish lies in its simplicity and versatility. The kielbasa provides rich, smoky flavor while the rice acts as a satisfying base. Fresh broccoli adds color, nutrition, and a pleasant crunch, while cheese brings everything together with its creamy, indulgent finish.
It’s comfort food at its finest – familiar flavors that remind you of home-cooked meals without requiring hours in the kitchen. This skillet recipe proves that sometimes the best dishes are the ones that bring families together around simple, honest ingredients.
Ingredients List for Cheesy Kielbasa Rice And Broccoli Skillet
- 1 pound kielbasa sausage, sliced into rounds
- 1 cup long-grain white rice (uncooked)
- 2 cups low-sodium chicken broth
- 1 tablespoon olive oil
- 1 medium onion, diced
- 3 cloves garlic, minced
- 3 cups fresh broccoli florets
- 1½ cups sharp cheddar cheese, shredded
- ½ cup mozzarella cheese, shredded
- 1 teaspoon paprika
- ½ teaspoon dried thyme
- ½ teaspoon garlic powder
- ¼ teaspoon black pepper
- ½ teaspoon salt (or to taste)
- 2 tablespoons butter
- ¼ cup green onions, chopped (for garnish)
How to Cook Cheesy Kielbasa Rice And Broccoli Skillet: A Step-by-Step Guide
Creating this delicious skillet meal involves layering flavors and timing each component perfectly. Here’s your complete guide to skillet success:
1. Prepare the Kielbasa:
- Heat a large skillet or cast-iron pan over medium-high heat.
- Add the sliced kielbasa rounds and cook for 3-4 minutes per side until nicely browned.
- The natural oils from the kielbasa will help prevent sticking.
- Remove kielbasa from the skillet and set aside, keeping those flavorful drippings in the pan.
2. Sauté the Aromatics:
- Add olive oil to the same skillet with the kielbasa drippings.
- Add diced onions and cook for 3-4 minutes until they become translucent and fragrant.
- Stir in minced garlic and cook for another 30 seconds until aromatic.
- This base creates the flavor foundation for your entire dish.
3. Cook the Rice:
- Add the uncooked rice to the skillet, stirring to coat with the aromatic oil mixture.
- Toast the rice for 1-2 minutes to enhance its nutty flavor.
- Pour in the chicken broth slowly, then add paprika, thyme, garlic powder, salt, and pepper.
- Bring the mixture to a boil, then reduce heat to low and cover.
4. Simmer and Add Broccoli:
- Let the rice simmer for 15 minutes, covered and undisturbed.
- After 15 minutes, quickly arrange broccoli florets on top of the rice.
- Cover again and continue cooking for 5-7 minutes until broccoli is tender-crisp.
- The steam will perfectly cook the broccoli while the rice finishes.
5. Combine and Add Cheese:
- Return the cooked kielbasa to the skillet, gently mixing it with the rice and broccoli.
- Remove from heat and immediately sprinkle both cheeses evenly over the surface.
- Add butter in small pieces across the top.
- Cover the skillet and let it sit for 2-3 minutes to melt the cheese completely.
6. Final Touch and Serve:
- Gently fold the melted cheese into the rice mixture.
- Taste and adjust seasoning if needed.
- Garnish with fresh chopped green onions for color and a mild onion flavor.
- Serve immediately while hot and cheesy.
Substitutions and Variations
This versatile skillet recipe adapts beautifully to different dietary needs and ingredient availability:
- Kielbasa Alternatives: Turkey kielbasa, chicken sausage, or smoked turkey sausage work perfectly for lighter options. Vegetarians can substitute with plant-based sausage or extra vegetables.
- Rice Variations: Brown rice requires longer cooking time and more liquid. Cauliflower rice makes a low-carb alternative, though cooking time will be much shorter.
- Cheese Options: Try sharp cheddar and pepper jack for heat, or use Swiss and Gruyère for a more sophisticated flavor profile.
- Vegetable Swaps: Bell peppers, zucchini, mushrooms, or green beans can replace or complement the broccoli.
- Broth Alternatives: Vegetable broth works for lighter flavor, while beef broth adds richness. For extra depth, try mushroom broth.
Common Mistakes to Avoid
Prevent these common pitfalls to ensure your skillet turns out perfectly every time:
- Lifting the Lid Too Often: Resist the urge to check on the rice frequently. Each peek releases steam needed for proper cooking.
- Using Too Much Liquid: Stick to the 2:1 broth-to-rice ratio. Too much liquid creates mushy rice that won’t hold its texture.
- Overcooking the Broccoli: Add broccoli during the last few minutes to maintain its vibrant color and crisp-tender texture.
- Adding Cheese Too Early: Wait until you remove the skillet from heat before adding cheese to prevent it from becoming stringy or separating.
- Skipping the Kielbasa Browning: Properly browning the kielbasa creates deeper flavor and better texture throughout the dish.
How to Serve Cheesy Kielbasa Rice And Broccoli Skillet
This hearty skillet serves beautifully as a complete meal, but you can enhance it with complementary sides. A simple mixed green salad with vinaigrette provides a fresh contrast to the rich, cheesy flavors. Crusty dinner rolls or garlic bread make excellent accompaniments for soaking up any extra cheese.
For beverages, consider serving with cold beer, which pairs wonderfully with the smoky kielbasa, or a crisp white wine like Pinot Grigio. For non-alcoholic options, sparkling water with lemon or iced tea complement the dish’s heartiness.
The beauty of this meal lies in its completeness – you get protein from the kielbasa, vegetables from the broccoli, carbohydrates from the rice, and calcium from the cheese, all in one satisfying serving.
Presentation Ideas for Cheesy Kielbasa Rice And Broccoli Skillet
Make your skillet as visually appealing as it is delicious with these presentation tips:
- Colorful Garnish: Sprinkle chopped fresh parsley, green onions, or chives over the melted cheese for a pop of color and freshness.
- Individual Portions: Serve directly from the skillet for family-style dining, or portion into individual bowls topped with extra cheese and herbs.
- Rustic Appeal: Present the dish in the cooking skillet for that authentic, homestyle appearance that says “comfort food.”
Cheesy Kielbasa Rice And Broccoli Skillet Recipe Tips
These professional tips will elevate your skillet from good to extraordinary:
- Quality Ingredients Matter: Choose high-quality kielbasa from the deli counter for superior flavor and texture over pre-packaged options.
- Rice Preparation: Rinsing rice before cooking removes excess starch and prevents clumping, resulting in fluffier individual grains.
- Temperature Control: Keep heat at medium-low during rice cooking to prevent burning the bottom while ensuring even cooking throughout.
- Cheese Melting Technique: Remove from heat before adding cheese and let residual heat melt it slowly for the smoothest, creamiest texture.
- Make-Ahead Prep: Dice onions and cut broccoli ahead of time for quicker assembly on busy weeknights.
How to Store Cheesy Kielbasa Rice And Broccoli Skillet
Proper storage ensures you can enjoy leftovers safely and deliciously. Allow the skillet to cool completely to room temperature within 2 hours of cooking. Transfer to airtight containers and refrigerate for up to 4 days.
For reheating, add a splash of chicken broth or water to prevent drying out. Reheat in the microwave in 30-second intervals, stirring between each interval, or warm gently in a covered skillet over low heat. The cheese may look slightly separated when reheated, but stirring will bring it back together.
While freezing is possible, the texture of both the rice and cheese may change. If you must freeze, do so for no more than 2 months, and expect some texture differences upon reheating.
Frequently Asked Questions (FAQs)
Q: Can I make this recipe in advance?
A: Yes! You can prepare everything except adding the cheese up to 2 days ahead. Reheat gently and add fresh cheese just before serving for the best texture and flavor.
Q: What’s the best type of rice to use?
A: Long-grain white rice works best as it maintains its shape and doesn’t become sticky. Jasmine or basmati rice are excellent choices for added fragrance.
Q: Can I use frozen broccoli instead of fresh?
A: Absolutely! Add frozen broccoli during the last 3-4 minutes of cooking and don’t thaw it first. Frozen broccoli cooks quickly and helps prevent overcooking.
Q: How can I make this dish spicier?
A: Add red pepper flakes to the rice cooking liquid, use pepper jack cheese instead of mozzarella, or choose a spicy variety of kielbasa.
Q: Can I cook this in a different type of pan?
A: A large cast-iron skillet works best, but any heavy-bottomed pan with a tight-fitting lid will work. Avoid thin pans that may create hot spots and burn the rice.
Q: What if my rice seems too dry during cooking?
A: Add warm broth, ¼ cup at a time, if the rice appears dry before it’s fully cooked. Keep the pan covered between additions to maintain steam.
Conclusion
This Cheesy Kielbasa Rice And Broccoli Skillet recipe proves that the best comfort foods often come from the simplest combinations. By bringing together smoky kielbasa, fluffy rice, vibrant broccoli, and melted cheese in one pan, you create a meal that satisfies both hunger and soul.
The beauty of this dish extends beyond its incredible taste – it’s practical, adaptable, and perfect for feeding families without the stress of complicated cooking techniques or endless cleanup. Whether you’re a busy parent looking for weeknight solutions or someone who simply loves hearty, comforting food, this skillet delivers every time.
Remember to embrace the flexibility this recipe offers. Make it your own by experimenting with different cheeses, vegetables, or seasonings. The foundation is solid, but the possibilities are endless. Most importantly, enjoy the process of creating something delicious that brings people together around the dinner table. Happy cooking!