Cherry Cobbler Recipe
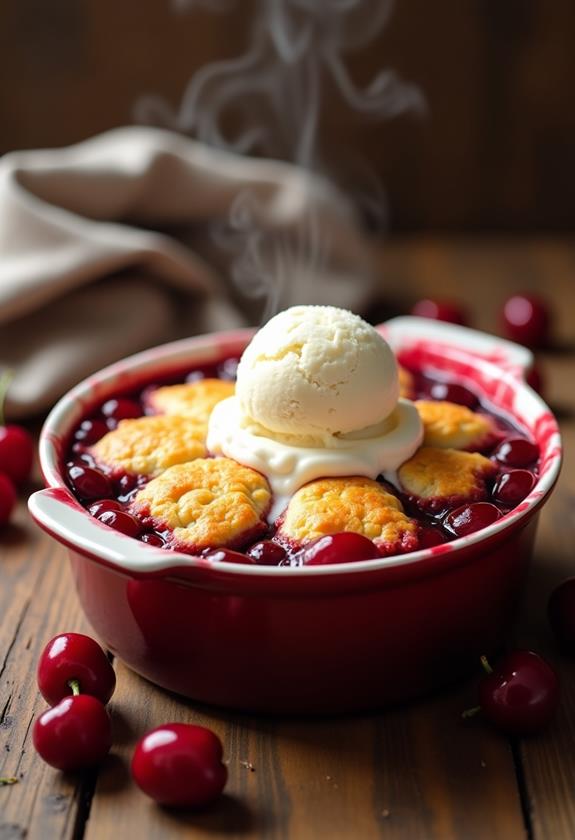
You're about to initiate a culinary journey that transforms simple ingredients into a timeless dessert: cherry cobbler. Imagine the aroma of tart cherries blending with a buttery, crumbly topping, wafting through your kitchen. It's not just about mixing flour and sugar; it's about creating an experience that resonates with warmth and comfort. But what if there's more to this recipe than meets the eye? Could a small tweak elevate your cobbler to new heights? Let's uncover the secret behind achieving that perfect balance of sweet and tart, and see how you can make it truly memorable.
Recipe
Cherry cobbler is a classic dessert that combines the tartness of cherries with a sweet, crumbly topping. Perfect for any time of year, this satisfying treat is both easy to make and delightful to eat. The vibrant cherry filling, nestled beneath a tender, biscuit-like crust, offers a harmonious blend of flavors that's sure to please your taste buds.
Whether you're enjoying it on its own or paired with a scoop of vanilla ice cream, cherry cobbler is a dessert that brings comfort and joy to any occasion. Originating from early American settlers, cobblers were created as a simple adaptation of traditional pie recipes using available ingredients and equipment.
Over time, this dish has evolved into various regional variations, with cherry cobbler standing out for its beautiful color and delightful taste. To make this delicious dessert, you only need a few basic ingredients and minimal preparation time, making it a wonderful option for both novice and experienced bakers alike.
Ingredients:
- 4 cups pitted cherries
- 1 cup granulated sugar
- 1 tablespoon cornstarch
- 1 teaspoon vanilla extract
- 1 cup all-purpose flour
- 1 teaspoon baking powder
- 1/4 teaspoon salt
- 1/2 cup unsalted butter, melted
- 1/2 cup milk
To prepare the cherry cobbler, start by preheating your oven to 350°F (175°C). In a large bowl, mix the cherries with half of the sugar, cornstarch, and vanilla extract until the cherries are well coated.
Transfer this mixture into a greased baking dish. In a separate bowl, combine the flour, baking powder, the remaining sugar, and salt. Stir in the melted butter and milk until a thick batter forms. Spread the batter evenly over the cherry mixture in the baking dish.
Bake for about 40 minutes, or until the topping is golden brown and the cherry filling is bubbling. Allow the cobbler to cool slightly before serving.
For the best results, use fresh, ripe cherries when they're in season to enhance the flavor. If you're using frozen cherries, make sure to thaw and drain them thoroughly to prevent excess liquid from affecting the cobbler's texture.
Consider adding a pinch of cinnamon or almond extract to the cherry filling for a subtle depth of flavor. To elevate your serving, pair the cobbler with a dollop of whipped cream or a scoop of vanilla ice cream, adding a creamy contrast to the warm, fruity filling.
Enjoy your homemade cherry cobbler with loved ones for a memorable dessert experience.
Cooking Steps
Let's get started on making your delicious cherry cobbler!
First, preheat your oven to 350°F, because no one wants a cold cobbler, right?
While that's warming up, mix the cherries with sugar until they're well coated, then grease your baking dish to prevent any sticky situations later.
Step 1. Preheat Oven to 350°F

To start your cherry cobbler, preheat your oven to 350°F (175°C). Trust me, this step is essential because an evenly heated oven guarantees your cobbler bakes perfectly.
While you wait for it to warm up, imagine the delightful aroma that'll soon fill your kitchen. If your oven has a preheat indicator, keep an eye on it. Otherwise, give it about 10-15 minutes.
This is the perfect time to double-check your ingredients and prepare your baking dish. Make certain it's greased well, so your cobbler doesn't stick. You wouldn't want to miss out on a single crumbly piece!
Step 2. Mix Cherries With Sugar
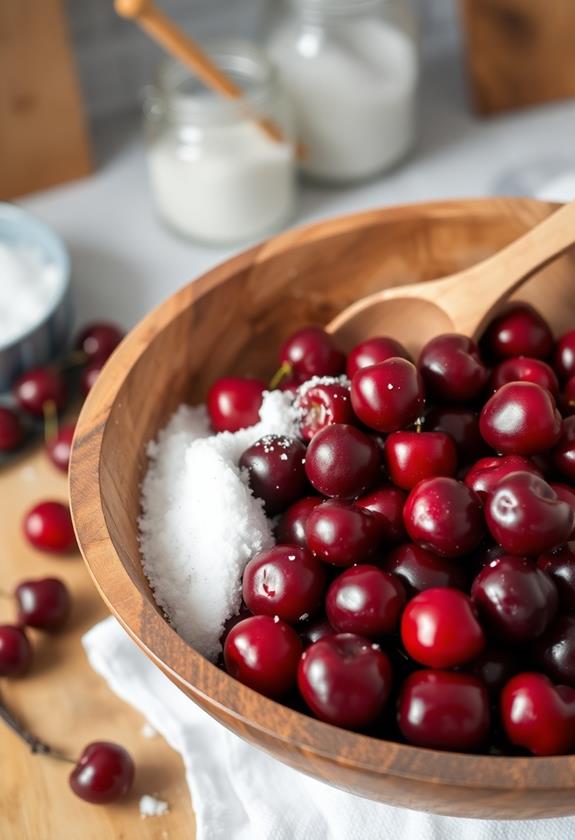
Combining the cherries with sugar is a simple yet essential step in creating your cherry cobbler's delicious filling. First, grab a large bowl, and toss in your pitted cherries.
Sprinkle half a cup of granulated sugar over them like you're a fairy spreading sweetness. Stir gently to coat the cherries, ensuring each one gets a sugar hug.
This isn't just for taste; it helps draw out the cherries' natural juices, creating a luscious syrupy goodness. If you're feeling adventurous, add a splash of vanilla extract or a pinch of cinnamon for an extra kick.
Step 3. Grease the Baking Dish
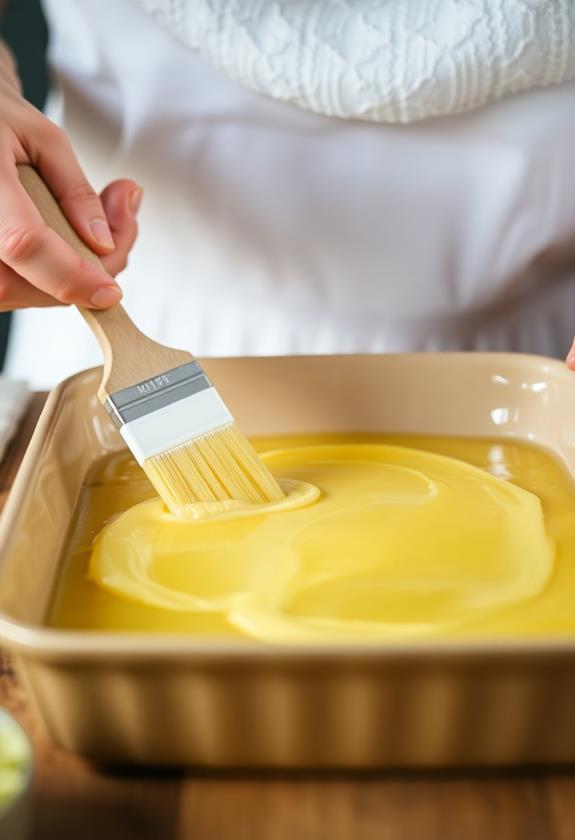
With the cherries mingling harmoniously with sugar, it's time to prepare your baking dish.
Grab a baking dish that's about 9×13 inches—this size works great for our cherry cobbler adventure.
Now, let's grease it up! You can use a little butter or non-stick spray, whatever floats your boat.
Just make sure you cover the bottom and sides evenly. Think of it as giving your dish a nice, slippery spa treatment.
This way, your cobbler won't stick, and it'll slide out beautifully when serving. Plus, it makes clean-up a breeze!
A greased dish means less time scrubbing and more time enjoying dessert.
Step 4. Combine Flour and Baking Powder
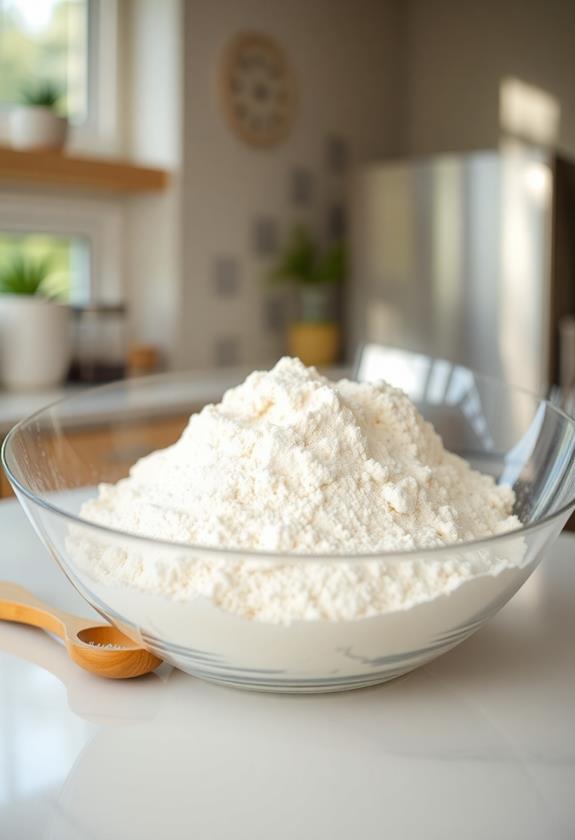
Start by grabbing a clean mixing bowl and adding the all-purpose flour and baking powder. These two ingredients are the backbone of your cobbler's delicious topping.
Give them a good whisk to make certain they're well combined and ready for action. You don't want any pockets of baking powder lurking around, waiting to surprise you with an unwelcome burst of flavor.
While you're at it, imagine you're a flour ninja, skillfully blending these dry ingredients with ease. This simple step guarantees your cobbler topping will rise perfectly, giving you that satisfying, crumbly texture.
Step 5. Add Butter and Milk Mixture
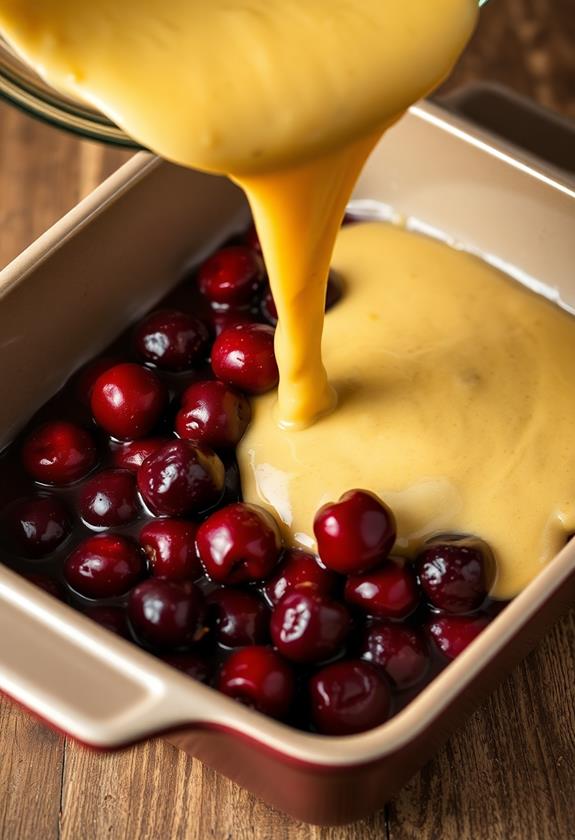
Now it's time to bring your cobbler to life by incorporating the butter-and-milk mixture. Pour your melted butter and milk into the bowl with the dry ingredients, and get ready to mix.
Don't be shy, use a spoon or spatula to stir until everything's just combined. You're aiming for a thick, slightly lumpy batter here, not a pancake-like smoothness. Remember, lumps are your friends in baking! They add character.
Once it's all mixed, spoon that batter over your cherry mixture in the baking dish. Aim for an even spread, but don't worry if it looks a bit rustic—that's the charm of homemade cobbler.
Your kitchen already smells amazing, and you haven't even baked it yet! Enjoy this fun step.
Final Thoughts
Cherry cobbler often stands out as a cherished dessert due to its combination of simplicity and satisfying flavors.
You've created a delightful treat that can easily become a staple in your dessert repertoire.
Whether you're savoring it with ice cream or enjoying it fresh from the oven, this cobbler's sure to bring smiles.
Don't be surprised if your friends start calling you the cobbler connoisseur!
Frequently Asked Questions
Can I Use Canned Cherries Instead of Fresh or Frozen Cherries?
Yes, you can use canned cherries instead of fresh or frozen ones. Just make sure to drain them well to reduce excess liquid. Adjust the sugar if needed since canned cherries might already be sweetened. Enjoy!
What Is the Best Way to Pit Fresh Cherries?
To pit fresh cherries, use a cherry pitter for quick, clean results. If you don't have one, carefully use a straw or chopstick to push the pit out through the stem end. It's efficient and simple!
How Do I Store Leftover Cherry Cobbler?
Store leftover cherry cobbler by covering it with plastic wrap or transferring it to an airtight container. You can refrigerate it for up to three days. Reheat in the oven or microwave before serving to enjoy its freshness.
Can I Make Cherry Cobbler Gluten-Free?
You can make cherry cobbler gluten-free by substituting all-purpose flour with a gluten-free flour blend. Verify your baking powder is gluten-free, too. Follow the recipe as usual and enjoy a delicious, gluten-free dessert!
Is It Possible to Substitute the Sugar With a Sugar Alternative?
Yes, you can substitute the sugar with a sugar alternative like Stevia, erythritol, or monk fruit sweetener. Just make certain you adjust the amount according to the alternative's sweetness level to maintain the desired taste.
Conclusion
You've now crafted a cherry cobbler that's sure to impress, so go ahead and dig in! The golden, bubbling top hides a treasure of juicy cherries beneath, just waiting to be savored. Don't forget to pair it with a scoop of vanilla ice cream or a dollop of whipped cream for that extra touch of indulgence. Remember, baking is all about enjoying the process, so embrace the sweet messiness and relish every delicious bite!

