Cherry Pie Bars Recipe
You might think you know cherry pie, but have you ever considered the simplicity and charm of cherry pie bars? Imagine the same luscious flavors packed into a more manageable form, perfect for any occasion. As you begin this culinary journey, you'll find that these bars require minimal ingredients and effort, making them ideal for both novice and seasoned bakers. But there's more to this recipe than meets the eye. What if you could enhance the flavors with a simple twist? Stay with us as we explore how to elevate your cherry pie bars to the next level.
Recipe
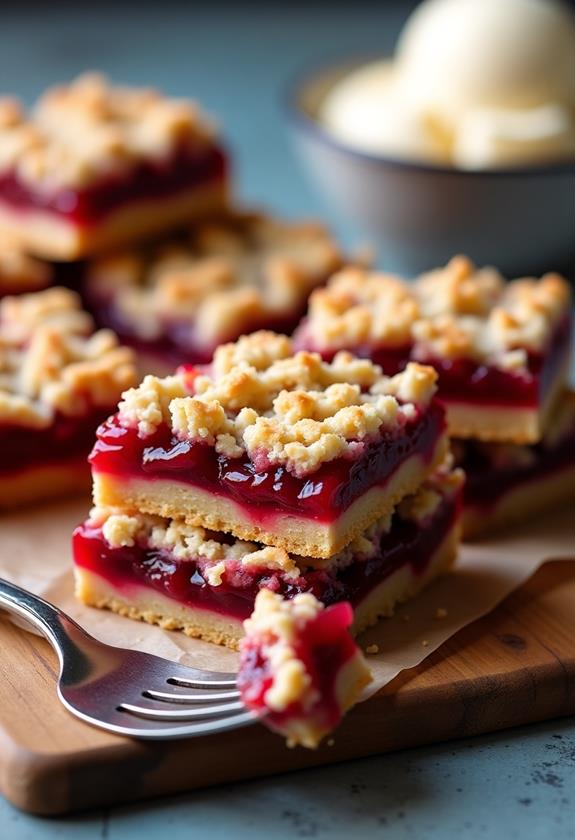
Cherry Pie Bars are a delicious and convenient way to enjoy the classic flavors of cherry pie in a bar form. The combination of a buttery shortbread crust, a juicy cherry filling, and a crumbly streusel topping makes these bars a perfect treat for any occasion. Whether you're hosting a gathering or simply indulging at home, these bars are sure to be a hit with family and friends.
The recipe is straightforward, making it accessible even for novice bakers. With just a few basic ingredients, you can whip up a batch of these delightful bars in no time. The key to success is confirming all ingredients are at the right temperature and are mixed well to create even layers of flavor and texture.
Ingredients:
- 1 cup unsalted butter, softened
- 2 cups granulated sugar
- 4 large eggs
- 1 teaspoon vanilla extract
- 1/4 teaspoon almond extract
- 3 cups all-purpose flour
- 1 teaspoon salt
- 2 (21-ounce) cans cherry pie filling
To make the cherry pie bars, preheat your oven to 350°F (175°C) and grease a 9×13 inch baking pan. In a large bowl, cream together the softened butter and granulated sugar until the mixture is light and fluffy. Incorporate the eggs one at a time, followed by the vanilla and almond extracts. Gradually mix in the all-purpose flour and salt until just combined.
Spread about two-thirds of the batter evenly in the prepared baking pan, then spoon the cherry pie filling over the batter. Drop spoonfuls of the remaining batter over the cherry filling, creating a marbled effect. Bake for 40-45 minutes or until the top is golden brown. Allow the bars to cool completely in the pan before cutting them into squares.
For the best results, make certain your butter is at room temperature to confirm it creams smoothly with the sugar. This will help create a uniform texture in the base and topping. If you prefer a thicker crust, consider using a smaller pan, but remember to adjust the baking time accordingly.
Store the bars in an airtight container at room temperature for up to three days, or refrigerate them to extend their freshness for up to a week. For an extra indulgent experience, serve these bars with a scoop of vanilla ice cream.
Cooking Steps
Let's get started on making these delicious cherry pie bars!
First, you'll want to preheat your oven to 350°F, because baking without heat is like trying to make ice cream in the desert.
Then, cream the butter and sugar together until they're best friends, before adding the eggs and extracts to the mix—don't worry, it's not a party without them!
Step 1. Preheat Oven to 350°F
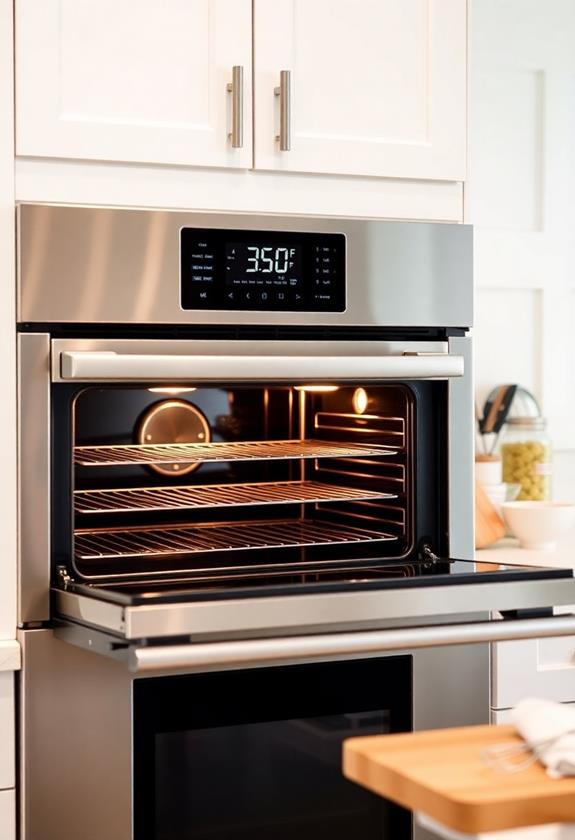
Preheating your oven to 350°F (175°C) is an essential first step in preparing these delicious cherry pie bars.
Don't skip it, unless you want to add a little suspense to your baking adventure! This temperature guarantees that your bars bake evenly, giving you a perfectly golden crust and bubbly cherry filling.
Before you start mixing ingredients, turn that dial or press those buttons—your oven's like a car engine, needing a warm-up before hitting the road.
While it's heating, you can grab your baking pan and give it a good grease-up. You'll appreciate this later when your bars slide out effortlessly.
Step 2. Cream Butter and Sugar Together
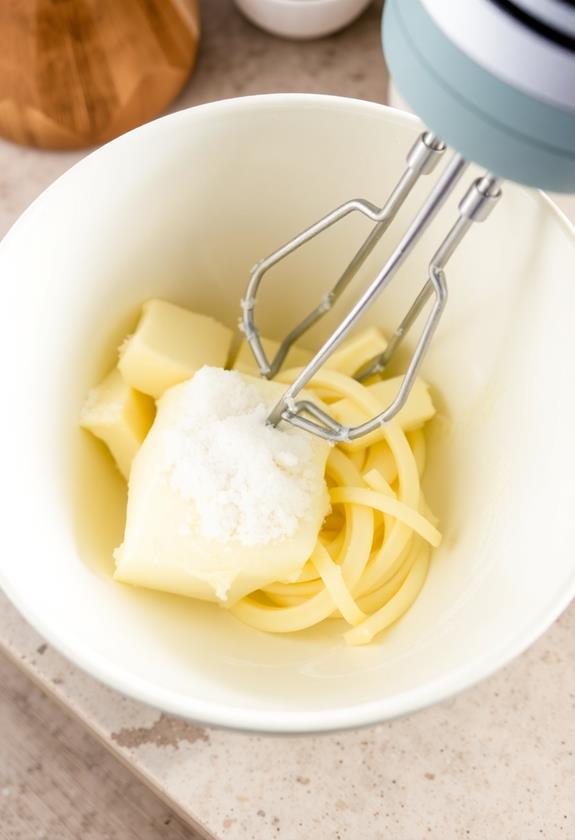
Now that your oven's warming up, it's time to focus on the batter. Grab your large mixing bowl, and toss in the softened butter and sugar.
Using an electric mixer, beat them together until the mixture turns light and fluffy, like a cloud of sweetness. This step's essential for that perfect bar texture, so don't rush it!
If you're feeling a bit like a mad scientist, imagine you're mixing up a potion—one that results in deliciousness. If your butter's a bit shy and not quite soft, give it a nudge with a few seconds in the microwave, but don't let it melt!
Once they're creamed together beautifully, you're ready for the next steps in creating these scrumptious cherry pie bars.
Step 3. Add Eggs and Extracts
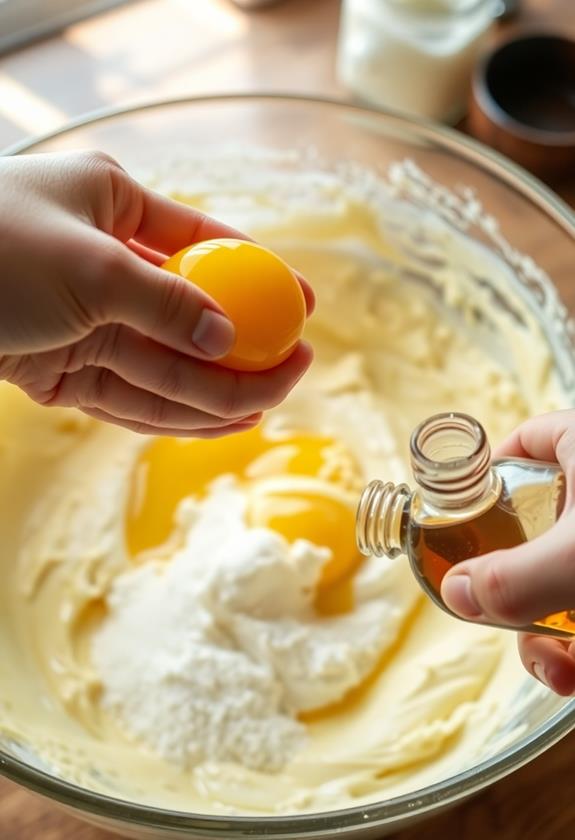
Crack the eggs into your creamed butter and sugar mixture, adding them one at a time while mixing on a low speed. This step guarantees the eggs are well incorporated and the mixture stays smooth.
Don't rush it—patience pays off here! Once the eggs are in, pour in the vanilla and almond extracts. These extracts are like little magic potions that transform your batter into something deliciously aromatic. The vanilla brings a classic sweetness, while the almond adds a subtle, nutty twist.
Mix everything until it's just combined. Remember, it's not a race; you're crafting a masterpiece. If you spill a bit of extract, don't fret—consider it a fragrant kitchen perk! Enjoy the delightful scents wafting through your kitchen.
Step 4. Mix in Flour and Salt
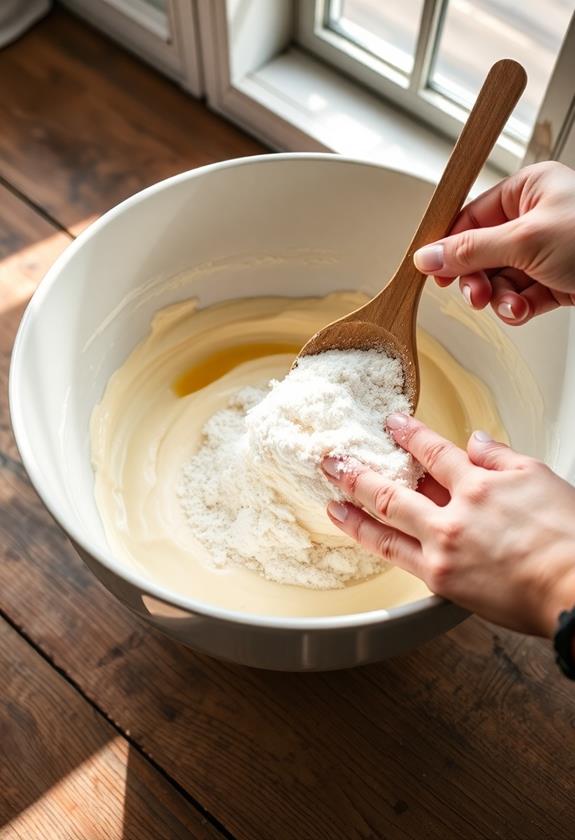
Patience is key as you gradually incorporate the flour and salt into your batter.
Start by adding a third of the flour, then gently fold it in with a spatula. This step is essential for preventing a flour explosion in your kitchen—nobody wants that!
Once the first batch is mixed, add another third, mixing until just combined. Don't rush; it's not a race. You're building a smooth, cohesive batter that will serve as the perfect base for your cherry pie bars.
Finally, toss in the remaining flour and salt, giving it a final stir. Remember, overmixing isn't your friend here. A few lumps are okay—embrace them like you'd a quirky friend!
Enjoy the process.
Step 5. Layer Batter and Cherry Filling
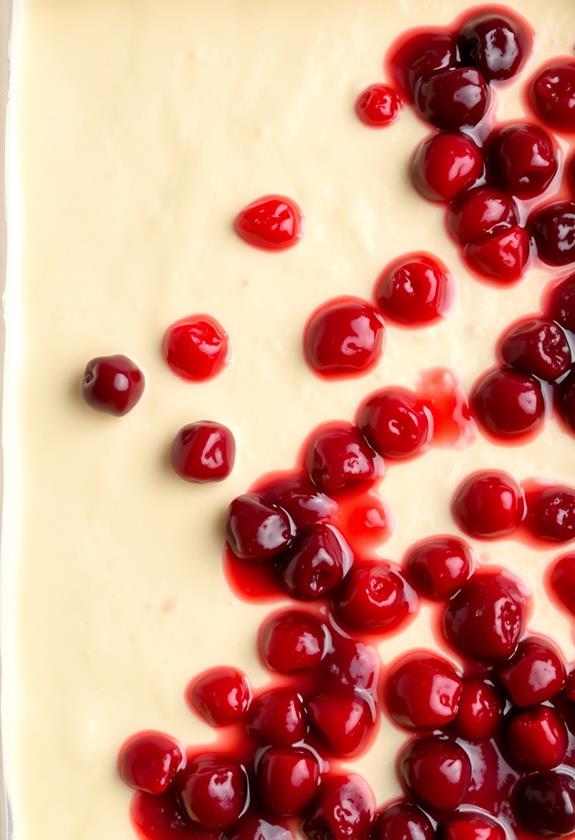
With your smooth batter ready, it's time to assemble the cherry pie bars.
Begin by spreading about two-thirds of the batter evenly across your greased 9×13 inch pan. Think of it as laying a cozy bed for your cherries—no one likes a lumpy mattress!
Now, grab those cans of cherry pie filling and spoon it generously over the batter, ensuring every inch gets its fair share of fruity goodness.
Next, take the remaining batter and drop spoonfuls over the cherry layer. Don't worry about covering every cherry; a rustic look is charming.
As those cherry pie bars bake, the batter will spread and mingle with the cherries, creating a deliciously sweet and buttery masterpiece.
Soon, you'll have a dessert worth celebrating!
Final Thoughts
In conclusion, cherry pie bars offer a delightful way to enjoy the classic flavors of cherry pie without the fuss of a traditional pie crust.
You'll love how easy they're to make and how quickly they disappear at gatherings. The buttery crust, juicy cherry filling, and crumbly streusel topping create a harmonious blend that's hard to resist.
Remember, using room temperature butter is key for a smooth batter, and don't be shy about experimenting with different fruits if cherries aren't your jam.
Store them in an airtight container, but good luck having any left to store! They're perfect for any occasion, and hey, if you sneak one for breakfast, we won't tell.
Enjoy every delicious bite!
Frequently Asked Questions
Can I Use Fresh Cherries Instead of Canned Cherry Pie Filling?
Yes, you can use fresh cherries instead of canned filling. Pit and sweeten them by cooking with sugar and a bit of cornstarch. Let them cool before spreading over the crust for a fresh, homemade taste. Enjoy!
What Can I Substitute for Almond Extract in the Recipe?
You can substitute vanilla extract for almond extract if you don't have any on hand. It won't mimic the almond flavor, but it'll add a nice hint of sweetness. Another option is using a bit of amaretto liqueur.
How Do I Prevent the Bars From Becoming Soggy?
Make certain your bars stay crisp by not overloading with filling. Spread the cherry pie evenly and bake until golden. Let them cool completely in the pan before cutting to maintain their texture. Avoid storing them warm.
Can I Freeze Cherry Pie Bars for Later Use?
Yes, you can freeze cherry pie bars for later enjoyment. Wrap them tightly in plastic wrap and aluminum foil or use an airtight container. Thaw them at room temperature or warm them in the oven for fresh taste.
Are There Gluten-Free Alternatives for This Recipe?
You can easily make these bars gluten-free by substituting all-purpose flour with a gluten-free flour blend. Confirm your other ingredients, like extracts, are labeled gluten-free to avoid cross-contamination and enjoy your delicious dessert!
Conclusion
You've made it to the end, and now you get to enjoy the fruits of your labor—literally! These cherry pie bars are a tasty treat that'll surely impress your friends and family. Remember, they stay fresh for days, so you can savor them throughout the week. If you're feeling adventurous, try swapping the cherry filling for your favorite fruit. Whichever way you slice it, you're sure to love every bite. Enjoy your delicious creation!

