Chocolate Chip Cookie Dough Ice Cream Cake Recipe
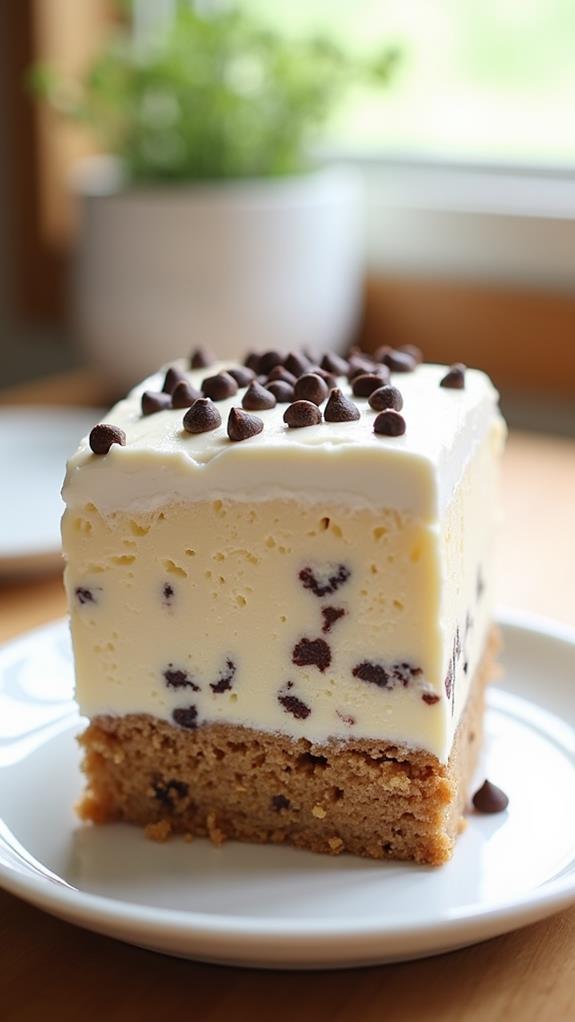
Looking for the ultimate dessert that combines everyone’s favorite childhood treats? This Chocolate Chip Cookie Dough Ice Cream Cake is a show-stopping dessert that brings together the irresistible flavors of homemade chocolate chip cookies and creamy vanilla ice cream with edible cookie dough layers.
Perfect for birthdays, celebrations, or when you want to treat yourself to something truly special, this dessert requires no baking skills and uses simple ingredients you probably already have in your kitchen. Follow this recipe to create a dessert so delicious, it’ll become your go-to crowd-pleaser!
What is “Chocolate Chip Cookie Dough Ice Cream Cake”?
Chocolate Chip Cookie Dough Ice Cream Cake is a layered frozen dessert that combines the best of both worlds: rich, creamy ice cream and chunks of safe-to-eat cookie dough. This no-bake cake features layers of vanilla ice cream mixed with edible chocolate chip cookie dough, all nestled between chocolate cookie crusts.
The beauty of this dessert lies in its simplicity and the nostalgic flavors that remind us of sneaking cookie dough from the mixing bowl. Unlike traditional cookie dough, this version is completely safe to eat since it contains no raw eggs and uses heat-treated flour.
Ingredients List for Chocolate Chip Cookie Dough Ice Cream Cake
For the Cookie Crust:
- 24 chocolate sandwich cookies (like Oreos), crushed
- 4 tablespoons butter, melted
- 2 tablespoons sugar
For the Edible Cookie Dough:
- 1 cup all-purpose flour, heat-treated
- ½ cup butter, softened
- ½ cup brown sugar, packed
- ¼ cup granulated sugar
- 3 tablespoons milk
- 1 teaspoon vanilla extract
- ½ teaspoon salt
- ¾ cup mini chocolate chips
For the Ice Cream Layer:
- ½ gallon vanilla ice cream, softened
- 1 cup heavy cream
- ¼ cup powdered sugar
- 1 teaspoon vanilla extract
For Garnish:
- Extra mini chocolate chips
- Chocolate syrup for drizzling
- Additional cookie dough pieces
How to Make Chocolate Chip Cookie Dough Ice Cream Cake: A Step-by-Step Guide
Creating this impressive dessert is easier than you might think. Here’s my detailed guide to ensure your cake turns out perfectly every time:
1. Prepare Your Pan and Heat-Treat the Flour:
- Line a 9-inch springform pan with parchment paper for easy removal.
- Spread the flour on a baking sheet and bake at 350°F for 5 minutes to kill any bacteria.
- Let the flour cool completely before using in the cookie dough.
2. Make the Cookie Crust:
- Crush the chocolate sandwich cookies in a food processor until you have fine crumbs.
- Mix the cookie crumbs with melted butter and sugar until the mixture holds together when pressed.
- Press the mixture firmly into the bottom of your prepared springform pan.
- Freeze for 15 minutes while you prepare the other components.
3. Create the Edible Cookie Dough:
- In a large bowl, cream together the softened butter, brown sugar, and granulated sugar until light and fluffy.
- Add the milk, vanilla extract, and salt, mixing until well combined.
- Gradually add the heat-treated flour, mixing until a soft dough forms.
- Fold in the mini chocolate chips and set aside.
4. Prepare the Ice Cream Mixture:
- Allow the vanilla ice cream to soften at room temperature for about 10-15 minutes.
- In a separate bowl, whip the heavy cream with powdered sugar and vanilla until soft peaks form.
- Gently fold the whipped cream into the softened ice cream to create a lighter texture.
5. Assemble the Cake:
- Remove half of the cookie dough and roll it into small balls, then flatten slightly.
- Spread half of the ice cream mixture over the frozen cookie crust.
- Distribute the flattened cookie dough pieces evenly over the ice cream layer.
- Add the remaining ice cream mixture and smooth the top.
- Crumble the remaining cookie dough over the surface as the final layer.
6. Freeze and Finish:
- Cover the cake tightly with plastic wrap and freeze for at least 4 hours or overnight.
- Before serving, let the cake sit at room temperature for 5-10 minutes for easier slicing.
- Garnish with extra chocolate chips and drizzle with chocolate syrup if desired.
Substitutions and Variations
I love how versatile this recipe is! Here are some substitutions and variations you can try to customize your cake:
- Ice Cream Flavors: Try cookies and cream, chocolate, or even strawberry ice cream for different flavor profiles.
- Cookie Crust: Use graham crackers, vanilla wafers, or chocolate chip cookies instead of sandwich cookies.
- Cookie Dough: Make snickerdoodle cookie dough by adding cinnamon and rolling the dough balls in cinnamon sugar.
- Dairy-Free Option: Use dairy-free ice cream and substitute coconut cream for heavy cream and vegan butter for regular butter.
- Mix-ins: Add crushed candy bars, caramel swirls, or peanut butter chips to the cookie dough for extra indulgence.
- Gluten-Free: Use gluten-free flour and gluten-free cookies for the crust to accommodate dietary restrictions.
Common Mistakes to Avoid
Through my experience making this cake, I’ve learned to avoid these common pitfalls:
- Not Heat-Treating the Flour: This step is crucial for food safety when making edible cookie dough.
- Over-Softening the Ice Cream: The ice cream should be soft enough to mix but not completely melted, or your cake won’t set properly.
- Skipping the Freezing Time: Don’t rush the freezing process; the cake needs adequate time to set completely.
- Using Raw Cookie Dough: Never use traditional cookie dough with raw eggs in this recipe.
- Not Lining the Pan: Parchment paper makes removal much easier and prevents sticking.
- Cutting Too Soon: Let the cake soften slightly before cutting, or you’ll end up with messy slices.
How to Serve Chocolate Chip Cookie Dough Ice Cream Cake
This decadent cake is perfect as the centerpiece dessert for any celebration. I recommend serving it with a variety of toppings on the side so guests can customize their slices. Provide small bowls of chocolate syrup, caramel sauce, whipped cream, and extra chocolate chips.
For an elegant presentation, serve each slice on chilled dessert plates with a dollop of whipped cream and a sprinkle of crushed cookies. The cake pairs beautifully with a cup of hot coffee or cold milk, making it perfect for both casual gatherings and special occasions.
Presentation Ideas for Chocolate Chip Cookie Dough Ice Cream Cake
To make your cake look as impressive as it tastes, consider these presentation ideas:
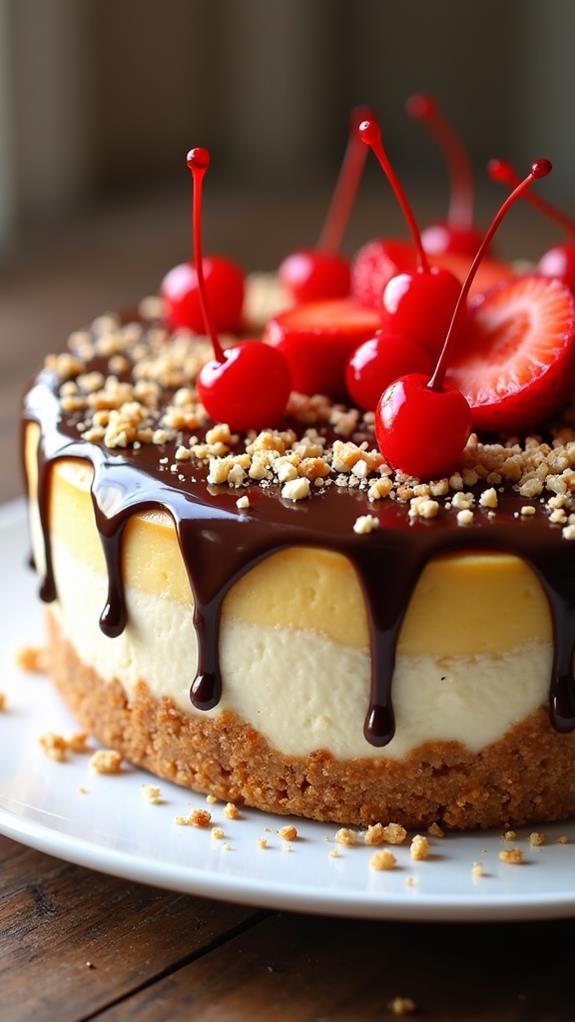
- Chocolate Drip Effect: Warm chocolate syrup slightly and drizzle it around the edges, letting it drip down the sides naturally.
- Cookie Dough Rosettes: Use a piping bag to create decorative rosettes of cookie dough around the top edge.
- Layered Garnish: Alternate mini chocolate chips and cookie crumbs in decorative patterns on top.
- Fresh Berry Accent: Add fresh strawberries or raspberries for a pop of color and a tart contrast to the sweet cake.
- Edible Flowers: For special occasions, garnish with edible flowers like pansies or violas for an elegant touch.
Chocolate Chip Cookie Dough Ice Cream Cake Recipe Tips
Here are my top tips for ensuring your cake turns out perfectly every time:
- Plan Ahead: This dessert needs time to freeze, so start it at least 6 hours before you plan to serve it.
- Use Quality Ingredients: High-quality vanilla ice cream and real vanilla extract make a noticeable difference in flavor.
- Temperature Control: Keep your kitchen cool while assembling to prevent the ice cream from melting too quickly.
- Sharp Knife: Use a sharp knife dipped in warm water between cuts for clean, professional-looking slices.
- Storage: Cover tightly to prevent ice crystals from forming and absorbing freezer odors.
- Softening Trick: If the cake becomes too hard, let it sit at room temperature for 10-15 minutes before serving.
How to Store Chocolate Chip Cookie Dough Ice Cream Cake
Proper storage is key to maintaining the quality and texture of your ice cream cake. Cover the cake tightly with plastic wrap, making sure no air can reach the surface to prevent ice crystals from forming. Store in the freezer for up to one week for best quality.
If you’re planning to keep it longer, wrap it in an additional layer of aluminum foil. The cake will stay safe to eat for up to one month, though the texture may change slightly over time. Always store it away from strong-smelling foods in the freezer to prevent flavor absorption.
Frequently Asked Questions (FAQs)
Q: Can I make this cake without a springform pan?
A: Yes! You can use a regular 9-inch cake pan lined with parchment paper, leaving extra paper hanging over the sides to help lift the cake out when frozen.
Q: How far in advance can I make this cake?
A: You can make this cake up to 3 days in advance. It actually tastes better after sitting overnight as the flavors meld together.
Q: Is the cookie dough safe to eat?
A: Absolutely! The flour is heat-treated to eliminate bacteria, and there are no raw eggs in this recipe, making it completely safe to consume.
Q: Can I use store-bought cookie dough?
A: While you can use refrigerated cookie dough, I recommend making the edible version since it’s specifically designed to be eaten raw and has the perfect texture for this cake.
Q: What if my ice cream gets too soft while assembling?
A: If the ice cream becomes too soft, simply place the bowl back in the freezer for 15-20 minutes until it firms up slightly, then continue assembling.
Q: Can I make individual portions instead of one large cake?
A: Yes! Use individual ramekins or mason jars to create personal-sized cakes. Layer the ingredients the same way and freeze for at least 2 hours.
Conclusion
This Chocolate Chip Cookie Dough Ice Cream Cake is truly the ultimate dessert for anyone who loves the classic combination of cookies and ice cream. The layered texture, combined with the safe-to-eat cookie dough, creates a dessert experience that’s both nostalgic and sophisticated.
Whether you’re celebrating a special occasion or simply want to treat yourself and your loved ones to something extraordinary, this recipe delivers every time. The best part is that it’s completely customizable – you can adjust the flavors, add your favorite mix-ins, or change up the presentation to suit any occasion.
I hope you enjoy making and sharing this delightful cake as much as I do. The combination of creamy ice cream, chewy cookie dough pieces, and crunchy cookie crust creates a perfect harmony of textures and flavors that will have everyone asking for the recipe. Happy dessert making!

