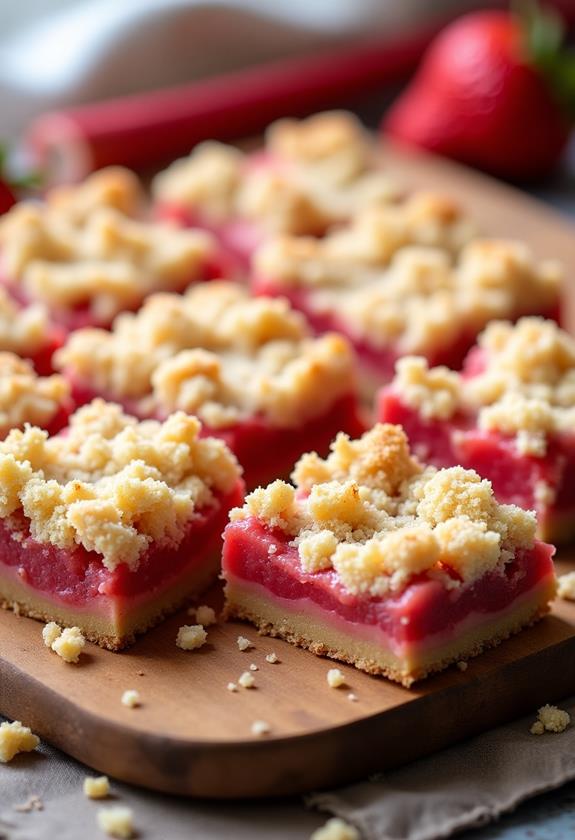
Crumb Topped Cherry Pie Bars Recipe
Craving a dessert that combines the classic appeal of cherry pie with the convenience of handheld bars? These Crumb Topped Cherry Pie Bars are your answer! With a buttery shortbread base, luscious cherry filling, and golden crumb topping, these bars deliver all the nostalgic flavors of traditional cherry pie in an easy-to-serve format.
Perfect for potlucks, family gatherings, or when you want to satisfy your pie cravings without the fuss of rolling dough, these bars are a guaranteed crowd-pleaser. Let me guide you through creating these irresistible treats that will have everyone asking for the recipe!
What are “Crumb Topped Cherry Pie Bars”?
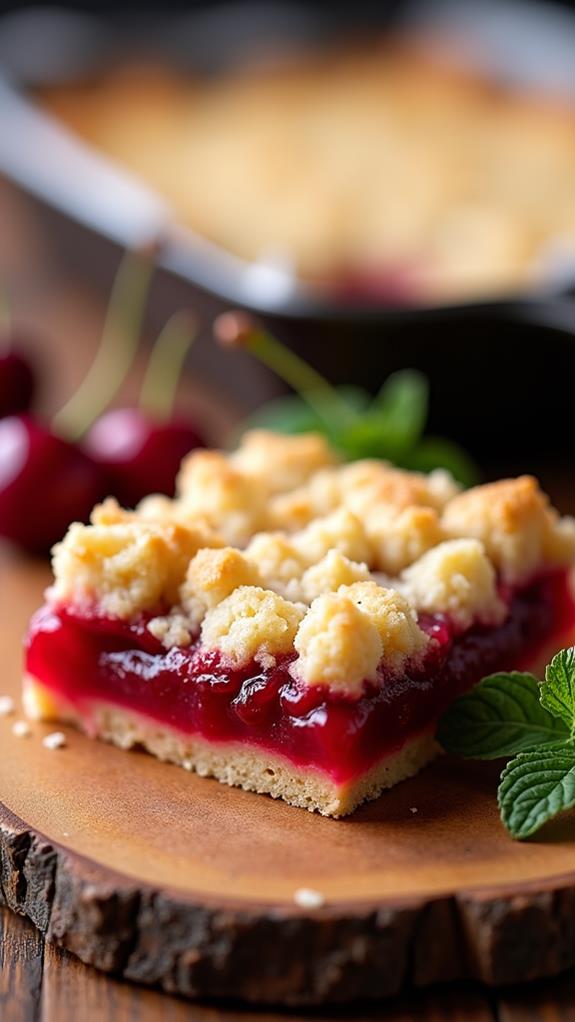
Crumb Topped Cherry Pie Bars are a delightful twist on traditional cherry pie, transformed into a convenient bar cookie format. These treats feature three distinct layers: a tender, buttery shortbread crust that serves as the foundation, a rich cherry filling bursting with sweet-tart flavor, and a golden crumb topping that adds delightful texture and visual appeal.
Unlike traditional pie, these bars eliminate the need for pie plates or perfect pastry techniques. The rectangular pan format makes them ideal for serving crowds, and the sturdy base means they hold their shape beautifully when cut into squares. They capture all the beloved flavors of cherry pie while offering the practicality of a bar cookie.
Ingredients List for Crumb Topped Cherry Pie Bars
For the Crust and Topping:
- 2 cups all-purpose flour
- 1 cup old-fashioned rolled oats
- 1 cup light brown sugar, packed
- ½ cup granulated sugar
- 1 teaspoon vanilla extract
- ½ teaspoon salt
- ¾ cup cold unsalted butter, cubed
- 1 large egg yolk
For the Cherry Filling:
- 4 cups fresh or frozen cherries, pitted
- ¾ cup granulated sugar
- 3 tablespoons cornstarch
- 1 tablespoon fresh lemon juice
- 1 teaspoon vanilla extract
- ¼ teaspoon almond extract (optional)
- Pinch of salt
How to Cook Crumb Topped Cherry Pie Bars: A Step-by-Step Guide
Creating these delicious cherry pie bars involves several simple steps that build layers of flavor and texture. Here’s your detailed roadmap to success:
1. Prepare Your Pan and Oven:
- Preheat your oven to 350°F (175°C).
- Line a 9×13-inch baking pan with parchment paper, leaving overhang for easy removal.
- Lightly grease the parchment paper to prevent sticking.
2. Make the Cherry Filling:
- In a large bowl, gently toss the pitted cherries with granulated sugar and cornstarch.
- Add lemon juice, vanilla extract, almond extract (if using), and a pinch of salt.
- Mix until cherries are evenly coated and let sit for 10 minutes to allow juices to develop.
- This resting period helps the cornstarch dissolve and creates a better thickening effect.
3. Prepare the Crust and Crumb Mixture:
- In a large mixing bowl, combine flour, oats, brown sugar, granulated sugar, and salt.
- Add the cold, cubed butter and use a pastry cutter or your fingers to work it into the flour mixture.
- Continue until the mixture resembles coarse crumbs with some larger butter pieces.
- Stir in the egg yolk and vanilla extract until just combined.
4. Assemble the Base Layer:
- Reserve 1½ cups of the crumb mixture for the topping.
- Press the remaining mixture firmly into the bottom of your prepared pan.
- Use the bottom of a measuring cup to create an even, compact layer.
- This base needs to be well-pressed to prevent crumbling when cut.
5. Add the Cherry Filling:
- Evenly distribute the cherry mixture over the pressed crust.
- Spread gently to avoid disturbing the base layer.
- Make sure cherries reach the edges for consistent flavor in every bite.
6. Apply the Crumb Topping:
- Sprinkle the reserved crumb mixture evenly over the cherry filling.
- Don’t press down; let it sit loosely for the best texture.
- The topping should cover most of the cherries but some peek-through is perfectly fine.
7. Bake to Perfection:
- Bake for 40-45 minutes until the top is golden brown and the filling is bubbling around the edges.
- The crumb topping should be crisp and lightly browned.
- Allow to cool completely in the pan before cutting, at least 2 hours.
Substitutions and Variations
These cherry pie bars are wonderfully adaptable to different tastes and dietary needs. Here are some variations you can try:
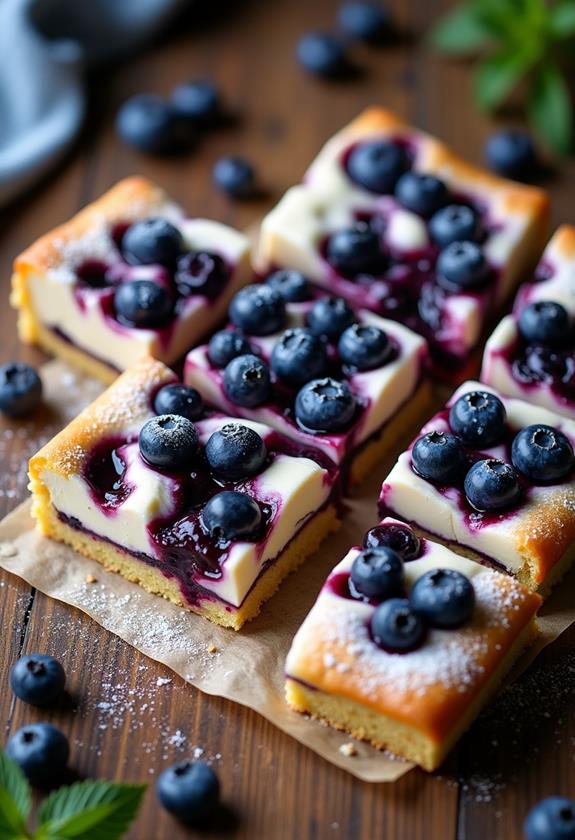
- Fruit Variations: Replace cherries with blueberries, blackberries, or a mixed berry combination. Apple or peach also work beautifully.
- Flour Substitutes: Use a 1:1 gluten-free flour blend for celiac-friendly bars, or substitute up to half the all-purpose flour with whole wheat flour.
- Oat Alternatives: Replace oats with chopped nuts like pecans or almonds for extra richness and crunch.
- Sugar Modifications: Reduce sugar by ¼ cup if using very sweet cherries, or substitute coconut sugar for a deeper flavor.
- Dairy-Free Option: Use vegan butter or coconut oil (chilled) instead of regular butter for dairy-free bars.
- Spice Additions: Add ½ teaspoon cinnamon or ¼ teaspoon cardamom to the crumb mixture for warm spice notes.
Common Mistakes to Avoid
Avoid these pitfalls to ensure your cherry pie bars turn out perfectly every time:
- Using Warm Butter: Cold butter is essential for proper crumb texture. Warm butter will make the mixture too wet and won’t create the desired crumbly consistency.
- Skipping the Cooling Time: Cutting bars before they’re completely cool will result in messy, crumbly pieces. Patience is key for clean cuts.
- Overmixing the Crumb Mixture: Once you add the egg yolk, mix just until combined. Overmixing develops gluten and can make the crust tough.
- Not Pressing the Base Firmly: A loose base layer will crumble when cut. Press firmly and evenly for structural integrity.
- Ignoring Fruit Prep: If using frozen cherries, don’t thaw them first as this creates excess moisture. Fresh cherries must be properly pitted to avoid unpleasant surprises.
How to Serve Crumb Topped Cherry Pie Bars
These versatile bars shine in many serving situations. For casual gatherings, cut them into squares and serve directly from the pan with napkins. For more elegant presentations, transfer individual pieces to dessert plates and add a dollop of fresh whipped cream or a scoop of vanilla ice cream.
They’re perfect for picnics and potlucks since they travel well and don’t require utensils. Pack them in a covered container with parchment paper between layers if stacking. For special occasions, dust with powdered sugar just before serving for an extra touch of sweetness and visual appeal.
Presentation Ideas for Crumb Topped Cherry Pie Bars
Elevate your cherry pie bars with these simple presentation touches:
- Elegant Plating: Serve individual squares on white dessert plates with a drizzle of heavy cream or crème anglaise around the edge.
- Rustic Charm: Present them on a wooden cutting board with small mason jars filled with vanilla ice cream on the side.
- Garnish Options: Top each serving with a fresh cherry, a sprig of mint, or a light dusting of powdered sugar for visual interest.
- Seasonal Styling: During holidays, add themed touches like red and white striped napkins or small American flags for patriotic celebrations.
Crumb Topped Cherry Pie Bars Recipe Tips
These expert tips will help you achieve bakery-quality results:
- Cherry Selection: Use a mix of sweet and tart cherries for the most complex flavor profile. If using canned cherries, drain them thoroughly and reduce the sugar slightly.
- Even Baking: Rotate your pan halfway through baking to ensure even browning, especially if your oven has hot spots.
- Perfect Cuts: Use a sharp knife wiped clean between cuts for the neatest squares. A bench scraper also works well for clean lines.
- Make-Ahead Friendly: These bars actually improve in flavor after a day, making them perfect for advance preparation.
- Storage Success: Store covered at room temperature for up to 3 days, or refrigerate for up to a week for longer storage.
How to Store Crumb Topped Cherry Pie Bars
Proper storage maintains the bars’ texture and flavor. Allow them to cool completely before storing to prevent condensation that could make the topping soggy. Store covered at room temperature for 2-3 days, or refrigerate in an airtight container for up to one week.
For longer storage, wrap individual bars in plastic wrap and freeze for up to 3 months. Thaw at room temperature for the best texture. Avoid storing warm bars as the steam will soften the crisp topping.
Frequently Asked Questions (FAQs)
Q: Can I make these bars with canned cherries?
A: Yes! Drain canned cherries thoroughly and reduce the sugar in the filling by 2-3 tablespoons since canned fruit is often pre-sweetened.
Q: Why is my crumb topping not crispy?
A: Ensure your butter is cold when mixing, and don’t press the topping down when sprinkling it over the filling. Also, make sure the bars are fully baked until golden.
Q: Can I double this recipe?
A: Absolutely! Double all ingredients and use two 9×13-inch pans, or use one large sheet pan and increase baking time by 5-10 minutes.
Q: How do I know when the bars are done?
A: Look for golden-brown topping and bubbling filling around the edges. The center should be set when gently shaken.
Q: Can I freeze the unbaked bars?
A: Yes! Assemble completely, wrap tightly in plastic wrap and foil, then freeze for up to 2 months. Bake directly from frozen, adding 10-15 minutes to the baking time.
Q: What’s the best way to remove pits from fresh cherries?
A: Use a cherry pitter for efficiency, or carefully cut around the pit with a small knife. A clean bobby pin or paperclip can also work in a pinch.
Conclusion
Crumb Topped Cherry Pie Bars offer all the comfort and satisfaction of traditional cherry pie with the convenience of a handheld treat. The combination of buttery shortbread base, luscious cherry filling, and golden crumb topping creates a dessert that’s both familiar and exciting.
Whether you’re baking for a special occasion or simply treating yourself to something sweet, these bars deliver consistent, delicious results. The recipe is forgiving for beginners yet sophisticated enough for experienced bakers looking for a reliable crowd-pleaser.
With proper technique and quality ingredients, you’ll create bars that rival any bakery offering. The beauty of this recipe lies in its simplicity and adaptability—feel free to experiment with different fruits and flavor combinations to make it your own. Enjoy the process of baking and sharing these delightful treats that bring people together over the timeless appeal of cherry pie in a new, convenient form. Happy baking!