Easy Apricot Jam Recipe
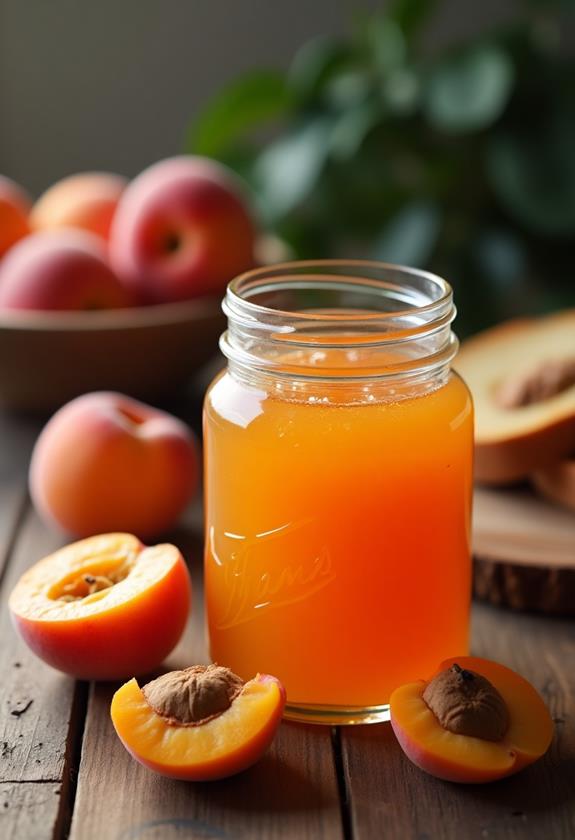
You've got a basket of ripe apricots, and you're wondering how to capture their sweetness in something that lasts. Making apricot jam at home isn't just simple; it's an opportunity to experiment with flavors and textures to suit your taste. You might think it's a lengthy process, but it's surprisingly quick. With just a few steps, you'll transform those apricots into a delightful spread that complements everything from morning toast to evening desserts. But before you start boiling and stirring, there's an essential point you need to take into account to guarantee your jam turns out perfectly.
Recipe
Making apricot jam at home is a simple and satisfying process that captures the vibrant flavor of ripe apricots. This homemade jam is perfect for spreading on toast, using as a pastry filling, or even as a glaze for meats. With just a few ingredients, you can whip up a batch of apricot jam that's both delicious and versatile, ideal for adding a touch of summer to your meals year-round.
To start, choose fresh and ripe apricots, as they're key to achieving a rich flavor in your jam. This easy recipe requires minimal effort and is suitable for beginners who want to try their hand at making preserves. By following this recipe, you can control the sweetness and texture of your jam, ensuring it meets your personal taste preferences.
Ingredients:
- Fresh apricots
- Granulated sugar
- Lemon juice
- Water
In a large saucepan, combine the washed, pitted, and chopped apricots with granulated sugar, lemon juice, and water. Stir the mixture over medium heat until the sugar is completely dissolved.
Increase the heat to bring the mixture to a boil, stirring occasionally to prevent sticking. Once boiling, reduce the heat and allow it to simmer for 20-30 minutes or until the jam thickens.
Pour the hot jam into sterilized jars, seal them tightly, and let them cool at room temperature before storing in a cool, dark place.
To achieve the best results, make sure to use ripe, unblemished apricots for a more intense flavor. If you prefer a smoother texture, consider blending the apricots before cooking.
Taste the jam as it cooks to adjust the sugar level to your liking, keeping in mind that the jam will thicken as it cools. Avoid overcooking to prevent the jam from becoming too thick.
Enjoy your homemade apricot jam on toast, pastries, or even mixed into yogurt for a delightful treat.
Cooking Steps
Now, let's get started on making your delicious apricot jam!
First, wash those apricots thoroughly, pit them, and chop them into small pieces—think of it as giving them a little spa treatment before their big moment.
Once they're all set, combine them with the sugar, lemon juice, and water in a large saucepan, and let the magic begin as you boil the mixture until it thickens.
Then pour your jam into jars and let them cool.
Step 1. Prepare Apricots by Washing
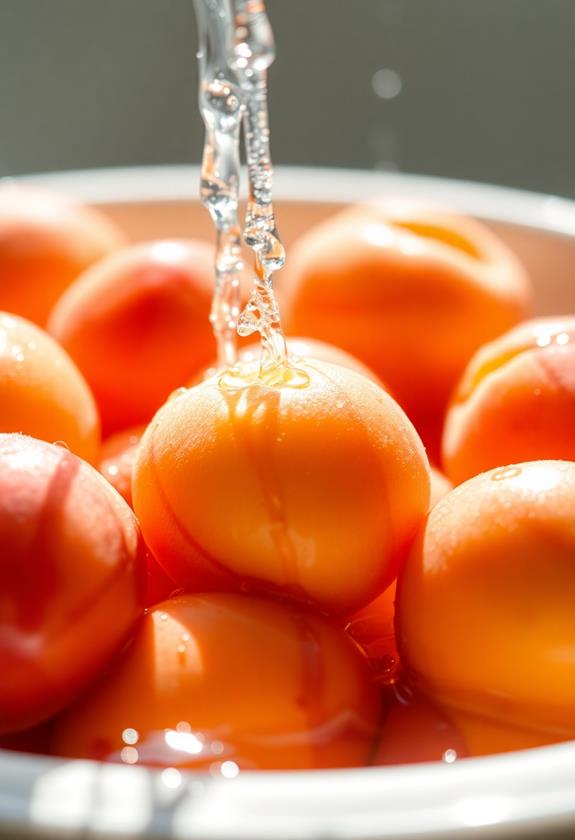
Start by giving your apricots a good rinse under cool running water to remove any dirt or residues. Think of it as a revitalizing shower for your fruit!
Use your hands to gently rub the apricots, ensuring you wash away any stubborn bits of dust. You don't want any surprises in your jam, like a sneaky speck of soil trying to steal the spotlight.
Once they're nice and clean, place them on a clean kitchen towel and pat them dry. This prevents any excess water from diluting your jam later. Plus, dry apricots are easier to handle and less slippery.
Step 2. Pit and Chop Apricots
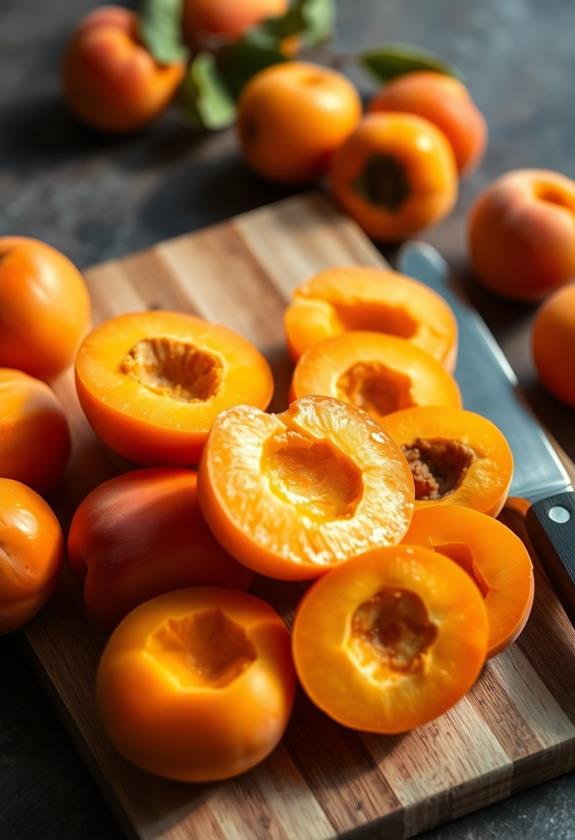
Once your apricots are clean and dry, it's time to pit and chop them for the jam.
Don't worry, it's easier than it sounds! Start by cutting each apricot in half, following the natural seam. Give it a little twist, and voilà, the pit should pop right out—almost feels like magic, doesn't it? If it's being stubborn, just use a spoon to nudge it out.
Once pitted, slice the apricots into small, even pieces. Aim for about half-inch chunks; this size helps them cook down beautifully into a luscious jam.
Step 3. Combine Ingredients in Saucepan
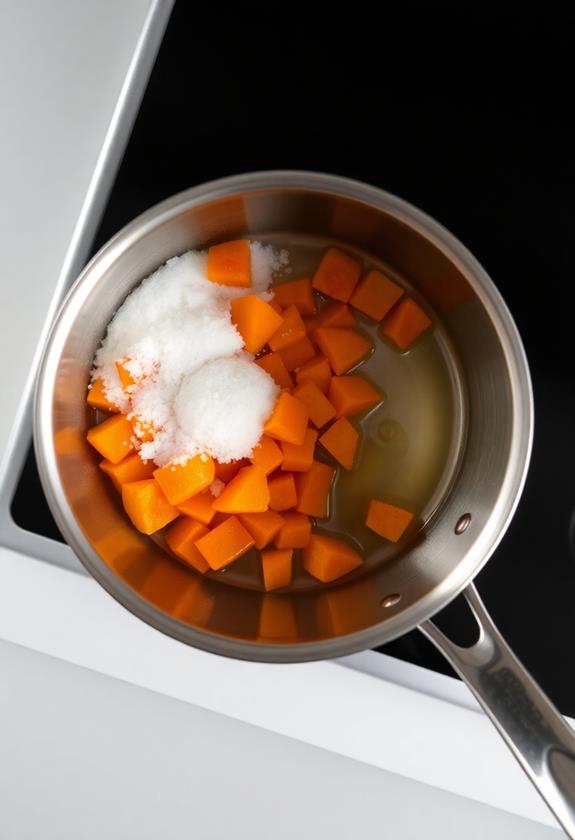
In your kitchen, grab a large saucepan and place it on the stove.
Now, let's get that jam party started! Toss in your freshly chopped apricots, making sure they're cozy in there.
Next, sprinkle the granulated sugar over them like you're casting a sweet spell. Don't forget a splash of lemon juice—it's the secret ingredient that gives the jam its zing!
Add a little water to keep things moving. With your wooden spoon, stir the mixture gently, coaxing the sugar to melt and mingle with the fruit.
You'll notice things starting to look like they're at a fruit festival. Keep the heat on medium, and give it a few stirs, keeping everything harmonious and united in the pan.
Step 4. Boil Mixture Until Thickened
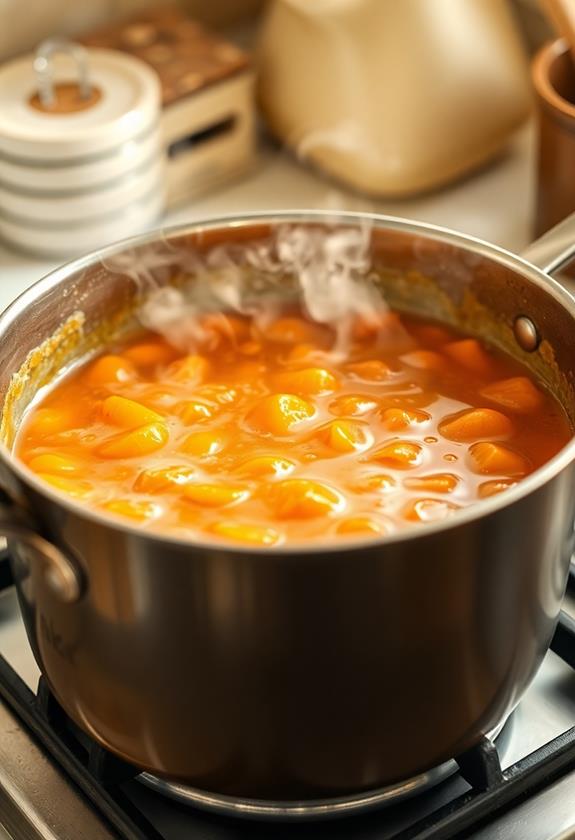
Bringing the apricot mixture to a boil is the next step in your jam-making adventure. As the pot heats up, you'll notice the sweet aroma filling your kitchen—it's like a fruity concert for your senses!
Stir occasionally to guarantee the sugar dissolves evenly, and watch closely as bubbles begin to dance across the surface. Don't be tempted to crank up the heat; a gradual boil is your jam's best friend.
Once it reaches a steady boil, lower the heat a bit and let it simmer. Patience is key now, as the mixture thickens over 20-30 minutes.
You'll know it's ready when it coats the back of a spoon, leaving a nice, sticky trail. Voilà, you're almost a jam master!
Step 5. Pour Jam Into Jars
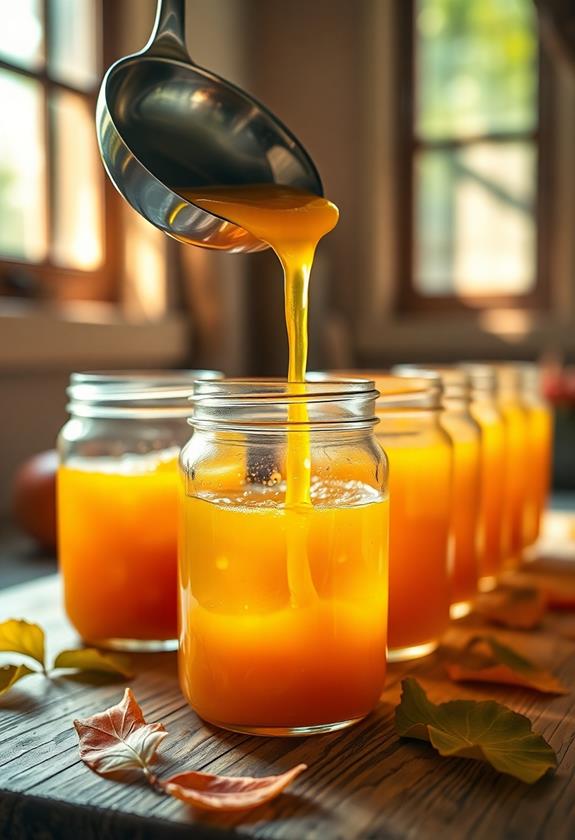
After your jam has reached that perfect consistency, it's time to get it into jars.
Carefully ladle the hot apricot jam into sterilized jars, leaving about a quarter-inch of space at the top. This space allows the jam to expand a bit as it cools.
Wipe the rims clean with a damp cloth—sticky surprises aren't welcome here. Seal the jars tightly with lids, and be sure they're on snugly. You don't want your hard work going to waste because of a loose lid!
Now, let the jars sit undisturbed at room temperature. As they cool, you'll hear that satisfying pop sound, confirming the seal is set.
You've done it! Your homemade apricot jam's ready for breakfast glory.
Final Thoughts
Crafting your own apricot jam at home is a rewarding endeavor that not only fills your kitchen with a delightful aroma but also offers a sense of accomplishment.
You'll marvel at how simple ingredients transform into a sweet, vibrant spread. Remember, don't rush the process; let the apricots work their magic as they simmer.
A watched pot mightn't boil, but an unwatched jam can sure burn! Be patient, stir occasionally, and enjoy the aroma wafting through your space.
Once you've poured the jam into jars, resist the urge to plunge in immediately. Let it cool, seal, and store properly.
When you finally spread that first spoonful on toast, you'll savor not just the taste, but the joy of your homemade creation.
Frequently Asked Questions
How Do I Store Apricot Jam for Long-Term Preservation?
To store apricot jam long-term, sterilize jars properly, fill them with hot jam, and seal tightly. Process in a boiling water bath for 10 minutes. Keep jars in a cool, dark place, and they'll last for months.
Can I Use Frozen Apricots Instead of Fresh Ones?
Yes, you can use frozen apricots instead of fresh ones. Just thaw them before starting the recipe. They might release extra liquid, so you may need to adjust cooking time to reach the desired jam consistency.
What Is the Shelf Life of Homemade Apricot Jam?
Your homemade apricot jam typically lasts about a year if sealed properly and stored in a cool, dark place. Once opened, refrigerate it and use within a month for the best flavor and quality.
How Can I Make Apricot Jam Without Added Sugar?
You can make apricot jam without added sugar by using ripe apricots and natural sweeteners like honey or agave syrup. Cook them down with lemon juice, allowing the natural sugars to concentrate as it thickens.
Is It Possible to Make Apricot Jam Without Lemon Juice?
Yes, you can make apricot jam without lemon juice. Replace it with a small amount of citric acid or apple cider vinegar. These alternatives provide the necessary acidity to balance flavors and help with preservation. Enjoy your jam!
Conclusion
You've done it! By turning fresh apricots into a delightful homemade jam, you've captured their sunny flavor in a jar. Remember, the key is patience while boiling, and don't forget to sterilize those jars—nobody wants jam with a side of germs! Whether you spread it on toast or use it as a meat glaze, this jam's bound to impress. So, enjoy your delicious creation, and maybe share a jar or two with friends. They'll be jam-azed!


