Easy Homemade Chili Recipe

When you're looking to whip up a comforting meal, an easy homemade chili might just be the perfect choice. You start with simple ingredients like ground beef or turkey, and as you brown the meat, the aroma begins to fill your kitchen. Adding onions and garlic enhances the depth of flavor, while a blend of chili powder and cumin offers just the right amount of spice. But what truly makes this recipe special? Well, there's a secret step that transforms this dish from ordinary to irresistible. Curious about what it is? Let's explore further.
Recipe
Homemade chili is a classic dish that brings warmth and satisfaction to any meal. This versatile recipe can be tailored to your preferences, whether you like it spicy, mild, or somewhere in between. The combination of ground meat, beans, tomatoes, and spices makes for a nutritious and hearty meal that's perfect for meal prep or family dinners.
As the chili simmers, its flavors deepen and meld together, creating a delicious dish that's sure to please everyone at the table. Cooking chili at home allows you to control the ingredients, making it a healthier option compared to store-bought or restaurant versions. You have the freedom to experiment with different types of beans, incorporate additional vegetables, or adjust the level of spiciness to suit your taste.
This easy homemade chili recipe is designed to be simple yet flavorful, requiring minimal preparation and cooking time, making it an ideal choice for busy weeknights.
Ingredients:
- 1 pound ground beef or turkey
- 1 can (15 oz) kidney beans, drained and rinsed
- 1 can (15 oz) black beans, drained and rinsed
- 1 can (28 oz) crushed tomatoes
- 1 medium onion, diced
- 2 cloves garlic, minced
- 1 tablespoon chili powder
- 1 teaspoon cumin
- Salt and pepper to taste
- Optional toppings: shredded cheese, sour cream, chopped green onions
To prepare this easy homemade chili, begin by browning the ground meat in a large pot over medium heat until fully cooked. Drain any excess fat and then add the diced onion and minced garlic, cooking until the onion becomes translucent.
Stir in the chili powder, cumin, salt, and pepper, ensuring the meat is well seasoned. Next, add the drained kidney and black beans, followed by the crushed tomatoes. Mix everything thoroughly and bring the mixture to a boil.
Once boiling, reduce the heat to low and allow the chili to simmer for about 30 minutes, stirring occasionally to prevent sticking. When the chili has thickened and the flavors are fully developed, it's ready to be served.
For the best chili experience, consider adjusting the chili powder to match your spice preference, adding more if you enjoy extra heat. If time permits, let the chili simmer longer to further enhance its flavors.
This dish can be prepared ahead of time and often tastes even better the next day as the flavors continue to meld. Customize your chili with your favorite toppings like shredded cheese, sour cream, or a sprinkle of fresh green onions for added flavor and texture.
Cooking Steps
Let's get cooking by grabbing a large pot and browning your ground meat until it's perfectly cooked, then toss in the diced onion and minced garlic to fill your kitchen with that irresistible aroma.
Once your onion's got that nice translucent look, sprinkle in the chili powder, cumin, and a dash of salt and pepper for some flavor magic.
Now, it's time to play bean and tomato Tetris—add those drained beans and crushed tomatoes, give everything a good stir, and let it all simmer together for 30 minutes, stirring occasionally to keep it from sticking and to let those flavors mingle like a great party.
Step 1. Brown Meat in Large Pot
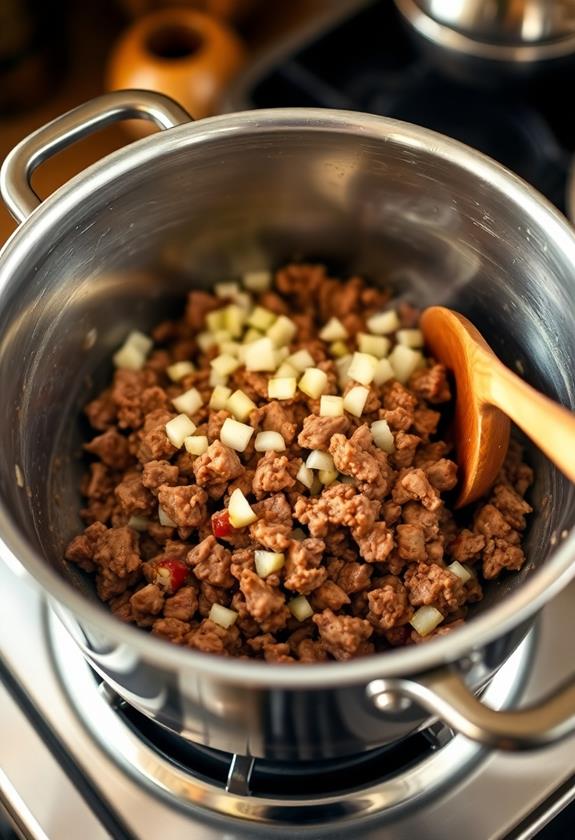
Start your chili adventure by browning the ground meat in a large pot over medium heat. As the meat sizzles and transforms into deliciously browned bits, make sure to break it up with a wooden spoon or spatula. This helps it cook evenly, giving you a nice, crumbly texture.
Don't rush this step—patience is key, and the aroma will be your reward. Keep an eye out for any pink spots, ensuring the meat is fully cooked.
Once browned, it's time to drain any excess fat. You want a flavorful chili, not an oily one! This step sets the foundation for your chili, so enjoy the process, and maybe even pretend you're on a cooking show—minus the camera crew!
Step 2. Add Onion and Garlic
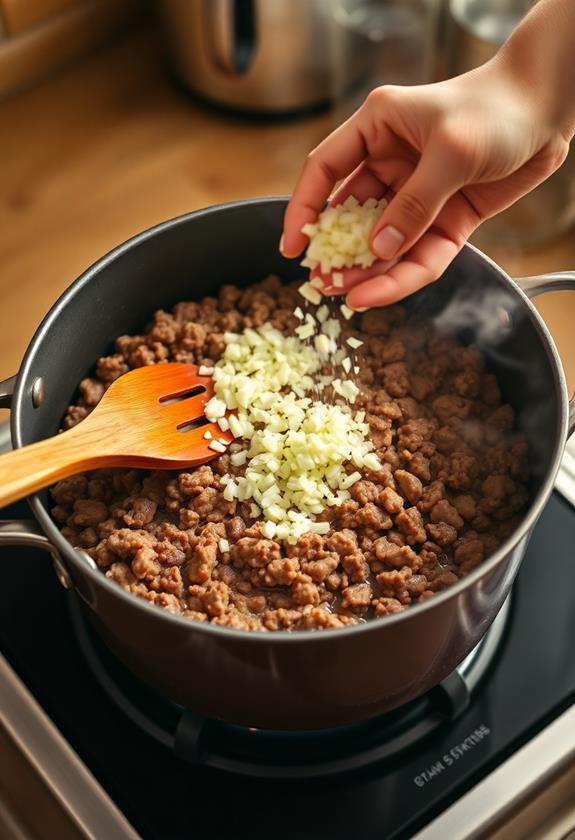
With the meat perfectly browned and excess fat drained, it's time to enhance the flavor profile by adding diced onion and minced garlic to the pot. Toss them in, and watch as the kitchen fills with their delightful aroma.
Stir the mixture frequently, allowing the onions to become translucent and the garlic to release its full potential. Keep an eye on them; you don't want them to burn, just to soften and mingle with the meat.
This step sets the stage for a delicious chili, as the onions add sweetness and the garlic, a subtle kick. If you're feeling fancy, pretend you're a TV chef, giving a dramatic stir with flair—because why not make cooking fun?
Step 3. Season Meat With Spices

Now that the onions and garlic have released their enticing flavors, it's time to season the meat with spices that will transform your chili into a savory masterpiece.
Grab your chili powder and cumin, the dynamic duo of chili spices, and sprinkle them generously over the browned meat.
Don't be shy; this isn't the time for timid seasoning. Add a pinch of salt and a dash of pepper to taste.
Mix everything thoroughly, ensuring those spices coat every morsel of meat. The aroma will start teasing your senses, promising the deliciousness to come.
Step 4. Add Beans and Tomatoes
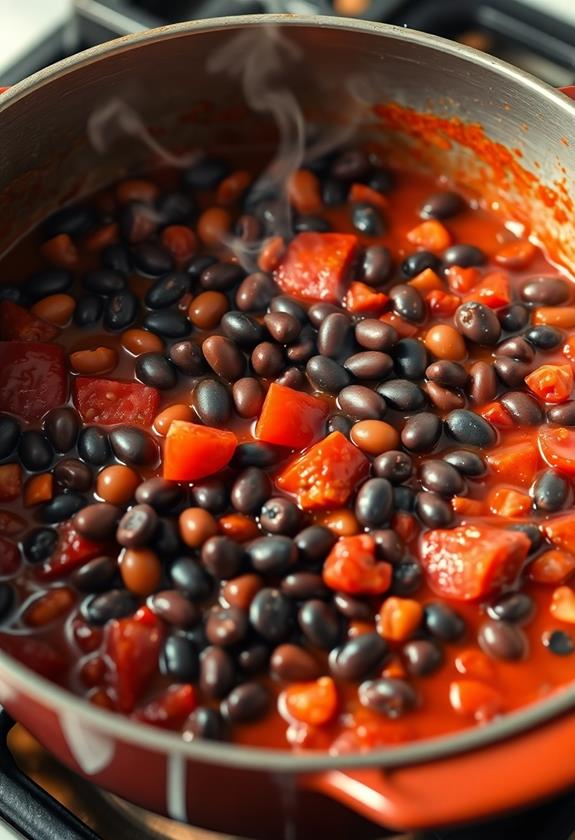
Next up, it's time to bring the beans and tomatoes into the mix, adding depth and heartiness to your chili. Grab those cans of kidney and black beans, drain and rinse them thoroughly—nobody wants bean juice in their chili, right? Go ahead and dump them into the pot.
Now, it's the tomatoes' turn. Open up that can of crushed tomatoes and pour it in like you're a master chef on a cooking show. Stir everything together gently, making sure the beans and tomatoes are evenly distributed.
This combination not only thickens your chili but also adds a rich, tangy flavor. Remember, this is your creation, so feel free to sneak a taste and adjust the seasoning as needed.
Step 5. Simmer for 30 Minutes
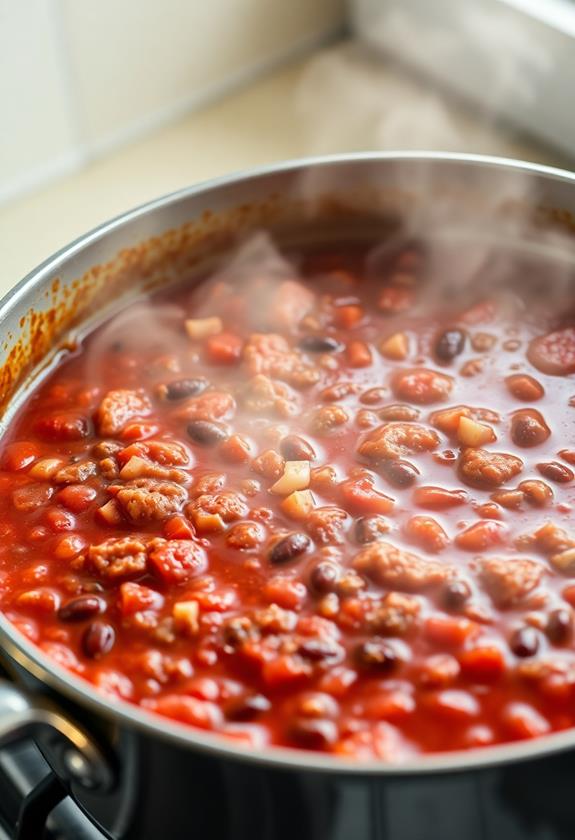
Once you've combined the beans and tomatoes, bring your chili to a boil over medium-high heat.
This is where the magic happens! When it starts bubbling, reduce the heat to low, and let it simmer for 30 minutes.
This slow simmer lets the flavors get cozy and mingle, creating that rich, comforting taste we all love.
Stir occasionally to avoid any rebellious beans sticking to the pot's bottom.
Final Thoughts
Crafting your own homemade chili not only provides a satisfying meal but also allows you to tailor it exactly to your liking.
You're in control of the spiciness, the heartiness, and even the toppings—no more picking out unwanted ingredients! This recipe is a canvas for your culinary creativity.
If you're feeling adventurous, throw in some bell peppers or corn for extra color and nutrients.
Leftovers? They're a blessing in disguise, as chili tastes even better the next day. Plus, there's nothing like a quick, delicious meal waiting in the fridge when you're too busy to cook.
Frequently Asked Questions
Can I Use Other Types of Beans Besides Kidney and Black Beans?
Absolutely, you can use other beans like pinto, navy, or cannellini in your chili. Feel free to mix and match based on your preference. It's a wonderful way to personalize your chili and experiment with flavors.
How Can I Make the Chili Vegetarian or Vegan?
To make the chili vegetarian or vegan, skip the meat and add more beans or lentils for protein. Use vegetable broth instead of meat-based ones. Confirm all toppings and ingredients are plant-based for a complete vegan dish.
What Is the Best Way to Store Leftover Chili?
Store leftover chili in airtight containers to guarantee freshness. Refrigerate it for up to four days or freeze for longer storage. When reheating, stir occasionally to confirm even warming and retain the chili's rich flavor and texture.
Can I Freeze Homemade Chili for Later Use?
Yes, you can freeze homemade chili for later use. Just let it cool completely, then portion it into airtight containers or freezer bags. It'll stay good for up to three months, making meal prep more convenient.
How Do I Adjust the Recipe for a Slow Cooker?
To adjust for a slow cooker, brown the meat, onion, and garlic first. Transfer everything to the slow cooker, then add remaining ingredients. Cook on low for 6-8 hours or high for 3-4 hours. Enjoy!
Conclusion
You've done it—your homemade chili is ready, and it's a masterpiece of flavor! Let it cool a bit before diving in, and don't forget to grab some toppings like cheese or sour cream for extra pizzazz. Remember, chili's like a fine wine; it gets better with age, so those leftovers will be even more amazing. Enjoy every spoonful, and know you've got a go-to recipe that's sure to impress, even if your only audience is your couch and a good movie!


