Halloween Chocolate Cookies Recipe
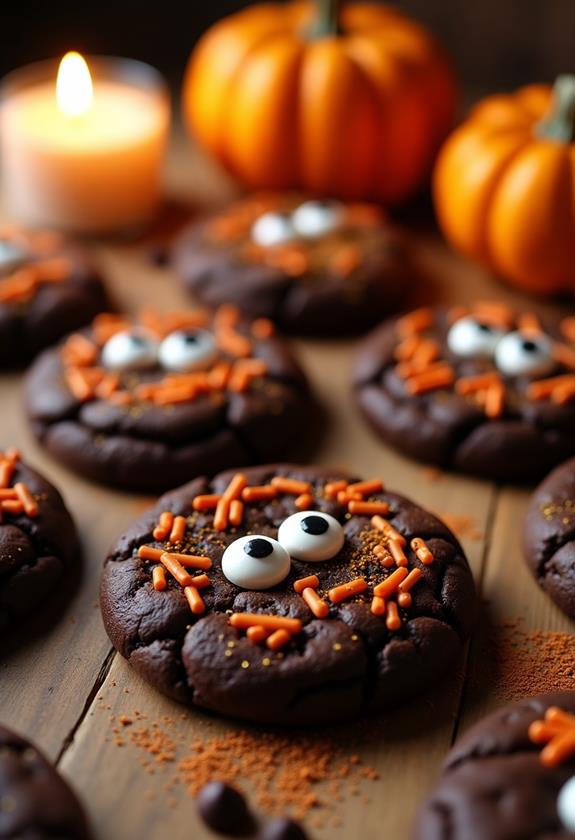
Imagine crafting Halloween chocolate cookies that are as delightful to look at as they are to eat. You start with rich, unsweetened cocoa and dark chocolate chips, ensuring each bite is a chocolaty indulgence. By adding Halloween-themed sprinkles and candy eyes, you transform these treats into festive masterpieces. These cookies aren't just for dessert; they're conversation starters at any party. But what if you could make them even more irresistible? There's a secret ingredient that takes them to the next level, and you'll want to discover what makes these cookies truly unforgettable.
Recipe
Indulge in the festive spirit with these delightful Halloween Chocolate Cookies, perfect for the spooky season. This simple yet delicious recipe combines rich chocolate flavor with fun Halloween-themed decorations to create a treat that will enchant both kids and adults alike.
Whether you're throwing a Halloween bash or enjoying a cozy night in, these cookies are sure to bring joy and excitement. The beauty of this recipe lies in its ease and adaptability. With dark chocolate chips adding a luscious depth and a variety of fun toppings to choose from, you can let your creativity shine.
So gather your ingredients, put on a Halloween playlist, and prepare to bake these delightful cookies that are as pleasing to the eye as they're to the palate.
Ingredients:
- 1 cup unsalted butter, softened
- 1 cup granulated sugar
- 1 cup brown sugar, packed
- 2 large eggs
- 1 teaspoon vanilla extract
- 2 cups all-purpose flour
- 1 cup unsweetened cocoa powder
- 1 teaspoon baking soda
- 1/2 teaspoon salt
- 1 cup dark chocolate chips
- Halloween-themed sprinkles or decorations
To make these Halloween Chocolate Cookies, start by preheating your oven to 350°F (175°C). In a large bowl, cream together the softened butter, granulated sugar, and brown sugar until the mixture is light and fluffy.
Add the eggs one at a time, beating well after each addition, and stir in the vanilla extract. In a separate bowl, whisk together the flour, cocoa powder, baking soda, and salt. Gradually add this dry mixture to the wet ingredients, mixing until just combined.
Fold in the dark chocolate chips. Drop spoonfuls of dough onto a baking sheet lined with parchment paper, leaving enough space between each cookie. Decorate the tops with Halloween-themed sprinkles or decorations and bake for 10-12 minutes or until the edges are firm.
Allow the cookies to cool on the baking sheet for a few minutes before transferring them to a wire rack to cool completely. For the best results, verify your butter is at room temperature before starting, as this aids in creating a smoother dough.
If you wish to enhance the chocolate flavor, consider adding a teaspoon of espresso powder to the dry ingredients. When decorating, release your creativity with Halloween-themed toppings such as candy eyes, pumpkin-shaped sprinkles, or edible glitter.
These cookies can also be made in advance and stored in an airtight container for up to a week, making them a convenient choice for any Halloween festivities.
Cooking Steps
Alright, let's get those Halloween Chocolate Cookies started by preheating your oven to 350°F, giving it a warm-up while you work your magic.
First, cream together the butter and sugars until they're as smooth as a ghost's sheet, then mix in the vanilla and eggs like you're conjuring a delicious potion.
Next, gently mix in the dry ingredients and fold in those dark chocolate chips, making sure everything's combined without any witch's hexes or lumps!
Step 1. Preheat Oven to 350°F
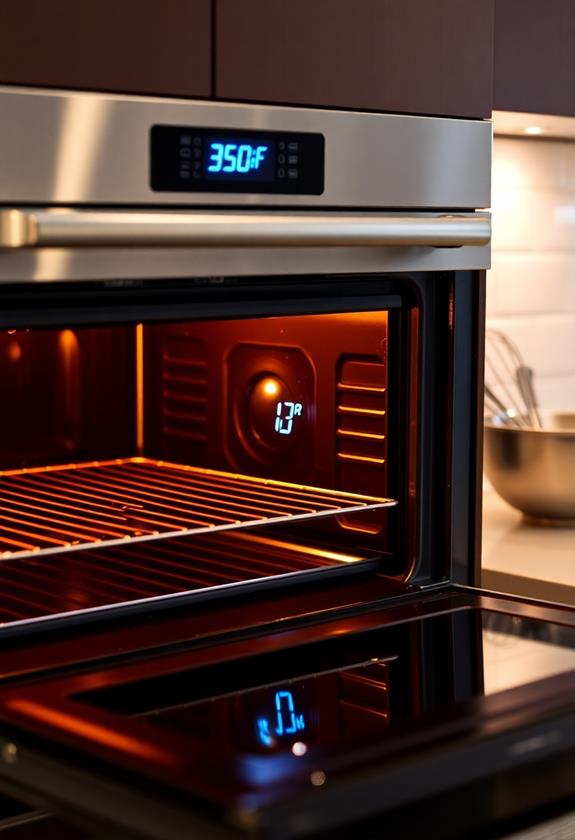
Anticipation builds as you commence your Halloween baking adventure, ready to fill your home with delightful aromas. Your first step? Preheat the oven to 350°F. Think of it as laying the groundwork for cookie magic.
Making sure the oven reaches the right temperature is essential, so don't rush it—let it warm up fully. This temperature guarantees your cookies bake evenly and develop those perfect crispy edges with soft, chewy centers.
While the oven preheats, gather your ingredients and organize them on your countertop. It's like preparing a spooky symphony of flavors!
Remember, patience is key. Resist the temptation to pop the cookies in too early; you want this baking ritual to be as smooth as possible.
Now, you're on your way!
Step 2. Cream Butter and Sugars Together
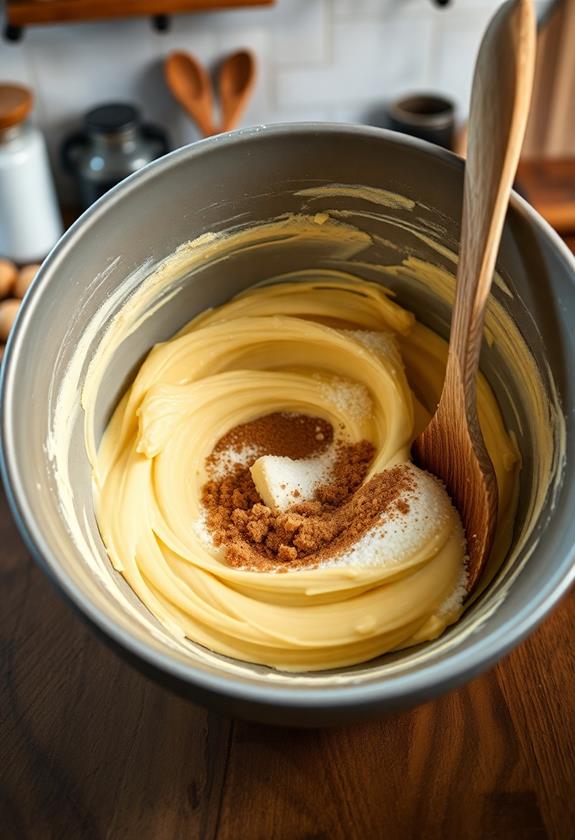
Begin your cookie-making process by creaming the butter and sugars together—a crucial step for achieving that perfect texture.
Grab a large mixing bowl, and toss in your softened butter, granulated sugar, and brown sugar.
Now, with a hand mixer or a sturdy wooden spoon, start mixing. You're aiming for a light and fluffy mixture, which usually takes about 3-4 minutes of elbow grease.
Don't worry, it's a workout that pays off in delicious cookies!
As the sugars blend with the butter, they help trap air, giving your cookies that delightful chewiness.
And hey, if you're feeling fancy, hum a tune or pretend you're on a baking show.
Step 3. Add Vanilla and Eggs
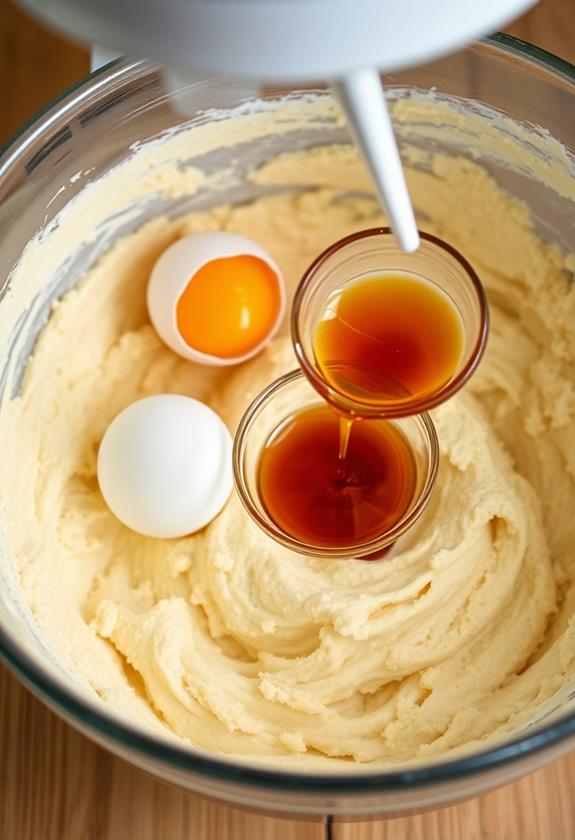
With your butter and sugars perfectly creamed, it's time to incorporate the vanilla and eggs.
Crack each egg into a small bowl first to avoid any shell surprises. Add one egg at a time, mixing well after each addition. This guarantees a smooth consistency and helps the eggs blend nicely into your creamy mixture.
Now, grab your vanilla extract and pour in a teaspoon. Give everything a good stir, letting the lovely aroma of vanilla fill the room. It's like a sneak peek of the delicious cookies to come!
Don't rush this step; patience here means cookies that are both chewy and flavorful. Plus, mixing thoroughly adds a bit of an arm workout—who knew baking could be so rewarding?
Step 4. Mix in Dry Ingredients
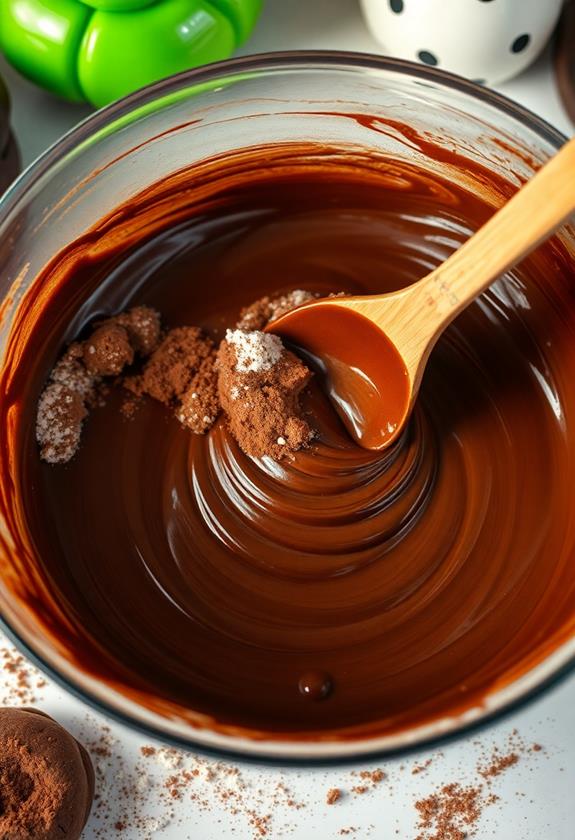
In this step, you'll combine the dry ingredients to form the base of your cookie dough. Grab a separate bowl, and whisk together the flour, unsweetened cocoa powder, baking soda, and salt.
This mixture is the unsung hero of your cookie concoction, adding structure and flavor. Remember, thorough mixing is key—no one wants a surprise pocket of baking soda in their cookie!
When you're confident it's well-blended, gradually introduce this dry mixture to your wet ingredients. Mix until just combined; over-mixing can make your cookies tough instead of tender.
Think of it like a dance: smooth and coordinated. If a little flour dust clouds up, don't worry—it's like a ghostly touch for your Halloween treats!
Step 5. Fold in Dark Chocolate Chips
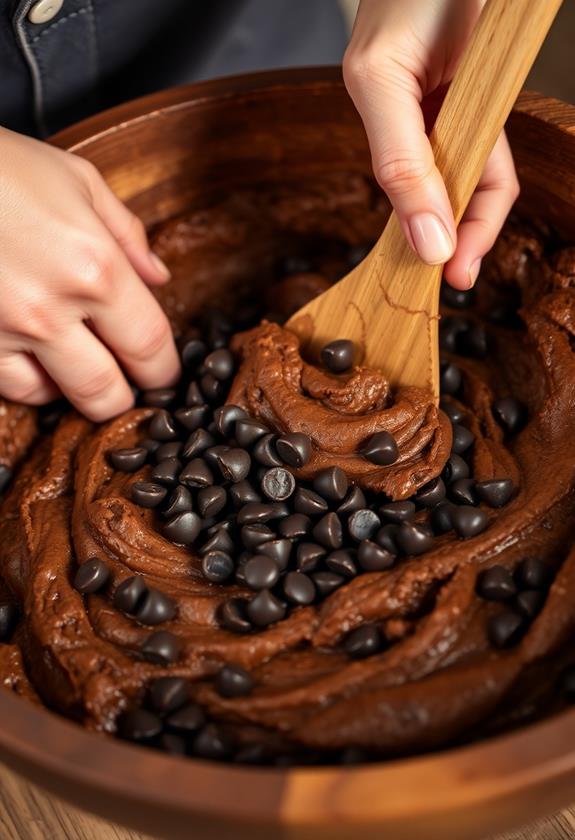
Now's the time to add a touch of indulgence to your cookie dough by folding in the dark chocolate chips. Gently incorporate them into the dough, ensuring each scoop is filled with chocolatey goodness.
Use a spatula or wooden spoon to fold them in, as this helps maintain the dough's texture. Don't rush; take your time to distribute them evenly—nobody wants a chocolate chip monopoly!
If a few chips escape onto the counter, consider it a treat for the hardworking chef. As you fold, imagine the rich chocolate melting into gooey pockets of delight when baked.
This step transforms your cookies from good to irresistibly delicious. Remember, the secret to great cookies is a balanced mix of care and indulgence.
Final Thoughts
Creating these Halloween Chocolate Cookies isn't just about satisfying a sweet tooth—it's an opportunity to embrace creativity and celebrate the season's spirit.
Picture yourself in the kitchen, cookie dough on your fingers, Halloween playlist in the background, and laughter filling the air. It's a chance to let your imagination run wild with spooky decorations. Candy eyes and pumpkin sprinkles? Why not!
These cookies aren't just a treat; they're a memory in the making. Share them at a party, or enjoy them on a cozy night in. They're deliciously versatile.
Plus, they make for fantastic gifts—just wrap them up with a little ghostly charm. Remember, the best parts are the smiles and giggles that come with every chocolatey bite. Happy baking!
Frequently Asked Questions
Can I Substitute Dark Chocolate Chips With Milk Chocolate or White Chocolate Chips?
You can definitely substitute dark chocolate chips with milk or white chocolate chips. Just remember, milk chocolate will give a sweeter flavor, while white chocolate will add creaminess. Adjust to your taste preference, and enjoy your cookies!
How Can I Make the Cookies Gluten-Free?
To make the cookies gluten-free, substitute all-purpose flour with a gluten-free flour blend. Confirm it's a 1:1 replacement. Check labels on decorations and chocolate chips for gluten content to maintain a gluten-free treat.
What Are Some Vegan Alternatives for Eggs and Butter in This Recipe?
You can use flax eggs or applesauce as a vegan substitute for eggs. For butter, opt for coconut oil or a plant-based margarine. These alternatives keep your cookies delicious and fit for a vegan lifestyle.
How Do I Prevent the Cookies From Spreading Too Much While Baking?
To prevent cookies from spreading too much, chill the dough for at least 30 minutes before baking. You can also make certain your butter isn't overly soft and use parchment paper instead of greasing the baking sheet.
Can the Cookie Dough Be Frozen for Later Use?
Yes, you can freeze the cookie dough for later use. Shape the dough into balls, place them on a baking sheet, freeze until solid, then transfer to a zip-top bag. Bake straight from frozen when needed.
Conclusion
You've done it! With these Halloween Chocolate Cookies, you've whipped up a batch of spooky delights that are sure to impress. As you bite into the rich chocolatey goodness, appreciate the playful sprinkles and candy eyes that make these treats so festive. Whether you're sharing them at a party or enjoying a quiet night in, these cookies are bound to be a hit. So, grab a glass of milk, relax, and savor your delicious creation!

