Lemon Curd Recipe

You've probably enjoyed lemon curd on scones or as a tart filling, but have you ever considered making it yourself? Crafting this tangy delight isn't as intimidating as it seems, and you'll find the process quite rewarding. With a few simple ingredients and some patience, you can achieve a smooth, vibrant spread that elevates any dish. The key lies in the right balance of flavors and textures, ensuring each spoonful is both indulgent and invigorating. Curious about the steps to perfecting this classic treat? Let's explore the intricacies of creating an impeccable lemon curd at home.
Recipe
Lemon curd is a luscious, tangy spread that's perfect for adding a burst of citrusy brightness to your dishes. Originating from England, this delectable condiment is versatile enough to be used as a topping for scones, a filling for tarts, or simply spread over toast. Its smooth and creamy texture, combined with a vibrant lemon flavor, makes it a favorite among many cooks.
Making lemon curd at home is a straightforward process that requires just a few simple ingredients. Achieving the perfect balance of sweetness and acidity is essential to creating a delicious lemon curd. With patience and attention to detail, you can make a homemade version that rivals any store-bought option.
To begin, gather your ingredients and set up a workspace. You'll need a medium-sized saucepan, a whisk, and a fine-mesh sieve. The cooking process involves gently heating the mixture to avoid curdling while guaranteeing that the egg yolks fully incorporate with the other ingredients. As the mixture thickens, the addition of butter gives the curd its creamy, rich texture.
Once cooked, it's vital to strain the curd to achieve a smooth consistency. Store it in a jar or airtight container, and let it cool before using.
Ingredients:
- 4 large egg yolks
- 1 cup granulated sugar
- 1/2 cup fresh lemon juice
- Zest of 2 lemons
- 1/2 cup unsalted butter, cut into pieces
In the saucepan, combine the egg yolks, sugar, lemon juice, and lemon zest. Whisk continuously over medium-low heat, guaranteeing the mixture doesn't boil. As it begins to thicken, gradually add the butter pieces, stirring until melted and incorporated.
Continue cooking until the curd reaches a thick, pudding-like consistency, about 10-15 minutes. Remove it from heat and strain through a fine-mesh sieve to remove any lumps or zest. Allow it to cool before transferring to a storage container.
For the best results, use fresh, high-quality lemons, as they greatly enhance the flavor. When zesting, avoid the bitter white pith. If the curd is too tart, adjust the sweetness by adding more sugar.
Keep a close eye on the mixture while cooking to prevent curdling, and remember that patience is key; cooking on low heat guarantees a perfect lemon curd.
Cooking Steps
To start making your lemon curd, whisk together the egg yolks, sugar, lemon juice, and zest in a saucepan, and don't let it boil—you don't want scrambled eggs!
As you gently stir over medium-low heat, add butter pieces gradually, enjoying the anticipation as they melt into the mix.
Keep cooking until the curd thickens to a pudding-like consistency, then strain it through a fine-mesh sieve for a silky finish, and let it cool before storing it in a jar to show off your homemade masterpiece.
Step 1. Whisk Ingredients in Saucepan
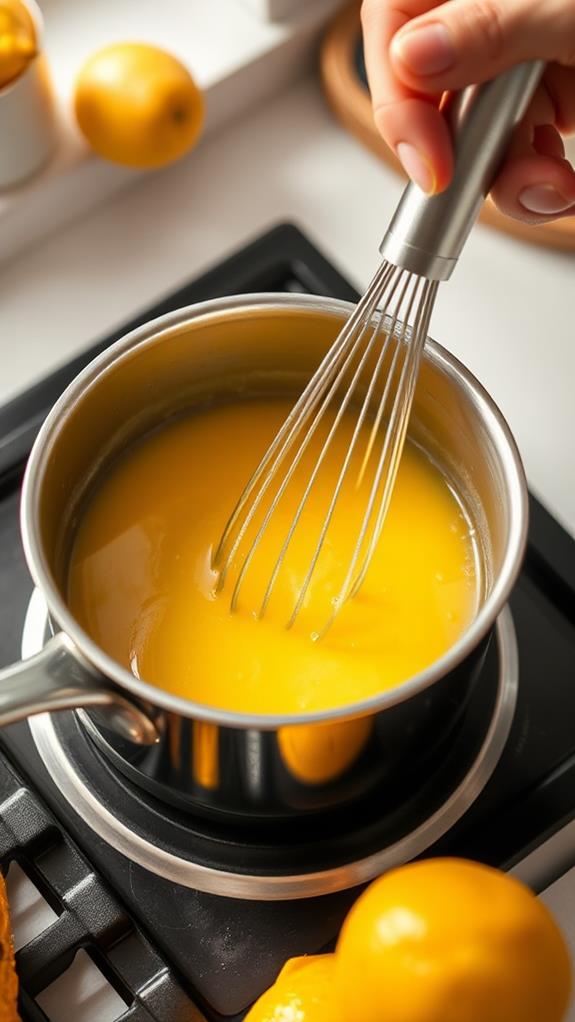
Combining the ingredients in a saucepan is the first step to creating your lemon curd.
You'll want to grab a medium-sized saucepan and gather your egg yolks, sugar, lemon juice, and lemon zest.
Now, here's where the magic starts! Whisk these ingredients together like you're mixing a potion for deliciousness.
Make sure everything's well-blended, and the sugar starts to dissolve.
Keep that whisk moving, and watch as the mixture transforms into a smooth and sunny yellow blend.
Remember, patience is key, so don't rush it.
Whisking is your secret weapon here, ensuring everything's combined without any lumps.
It's like a mini workout, but way more fun and rewarding!
Enjoy this part; it's the foundation of your luscious lemon curd.
Step 2. Add Butter Gradually, Stirring
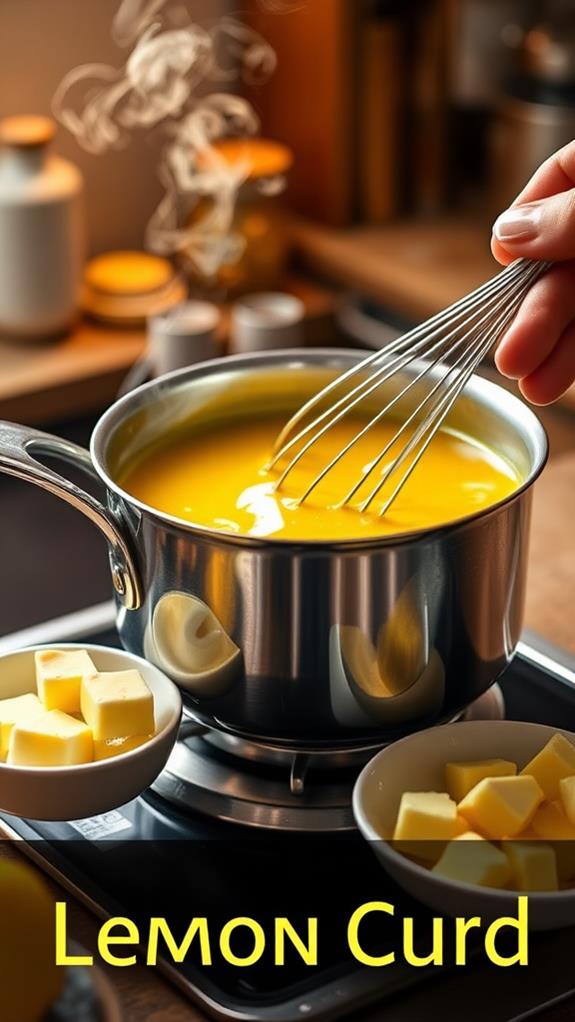
As your mixture begins to thicken, it's time to introduce the butter. Grab your pre-measured butter pieces and add them one by one, stirring continuously.
This gradual approach might test your patience, but trust me, it's worth it for that perfect, silky texture. Each piece will melt into the lemony goodness, making your curd richer and smoother.
Don't rush this step—it's like adding a little magic to your potion. Keep stirring as the butter melts, ensuring it's fully incorporated before adding the next piece.
Think of it as a dance, where you and your spoon are in sync. If you rush, the butter mightn't blend smoothly, leaving you with a lumpy curd.
Step 3. Cook Until Pudding-Like Consistency
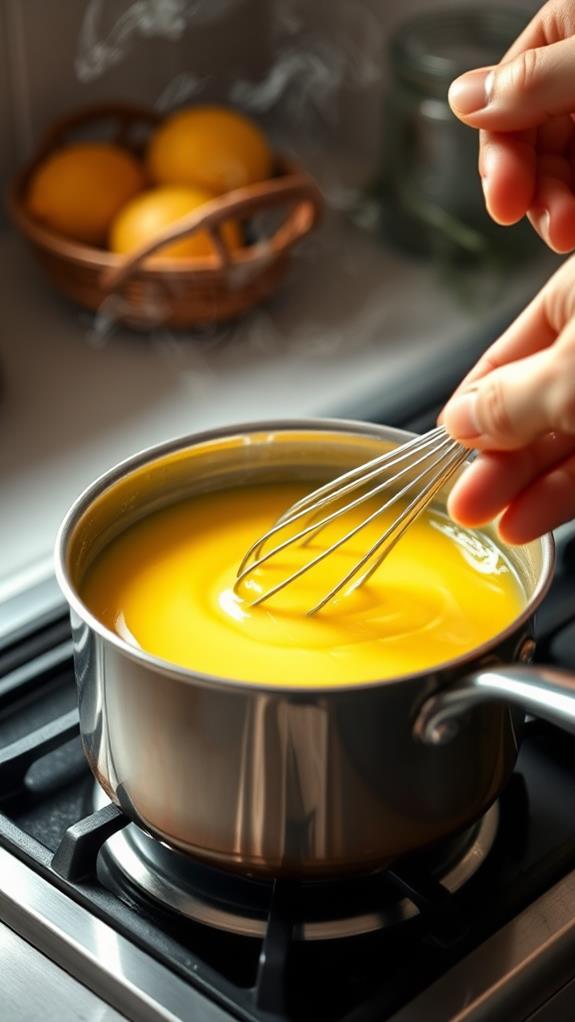
Once all the butter has melted and blended into the mixture, keep your focus as you continue to stir.
You'll want the curd to thicken to a pudding-like consistency, which is the real magic moment! Stir steadily over medium-low heat, ensuring it doesn't boil.
Think of it as a gentle babysitting job—you're watching over something precious. Watch for the mixture to coat the back of your spoon; that's your cue it's nearly there.
If you're feeling impatient, remember good things come to those who wait! Keep stirring for about 10-15 minutes.
It's a bit like waiting for a plot twist in your favorite book—worth every second. Stay calm and keep stirring; your lemony delight is almost ready!
Step 4. Strain Through Fine-Mesh Sieve

After achieving that perfect pudding-like consistency, it's time to strain your lemon curd through a fine-mesh sieve. Trust me, this step is worth it!
Grab your sieve, place it over a mixing bowl, and pour the curd in. Use a spatula to gently press and stir, coaxing the curd through the mesh. This removes any pesky lumps or bits of zest, leaving you with silky-smooth goodness.
It might feel like you're auditioning for a cooking show, but it's all part of the fun! Plus, you'll be left with a curd that's smoother than your best dance move.
Step 5. Cool and Store in Jar

The final step in your lemon curd adventure is to let it cool before storing it. Patience is key here—nobody wants a jar of steamy lemon soup!
Allow the curd to rest at room temperature for about 15-20 minutes, giving it a chance to set and thicken further. Once cooled, transfer it into a clean, airtight jar; this prevents any unwanted fridge odors from sneaking in.
Make sure to seal the jar tightly. Store your lemony treasure in the refrigerator, where it'll stay fresh for up to two weeks.
Handy tip: label the jar with the date you made it, so you don't lose track. Now, you've got a zesty treat ready to spread on toast or fill tarts anytime!
Final Thoughts
Crafting your own lemon curd at home isn't only rewarding but also allows you to control the quality and freshness of the ingredients.
Plus, you get bragging rights when friends ask where you bought such delicious lemon curd!
You've navigated through zesting, whisking, and waiting with patience, and now, you've got a jar of sunshine in your fridge.
Use it to brighten up breakfast or elevate a dessert.
Remember, the key is in the balance—sweet yet tangy.
If you find it too tart, a sprinkle more sugar works wonders.
And hey, if you're feeling adventurous, try experimenting with lime or orange for a twist.
Enjoy your homemade treat, and don't be surprised if you find yourself making it again soon!
Frequently Asked Questions
Can Lemon Curd Be Made With Lime or Orange Instead of Lemon?
You can definitely substitute lemons with limes or oranges to make curd. Just adjust the sugar to balance the sweetness and acidity. Lime curd offers a tangy twist, while orange curd provides a sweeter, citrusy alternative.
How Long Can Homemade Lemon Curd Be Stored in the Fridge?
You can store homemade lemon curd in the fridge for about two weeks. Guarantee it's in an airtight container to maintain freshness. If you notice any changes in texture or color, it's best to discard it.
Is It Possible to Make Lemon Curd Without Using Butter?
Yes, you can make lemon curd without butter. Substitute butter with coconut oil or use a combination of a non-dairy milk and a thickener like cornstarch for a creamy texture. It'll still taste delicious!
Can I Use Bottled Lemon Juice if Fresh Lemons Are Unavailable?
You can use bottled lemon juice if fresh lemons aren't available, but it might affect the flavor. Fresh lemon juice usually offers a brighter, more vibrant taste. If using bottled juice, make certain it's 100% pure lemon juice.
How Can I Fix Lemon Curd if It Turns Out Too Runny?
If your lemon curd's too runny, return it to the stove and gently heat while whisking. Cook it longer until it thickens. If needed, mix a bit of cornstarch with water and stir it in.
Conclusion
Now that you've whipped up your own lemon curd, you've got a zesty treat that brightens up any day! Spread it on toast, slather it on scones, or sneak a spoonful straight from the jar—no judgment here! Remember, it keeps for up to two weeks in the fridge, so pace yourself. Enjoy the burst of citrusy goodness, and feel like a culinary wizard in your kitchen. It's a little jar of sunshine, ready whenever you need it!


