Mini Candy Corn Cheesecakes Recipe
Get ready to fall in love with these adorable Mini Candy Corn Cheesecakes! These bite-sized desserts capture the iconic Halloween candy’s signature tri-color design while delivering all the rich, creamy goodness of classic cheesecake.
Perfect for Halloween parties, fall gatherings, or anytime you want to add a festive touch to your dessert table, these mini cheesecakes are surprisingly simple to make and absolutely irresistible. Let me guide you through creating these show-stopping treats that are sure to become your new favorite autumn dessert.
What are “Mini Candy Corn Cheesecakes”?
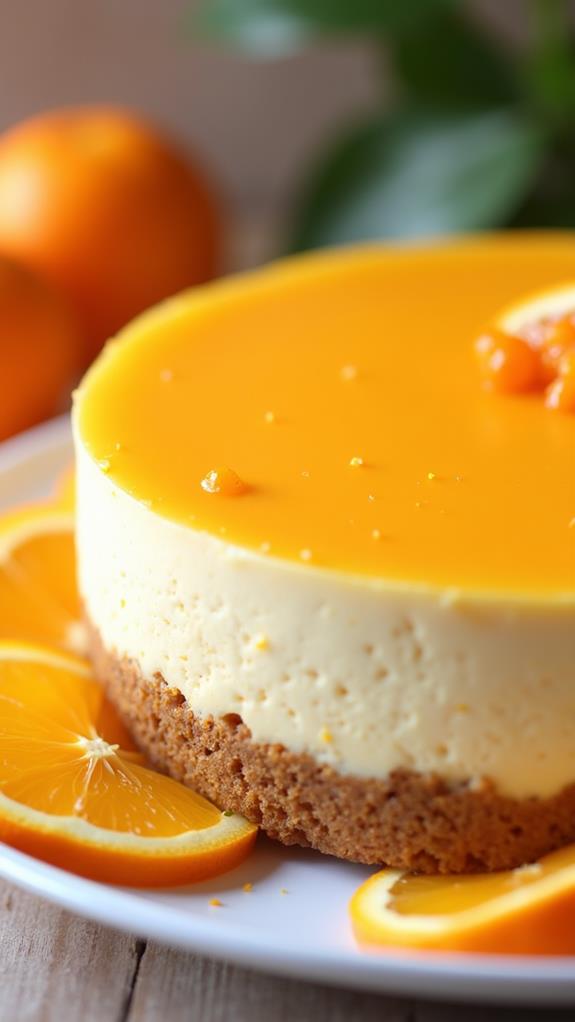
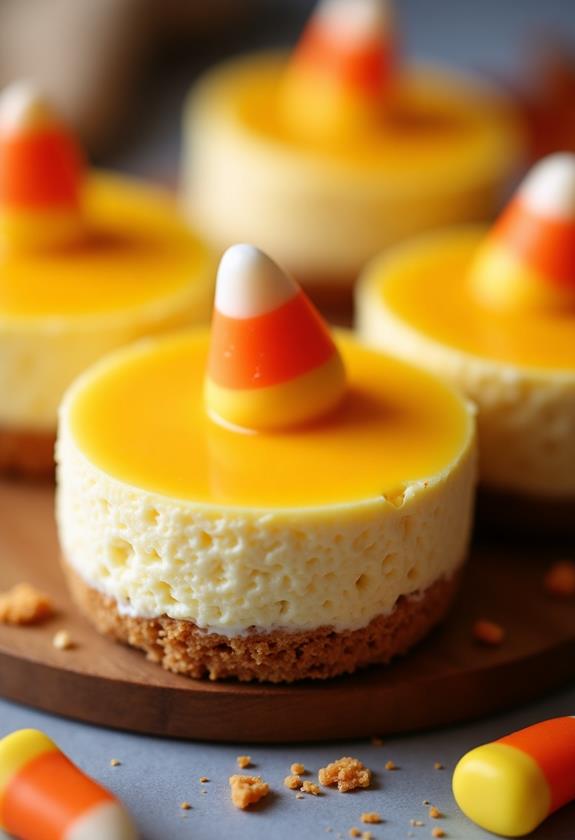
Mini Candy Corn Cheesecakes are individual-sized cheesecakes designed to mimic the beloved Halloween candy’s distinctive appearance. These desserts feature three distinct layers—white, orange, and yellow—that perfectly replicate candy corn’s classic color scheme. Each mini cheesecake sits on a graham cracker crust and delivers a smooth, creamy texture with a subtle vanilla flavor that appeals to both kids and adults.
Unlike traditional candy corn, these cheesecakes offer a sophisticated twist on the Halloween theme. They’re baked in muffin tins or mini cheesecake pans, making them perfect for portion control and easy serving at parties. The layered effect is achieved by carefully spooning different colored batters into the pan, creating a stunning visual impact when sliced.
Ingredients List for Mini Candy Corn Cheesecakes
For the Crust:
- 1 cup graham cracker crumbs
- 3 tablespoons granulated sugar
- 4 tablespoons melted butter
- Pinch of salt
For the Cheesecake Filling:
- 16 oz cream cheese, softened to room temperature
- ½ cup granulated sugar
- 2 large eggs, room temperature
- 1 teaspoon vanilla extract
- ¼ cup sour cream
- 2 tablespoons all-purpose flour
- Orange food coloring (gel preferred)
- Yellow food coloring (gel preferred)
For Garnish (Optional):
- Whipped cream
- Candy corn pieces
- Orange and yellow sprinkles
How to Make Mini Candy Corn Cheesecakes: A Step-by-Step Guide
Creating these festive mini cheesecakes involves several simple steps that come together to produce a stunning and delicious result. Here’s my detailed guide to ensure your cheesecakes turn out perfectly:
1. Prepare Your Equipment and Oven:
- Preheat your oven to 325°F (163°C).
- Line a 12-cup muffin tin with paper liners or grease with butter.
- Bring a kettle of water to boil for the water bath (this ensures creamy cheesecakes).
- Place a large roasting pan in the oven to heat up.
2. Make the Graham Cracker Crust:
- In a medium bowl, combine graham cracker crumbs, sugar, and salt.
- Pour in the melted butter and mix until the mixture resembles wet sand.
- Divide the mixture evenly among your muffin cups, pressing firmly into the bottom.
- Use the back of a spoon or a small measuring cup to create an even, compact layer.
3. Prepare the Cheesecake Base:
- In a large mixing bowl, beat the softened cream cheese until completely smooth and fluffy (about 2-3 minutes).
- Gradually add sugar, beating until well combined and no lumps remain.
- Add eggs one at a time, mixing well after each addition but avoiding overbeating.
- Blend in vanilla extract, sour cream, and flour until just combined.
4. Create the Three Colors:
- Divide the cheesecake batter into three equal portions using separate bowls.
- Leave one portion white (this will be your bottom layer).
- Add orange food coloring to the second portion, mixing until you achieve a vibrant orange color.
- Add yellow food coloring to the third portion, creating a bright yellow hue.
5. Layer the Cheesecake Batter:
- Start with the white layer: spoon about 1 tablespoon into each muffin cup over the crust.
- Gently tap the pan to level the white layer.
- Add the orange layer next: carefully spoon orange batter over the white layer.
- Finish with the yellow layer on top, creating the classic candy corn appearance.
- Tap the pan again to settle the layers and remove air bubbles.
6. Bake with Water Bath Method:
- Place the muffin tin inside the heated roasting pan in the oven.
- Carefully pour hot water into the roasting pan until it reaches halfway up the sides of the muffin tin.
- Bake for 18-22 minutes, or until the centers are almost set but still slightly jiggly.
- Turn off the oven and let cheesecakes cool in the oven with the door slightly open for 1 hour.
7. Cool and Chill:
- Remove from water bath and cool completely at room temperature.
- Refrigerate for at least 4 hours or overnight before serving.
- The longer chilling time ensures the perfect creamy texture and clean slicing.
Substitutions and Variations
I love how versatile this recipe can be! Here are some substitutions and variations you can try to customize your Mini Candy Corn Cheesecakes:
Crust Alternatives:
- Replace graham crackers with vanilla wafers, gingersnaps, or Oreo cookies for different flavor profiles.
- Use gluten-free graham crackers to make the recipe gluten-free friendly.
- Try a chocolate cookie crust for a richer base that complements the vanilla cheesecake.
Cream Cheese Substitutions:
- Use Neufchâtel cheese for a lighter version with slightly less fat.
- Greek yogurt cream cheese can reduce calories while maintaining creaminess.
- For dairy-free options, try cashew-based cream cheese alternatives.
Flavor Variations:
- Add ½ teaspoon almond extract to the white layer for a subtle nutty flavor.
- Incorporate 2 tablespoons of pumpkin puree into the orange layer for authentic fall taste.
- Mix in lemon zest to the yellow layer for a citrusy twist.
Natural Coloring Options:
- Use pumpkin puree or carrot juice for natural orange coloring.
- Turmeric powder can create yellow coloring (use sparingly as it can be bitter).
- Beet juice provides natural pink-orange tones.
Common Mistakes to Avoid
When making Mini Candy Corn Cheesecakes, I’ve learned to avoid these common pitfalls that can affect the final result:
Temperature-Related Mistakes:
- Using cold cream cheese creates lumps that are difficult to smooth out. Always bring ingredients to room temperature first.
- Skipping the water bath can cause cracked tops and uneven baking.
- Opening the oven door too frequently causes temperature fluctuations and potential cracking.
Mixing and Layering Errors:
- Overbeating the batter incorporates too much air, leading to cracks during baking.
- Adding food coloring too quickly can create streaky, uneven colors instead of smooth, uniform layers.
- Rushing the layering process can cause colors to blend together instead of maintaining distinct lines.
Baking and Cooling Issues:
- Overbaking results in dense, rubbery texture instead of creamy smoothness.
- Not allowing proper cooling time can cause the cheesecakes to crack or collapse.
- Removing from pans too early can damage the delicate structure.
How to Serve Mini Candy Corn Cheesecakes
These delightful mini cheesecakes are incredibly versatile when it comes to serving. I recommend presenting them on a festive Halloween-themed platter or autumn-colored serving tray to enhance their visual appeal. They’re perfect as individual desserts at dinner parties, potluck gatherings, or Halloween celebrations.
For family gatherings, arrange them on a tiered serving stand alongside other fall treats like pumpkin cookies or apple cider donuts. The individual portions make them ideal for buffet-style serving, allowing guests to easily grab one without needing plates or utensils.
Consider serving them slightly chilled but not ice-cold, as this allows the creamy texture to shine while maintaining the structural integrity of the layers. A small dollop of whipped cream and a few candy corn pieces on top make for an elegant finishing touch.
Presentation Ideas for Mini Candy Corn Cheesecakes
To make your Mini Candy Corn Cheesecakes look as stunning as they taste, try these presentation ideas that I’ve found work beautifully:
Elegant Halloween Display:
- Arrange cheesecakes on a black or orange serving platter surrounded by small pumpkins and autumn leaves.
- Use LED string lights in orange and yellow to create a warm, inviting glow around your dessert display.
- Place them in clear plastic cups to showcase the layered effect from the side.
Festive Garnishing:
- Dust the tops lightly with orange and yellow colored sugar for extra sparkle.
- Create small chocolate “stems” using melted chocolate piped into stem shapes and inserted into the yellow layer.
- Arrange fresh mint leaves around the base to mimic pumpkin vines.
Creative Serving Ideas:
- Present them in mini mason jars for a rustic autumn feel.
- Use Halloween-themed cupcake picks or toppers to add height and visual interest.
- Create a “candy corn field” by arranging multiple cheesecakes together on a large platter.
Mini Candy Corn Cheesecakes Recipe Tips
Here are my best tips to ensure your cheesecakes turn out perfectly every time:
Preparation Tips:
- Always use room temperature ingredients for the smoothest batter and best texture.
- Invest in gel food coloring rather than liquid, as it provides more vibrant colors without thinning the batter.
- Line your muffin tin with parchment paper strips for easy removal if you’re not using liners.
Baking Success:
- Don’t skip the water bath—it’s crucial for preventing cracks and ensuring even baking.
- Test for doneness by gently shaking the pan; centers should be almost set but still slightly jiggly.
- Use an oven thermometer to ensure accurate temperature, as cheesecakes are sensitive to heat variations.
Color and Layer Tips:
- Work quickly when creating layers to prevent the batter from setting before you’re finished.
- Use a small spoon or squeeze bottle for more precise layering control.
- Gently tap the pan between layers to level each color and remove air bubbles.
Cooling and Storage:
- Patience is key—proper cooling prevents cracking and ensures the best texture.
- Run a thin knife around edges after cooling to prevent cracks from forming.
- Cover with plastic wrap during refrigeration to prevent the tops from drying out.
How to Store Mini Candy Corn Cheesecakes
Proper storage is essential for maintaining the quality and appearance of your mini cheesecakes. Allow them to cool completely before storing, which typically takes about 2 hours at room temperature followed by the required refrigeration time.
Store the cheesecakes in an airtight container in the refrigerator for up to 5 days. If stacking them, place parchment paper between layers to prevent sticking. For longer storage, these cheesecakes freeze beautifully for up to 2 months when wrapped individually in plastic wrap and placed in a freezer-safe container.
When ready to serve frozen cheesecakes, thaw them in the refrigerator overnight. Avoid thawing at room temperature, as this can cause condensation to form on the surface, affecting both appearance and texture.
Frequently Asked Questions (FAQs)
Q: Can I make these cheesecakes without food coloring?
A: Absolutely! You can use natural alternatives like pumpkin puree for orange and a small amount of turmeric for yellow. The colors may be more muted but still beautiful.
Q: Why did my cheesecakes crack on top?
A: Cracking usually occurs from overbaking, sudden temperature changes, or skipping the water bath. Make sure to follow the cooling process gradually and don’t open the oven door during baking.
Q: Can I make these in a regular cheesecake pan instead?
A: Yes! Use a 9-inch springform pan and layer the colors. Increase baking time to 45-55 minutes and adjust the cooling process accordingly.
Q: How far in advance can I make these?
A: These are perfect make-ahead desserts! You can prepare them up to 3 days before serving. The flavors actually improve after sitting overnight.
Q: What’s the best way to remove them from the muffin tin?
A: Use paper liners for easiest removal, or run a thin knife around the edges before lifting out. Let them cool completely before attempting to remove.
Q: Can I double the recipe for a larger crowd?
A: Certainly! This recipe doubles well. You may need to bake in batches depending on your oven space, but the technique remains the same.
Conclusion
Mini Candy Corn Cheesecakes are the perfect blend of festive fun and sophisticated flavor that will elevate any autumn celebration. These adorable individual desserts capture the whimsical spirit of Halloween while delivering the rich, creamy satisfaction that makes cheesecake such a beloved treat.
I love how this recipe allows you to create something truly special with simple ingredients and techniques. The layered appearance never fails to impress guests, while the familiar cheesecake flavor appeals to dessert lovers of all ages. Whether you’re hosting a Halloween party, bringing treats to a fall potluck, or simply wanting to celebrate the season with something sweet, these mini cheesecakes are sure to be a hit.
Remember to take your time with each step, especially the layering and cooling processes, as these details make all the difference in achieving that perfect candy corn appearance. With a little practice, you’ll find these become one of your go-to desserts for fall entertaining. Happy baking, and enjoy watching faces light up when you reveal these delightful mini masterpieces!