Oatmeal Peanut Butter Chocolate Chip Bars Recipe
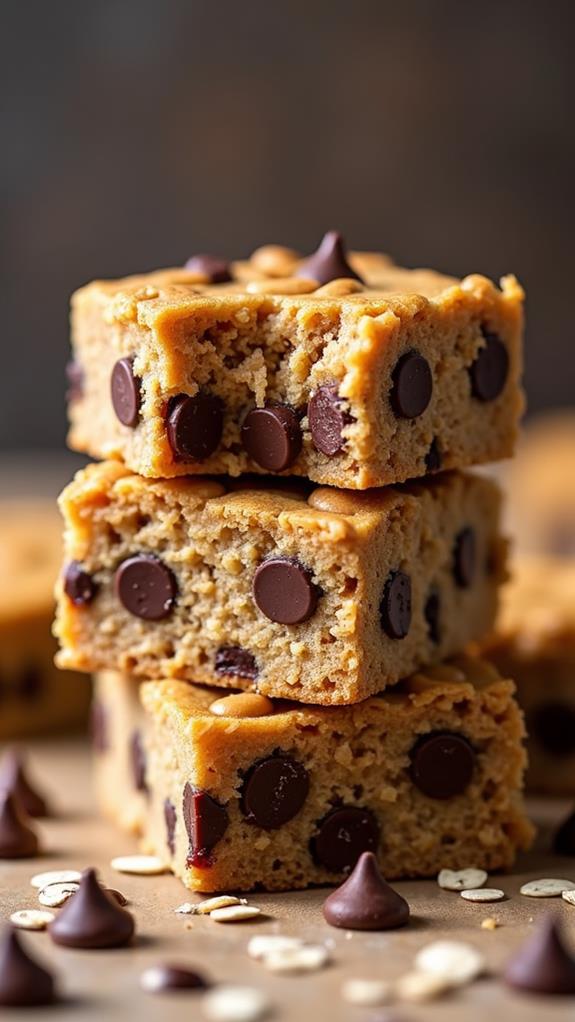
Imagine biting into an oatmeal peanut butter chocolate chip bar that perfectly balances chewy oats, creamy peanut butter, and melty chocolate chips. As you prepare to bake these bars, you might find yourself curious about the best way to achieve that golden-brown edge while ensuring the center remains soft and delightful. There are a few simple tips that can make a significant difference in your baking experience. Are you ready to reveal the secrets to this versatile treat that can be customized with your favorite add-ins? Let's explore the possibilities and elevate your baking game.
Recipe
Oatmeal Peanut Butter Chocolate Chip Bars are the perfect combination of chewy and sweet, making them a delightful treat for any occasion. These bars bring together the wholesome goodness of oats, the creamy richness of peanut butter, and the sweet indulgence of chocolate chips. Ideal for a quick snack, dessert, or even breakfast, these bars are sure to satisfy your cravings and provide a boost of energy.
The recipe for these bars is simple and straightforward, requiring only a few pantry staples. With minimal preparation time, you can have a delicious batch ready in no time. The blend of oats and peanut butter offers a nutrient-rich base, while the chocolate chips add a touch of sweetness that makes these bars irresistible.
Whether you're looking to indulge your sweet tooth or need a quick energy pick-me-up, these bars are a fantastic choice.
Ingredients:
- 1 cup rolled oats
- 1/2 cup creamy peanut butter
- 1/2 cup chocolate chips
- 1/4 cup honey
- 1/4 cup brown sugar
- 1/4 teaspoon salt
- 1/2 teaspoon vanilla extract
To prepare your Oatmeal Peanut Butter Chocolate Chip Bars, preheat your oven to 350°F (175°C) and line an 8×8-inch baking dish with parchment paper. In a large mixing bowl, combine the oats, peanut butter, honey, brown sugar, salt, and vanilla extract, stirring until the mixture is well combined.
Fold in the chocolate chips, ensuring they're evenly distributed throughout the mixture. Spread the mixture evenly into the prepared baking dish, pressing down gently to create an even surface. Bake for 20-25 minutes, or until the edges are golden brown. Allow the bars to cool completely in the pan before cutting them into squares.
For best results, use creamy peanut butter to achieve a smooth texture in your bars. If you prefer a less sweet bar, you can reduce the amount of brown sugar slightly.
These bars can be stored in an airtight container at room temperature for up to a week; refrigerating them can extend their freshness. Feel free to experiment by adding nuts or dried fruit to the mixture for added flavor and texture.
Cooking Steps
Let's get started on making your delicious Oatmeal Peanut Butter Chocolate Chip Bars!
First, you'll want to preheat your oven to 350°F, because no one wants to bake a cake in an igloo.
Next, mix all the ingredients in a large bowl, press that tasty mixture into an 8×8-inch dish, and bake until those edges are a lovely golden brown—just remember, patience is key, so let them cool before slicing or you might end up with a gooey mess.
Step 1. Preheat Oven to 350°F
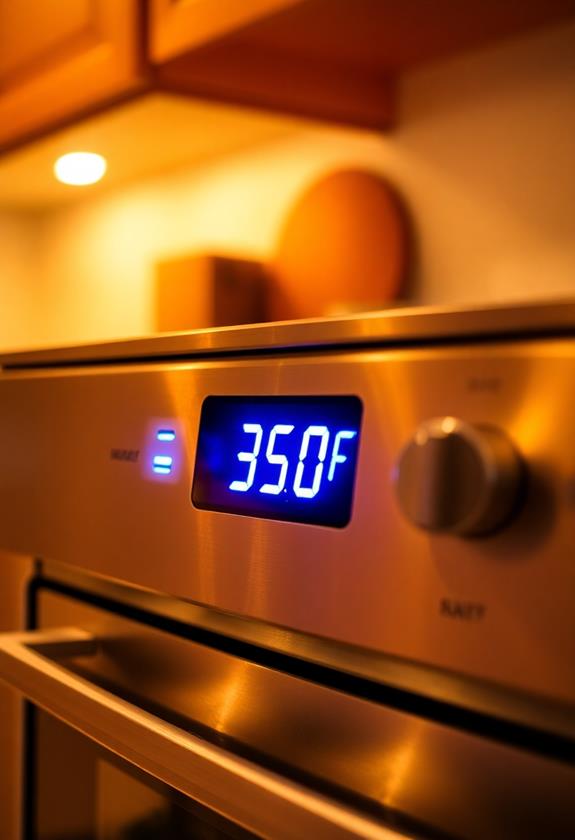
Why is preheating your oven to 350°F (175°C) such an essential step in baking these delicious bars? Well, think of it as giving your bars a head start on their flavor journey.
When you preheat, you guarantee that your bars cook evenly and achieve that perfect chewy texture. Skipping this step might leave you with bars that are overcooked on the outside and undercooked in the middle—definitely not the goal!
So, how do you nail this preheating business? First, double-check your oven's temperature setting. Trust me, it's always good to make sure you're not accidentally cranking it up to broil!
Once you've turned your oven to 350°F, give it about 10-15 minutes to reach the right temperature. You can use this time to line your baking dish with parchment paper, ensuring your bars won't stick.
Step 2. Mix Ingredients in Bowl
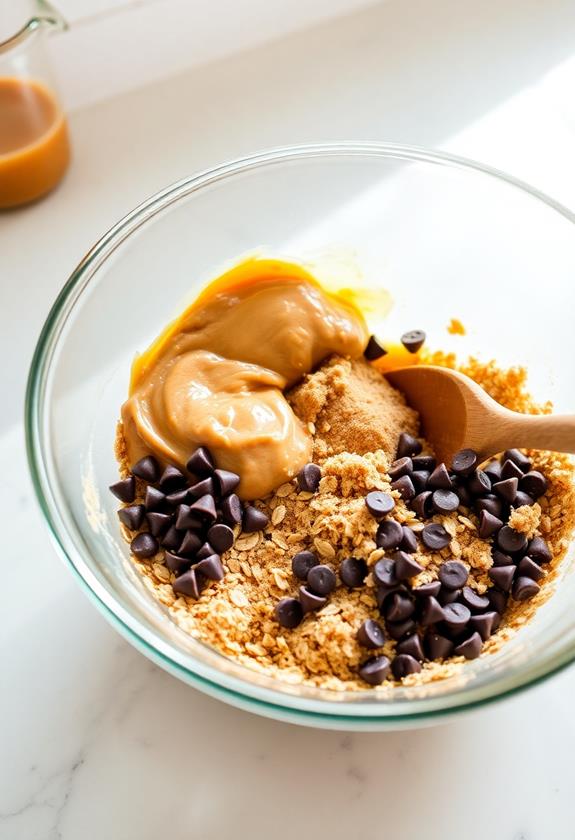
Grab a large bowl and start by combining the rolled oats, creamy peanut butter, honey, brown sugar, salt, and vanilla extract. Stir everything together until it forms a thick, sticky mixture. You might feel like you're giving your arms a mini workout, but hey, who needs a gym when you've got peanut butter, right?
Make sure everything is well mixed, so every bite of your bars is filled with flavor.
Now, it's time for the pièce de résistance: the chocolate chips. Toss them into the mix and gently fold them in. Be careful not to over-stir, or you might end up with melted chocolate goo instead of delightful chips scattered throughout. It's okay if you sneak one or two chocolate chips—consider it a cook's tax!
If you're feeling adventurous, now's the time to get creative. Maybe toss in some chopped nuts or dried fruit to give your bars a personal twist.
Once you're satisfied with the mix, take a step back, admire your handiwork, and get ready for the next step. You're almost there, and these bars are going to be worth every stir!
Step 3. Press Mixture Into Dish
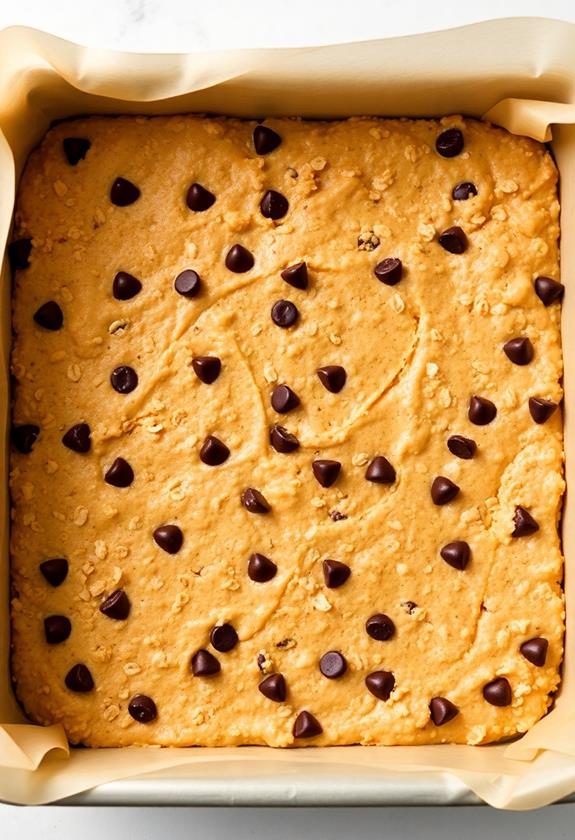
With your mixture ready, line your 8×8-inch baking dish with parchment paper to prevent sticking. Trust me, you don't want to skip this step unless you're a fan of scraping sticky goodness off the pan later.
Once your dish is lined, pour the mixture into it. Use a spatula or even your clean hands to spread it out evenly. This part is essential to guarantee every bite of your Oatmeal Peanut Butter Chocolate Chip Bars is perfectly balanced.
As you press down, channel your inner zen master and aim for an even surface. Think of this like a workout bonus—you're strengthening those fingers while prepping a tasty treat. If the mixture sticks to your hands, lightly dampen them with water. Just don't go overboard, or you'll be hosting a water park in your kitchen.
Now, check for any stray oats or chips trying to escape over the edge. Gently nudge them back into the fold; every ingredient deserves to be part of the chewy, delicious family.
With everything set, take a moment to admire your handiwork. You're one step closer to snack-time bliss!
Step 4. Bake Until Edges Brown
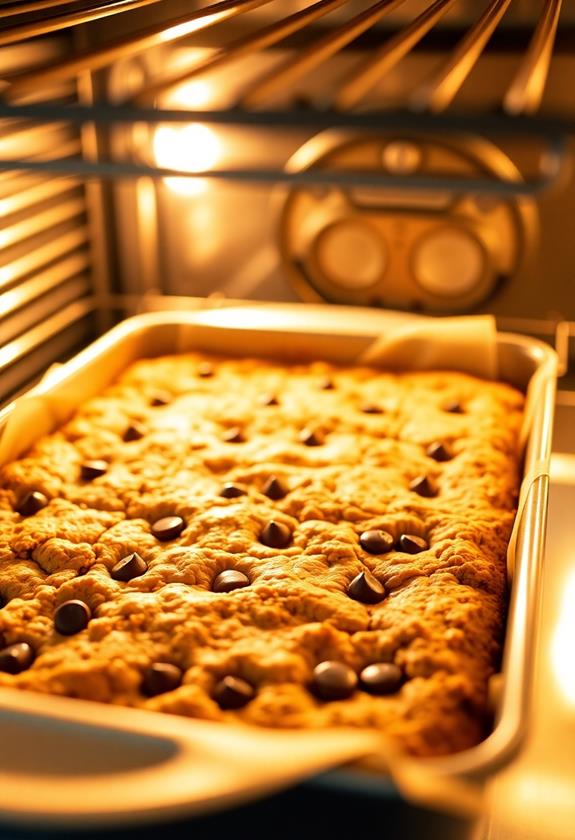
Once you've got the mixture pressed evenly into the dish, it's baking time.
Pop your dish into the preheated oven, set at a cozy 350°F (175°C). Now, here's a little tip—make certain you've got your timer handy! You'll want to bake these delightful bars for about 20 to 25 minutes.
Keep an eye on them, though; they're a bit like that friend who insists they're ready but always need a few extra minutes.
The goal is to achieve a nice, golden-brown color around the edges. This guarantees the bars have that perfect chewy texture in the center, with just a hint of crispness on the outside.
While the bars are baking, resist the urge to open the oven door too often—no one likes a nosy neighbor, right? This can lower the oven temperature and affect the baking process.
As you're waiting, enjoy the mouth-watering aroma filling your kitchen. It's like a warm hug from your favorite blanket on a chilly day.
Once the edges are beautifully browned, you know you've got a winning batch ready to impress anyone who takes a bite.
Step 5. Cool Bars Before Slicing
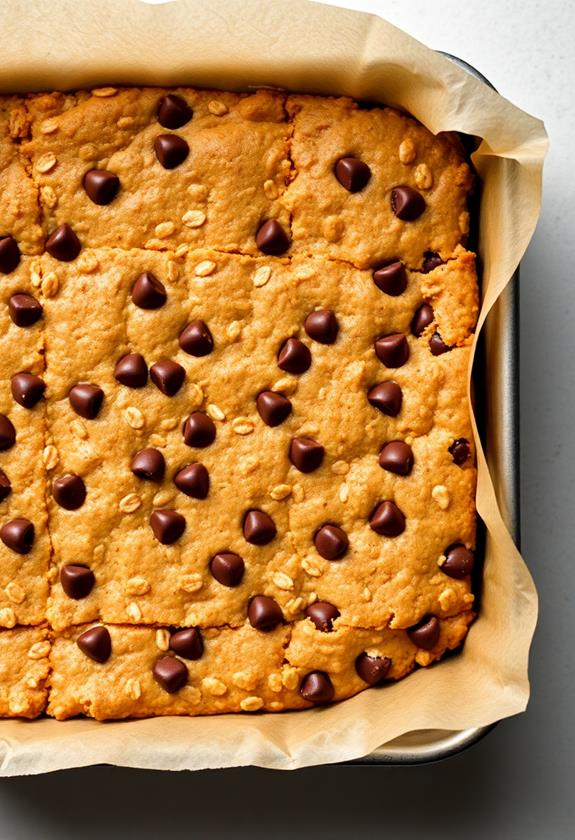
After you pull the bars from the oven, let them rest in the baking dish until they're completely cool. This might test your patience, but it's an essential step. If you try slicing them while they're still warm, you'll end up with a gooey mess instead of neat bars. The cooling process allows the ingredients to set, giving you those picture-perfect squares you're aiming for.
Place the dish on a wire rack to cool evenly. Resist the urge to speed things up by sticking them in the fridge. Sudden temperature changes can cause the bars to become too hard or, worse, alter the texture.
As they cool, take a moment to clean up your kitchen—or, let's be real, grab a cup of coffee and admire your culinary handiwork.
Once cooled, use a sharp knife to slice the bars. If you're feeling fancy, dip the knife in hot water and wipe it clean between cuts; this trick helps you achieve clean edges.
Now you can finally enjoy the fruits of your labor: perfectly chewy, sweet, and satisfying Oatmeal Peanut Butter Chocolate Chip Bars that are well worth the wait!
Final Thoughts
To summarize, making Oatmeal Peanut Butter Chocolate Chip Bars is both straightforward and rewarding. You don't need to be a gourmet chef to whip up these delightful treats.
With just a few pantry staples and about half an hour, you can enjoy the perfect blend of chewy oats, creamy peanut butter, and sweet chocolate chips. The best part? You get to decide how indulgent or healthy they're by adjusting the sugar or adding extras like nuts or dried fruit.
Imagine the satisfaction of biting into a homemade bar that you crafted with your own hands. They're perfect for any occasion, whether you want a quick breakfast, a snack for the kids, or a treat to satisfy that late-night craving.
Plus, they store well, so you can make a batch on Sunday and enjoy them all week long. Just keep them in an airtight container, and you're good to go.
Frequently Asked Questions
Can I Substitute Almond Butter for Peanut Butter in the Recipe?
You can definitely substitute almond butter for peanut butter. It'll give the bars a slightly different flavor, but they'll still be delicious. Just guarantee the almond butter is smooth to maintain the desired texture in your bars.
Are These Bars Suitable for a Gluten-Free Diet?
To make these bars gluten-free, guarantee you use certified gluten-free oats and double-check all other ingredients. Always read labels carefully, as some brands may process oats in facilities with gluten, risking cross-contamination.
How Can I Make These Bars Vegan-Friendly?
To make the bars vegan-friendly, substitute honey with maple syrup and use vegan chocolate chips. Confirm your peanut butter doesn't contain any non-vegan additives. These swaps will keep the bars delicious while adhering to a vegan diet.
What Is the Best Way to Store These Bars for Longer Shelf Life?
You should store the bars in an airtight container and refrigerate them to extend their shelf life. Freezing them is also an option if you want them to last even longer. Just thaw before enjoying.
Can I Freeze the Bars for Future Use?
You can definitely freeze the bars for future use. Just wrap each one tightly in plastic wrap or aluminum foil, then place them in an airtight container. They'll stay fresh for up to three months in the freezer.


