Pumpkin Oreo Balls Recipe

Imagine transforming the humble Oreo into a seasonal treat that captures the essence of autumn with minimal effort. You don't need to be a culinary expert to whip up these Pumpkin Oreo Balls, blending crushed cookies with pumpkin puree and cream cheese. They're quick, no-bake, and perfect for any gathering. But what truly elevates these bites is the final touch—coating them in melted white chocolate. Curious about the steps to achieve that perfect balance of flavors and textures? There's a method to this madness that you won't want to miss.
Recipe
Pumpkin Oreo Balls are a delicious fall-inspired treat that combines the iconic taste of Oreo cookies with the warmth of pumpkin spice. These no-bake bites are perfect for anyone looking to make a quick yet impressive dessert. With just a few simple ingredients, you can create a batch of these sweet and spiced balls that are certain to be a hit at any gathering. The creamy texture of the cream cheese blends perfectly with the pumpkin puree and Oreo crumbs, creating a rich and decadent flavor profile.
The process of making Pumpkin Oreo Balls is straightforward and requires minimal effort. By mixing the crushed Oreos with cream cheese and pumpkin puree, you get a smooth and flavorful base that forms the heart of these treats. Once shaped into balls and dipped in white chocolate, they become irresistible bite-sized delights, perfect for enjoying with a cup of coffee or serving at a holiday party.
Ingredients:
- 1 package of Oreo cookies
- 8 oz cream cheese, softened
- 1/2 cup pumpkin puree
- 1 teaspoon pumpkin pie spice
- 16 oz white chocolate or candy melts
- Sprinkles or crushed Oreos for garnish (optional)
To make Pumpkin Oreo Balls, start by crushing the Oreo cookies into fine crumbs using a food processor. In a large mixing bowl, combine the Oreo crumbs with softened cream cheese, pumpkin puree, and pumpkin pie spice until the mixture is smooth and well-blended.
Roll the mixture into 1-inch balls and place them on a baking sheet lined with parchment paper. Freeze the balls for 15-20 minutes until they're firm. While the balls are chilling, melt the white chocolate or candy melts in a microwave-safe bowl, stirring until smooth.
Dip each chilled ball into the melted chocolate to coat, then place it back on the parchment paper. If desired, decorate with sprinkles or crushed Oreos before the chocolate sets. Allow the chocolate to fully harden before serving.
For best results, make sure that the cream cheese is at room temperature before mixing to achieve a smooth texture. If the mixture becomes too sticky to handle, refrigerate it briefly before rolling.
When melting the white chocolate, be cautious not to overheat it to prevent seizing; if necessary, add a small amount of vegetable oil to thin it out. Store the finished Pumpkin Oreo Balls in an airtight container in the refrigerator for up to a week to let the flavors deepen and for the balls to remain firm.
Cooking Steps
Let's get started on making these delicious Pumpkin Oreo Balls!
First, you'll crush the Oreos into fine crumbs, creating the perfect base for your mixture that you'll combine with cream cheese, pumpkin puree, and spices until it's nice and smooth.
Once you've rolled the mixture into little balls and given them a quick chill in the freezer, you'll dip them in melted chocolate, turning each one into a bite-sized piece of heaven.
Step 1. Crush Oreos Into Crumbs
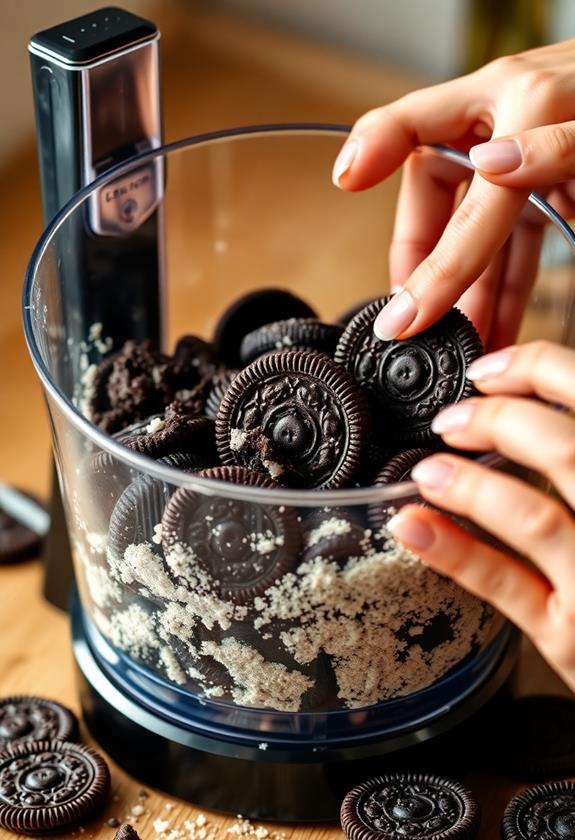
To begin, take the entire package of Oreo cookies and crush them into fine crumbs. If you have a food processor, now's the time to let it shine.
Otherwise, place the cookies in a sturdy plastic bag, seal it, and smash them with a rolling pin. It's a bit like therapy, really—who doesn't love a good cookie crush session?
Aim for a sandy texture, free of lumps, so your Pumpkin Oreo Balls will be perfectly smooth. Remember, the finer the crumbs, the better they'll mix with the other ingredients.
Don't worry if a few stubborn chunks remain; they'll just add character to your treats.
Once done, set your crumbs aside, feeling accomplished and ready for the next delicious step.
Step 2. Mix Ingredients Until Smooth
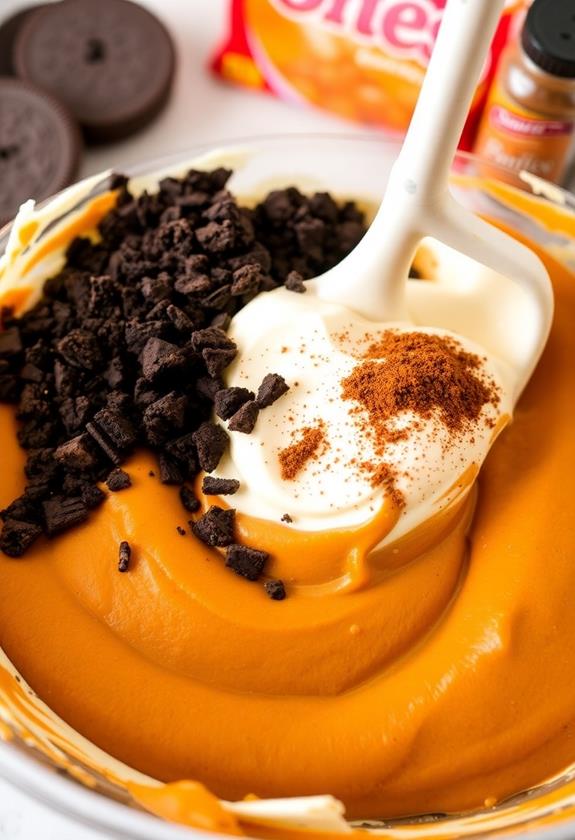
With your Oreo crumbs ready, it's time to blend them into a smooth, creamy mixture.
Grab a large mixing bowl and toss in the Oreo crumbs, softened cream cheese, pumpkin puree, and that delightful pumpkin pie spice.
Now, roll up your sleeves and get mixing! Use a sturdy spatula or your trusty electric mixer, and blend until everything's well combined.
You want a consistency that's smooth enough to easily mold, but not too sticky. If your mixture's a bit stubborn, don't worry—just keep mixing until no lumps remain.
This part's a bit like a workout, but it's totally worth it!
Once everything's velvety and ready, you've got yourself a deliciously spiced base perfect for forming into tasty treats.
Step 3. Roll Mixture Into Balls
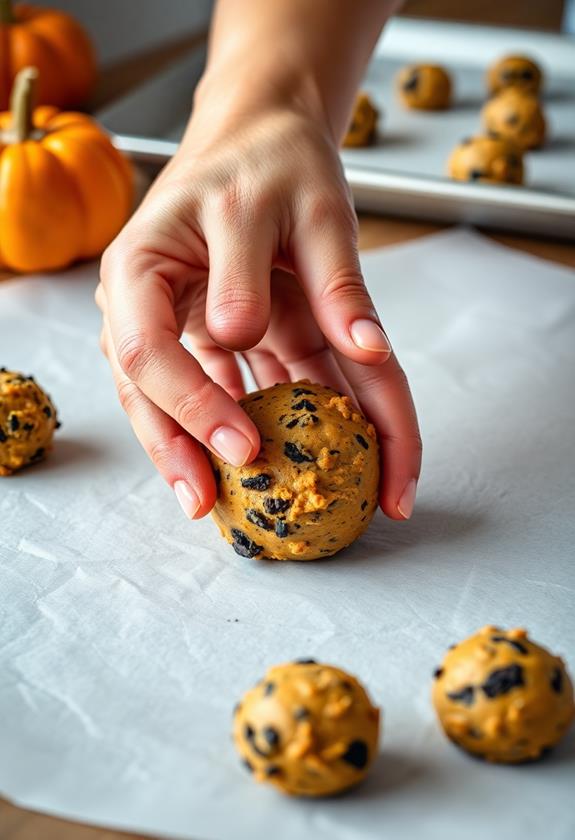
Grab a small portion of the mixture, about one inch in size, and roll it between your palms to form a smooth ball.
Don't worry if it feels a bit sticky; that's just the deliciousness trying to escape! Keep rolling until the ball is even and round, like a mini pumpkin of Oreo goodness.
Repeat this process until you've used up all the mixture, lining up your little creations on a parchment-covered baking sheet.
If your hands get messy, just give them a quick rinse and continue.
Remember, practice makes perfect! You might feel like you're back in art class, shaping your masterpiece.
Just enjoy the process, and imagine the smiles these tasty treats will bring to everyone who tries them!
Step 4. Freeze Balls Until Firm
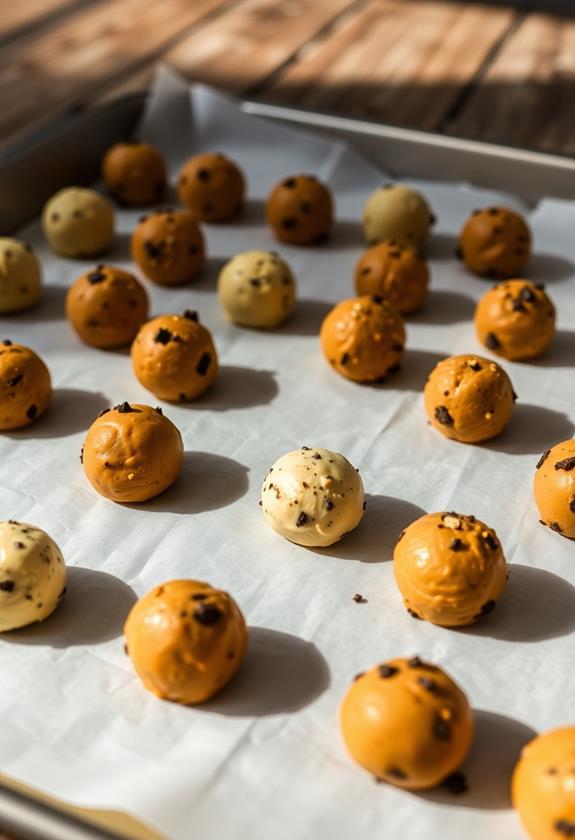
Once you've crafted all your delightful little spheres of Oreo goodness, it's time to give them a quick chill.
Place your Oreo balls on a baking sheet lined with parchment paper, making sure they've enough space to breathe.
Pop the tray into the freezer for about 15-20 minutes. This little cold snap helps them firm up, making them easier to handle later.
Don't skip this step, or you might end up with messy fingers and squished balls—nobody wants that!
While they chill, take a moment to clean up or sneak a taste of the leftover mixture.
You'll notice that the brief freeze-time transforms your treats into perfectly plump little nuggets, ready for their next delicious adventure.
Step 5. Dip Balls in Melted Chocolate
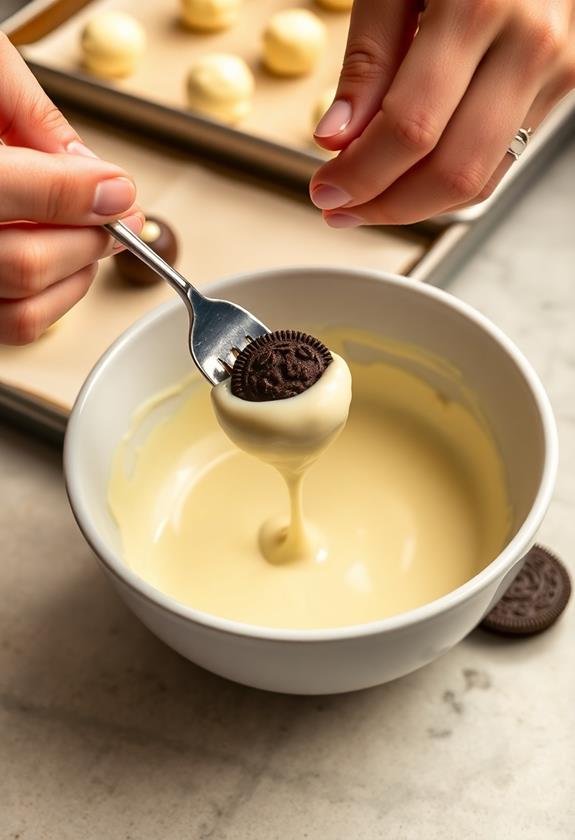
Now that your Pumpkin Oreo Balls are firm, it's time to coat them in rich, melted chocolate.
Begin by melting your white chocolate or candy melts in a microwave-safe bowl. Use short intervals, stirring in between to prevent burning—nobody enjoys crispy chocolate!
Once smooth and silky, grab a fork or skewer, gently dip each ball into the chocolate, and swirl it around to cover every nook and cranny.
Lift it out, letting the excess drip off. Place the coated balls back on the parchment paper.
For a fun twist, sprinkle some crushed Oreos or festive sprinkles on top before the chocolate sets. This step adds a delightful crunch and a pop of color.
Voilà, your Pumpkin Oreo Balls are ready to impress!
Final Thoughts
These Pumpkin Oreo Balls are the epitome of autumn indulgence, offering a perfect blend of flavors that capture the essence of the season.
You'll love how they're both easy to make and a joy to eat, making them a win-win for any occasion. Don't worry if you're not a seasoned chef—these little treats are practically foolproof. Just remember to keep an eye on that melted chocolate; nobody wants a clumpy coating!
These bites are a conversation starter at parties, and with their burst of pumpkin spice and Oreo goodness, they'll disappear fast.
Consider making a double batch, because once your friends and family try them, they'll be asking for more. Have fun experimenting with toppings to add your own personal flair!
Frequently Asked Questions
Can I Substitute Pumpkin Puree With Canned Pumpkin Pie Filling?
You can substitute pumpkin puree with canned pumpkin pie filling, but adjust the spice amounts. Pie filling already has spices and sugar, so reduce those in the recipe to avoid overwhelming flavors. Taste as you mix.
How Can I Make These Pumpkin Oreo Balls Vegan?
To make them vegan, use plant-based cream cheese and white chocolate. Replace Oreos with one of their vegan-friendly alternatives. Use canned pumpkin puree, not pie filling, as it's typically vegan. Enjoy your cruelty-free treat!
What Can I Use if I Don't Have a Food Processor?
If you don't have a food processor, put the Oreos in a sealed plastic bag and crush them using a rolling pin. You can also use a blender or even a sturdy glass to smash them.
Are There Any Gluten-Free Alternatives for This Recipe?
You can use gluten-free Oreo-style cookies instead of regular Oreos. Verify all other ingredients, like pumpkin puree and chocolate, are gluten-free. This allows you to enjoy the treat while adhering to a gluten-free diet.
How Do I Prevent the White Chocolate From Clumping?
To prevent white chocolate from clumping, melt it slowly in a microwave or double boiler, stirring frequently. Don't overheat it. If it thickens, stir in a little vegetable oil to achieve a smoother consistency.
Conclusion
You've done it! You've whipped up some Pumpkin Oreo Balls that'll surely impress friends and family. Remember, don't rush the chilling process—patience makes them perfect! When dipping in chocolate, try using a fork for easy maneuvering and a smooth finish. If any balls disappear mysteriously, blame the "kitchen ghosts." Enjoy your delicious creation, and maybe stash a few for yourself before they vanish at your next gathering. You've got this baking thing down pat!

