Pumpkin Pie Crisp Recipe
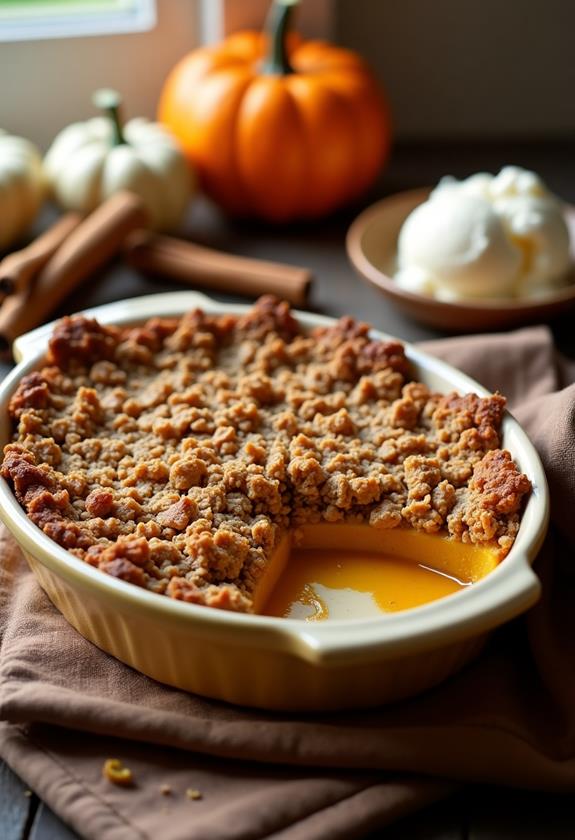
Imagine transforming the comforting flavors of traditional pumpkin pie into a crisp that offers a delightful texture twist. You'll find that combining pumpkin puree with warm spices like cinnamon, nutmeg, and ginger creates a filling that's both familiar and inviting. But it's the crunchy oat topping that elevates this dessert, adding a layer of complexity against the smoothness of the pumpkin. As you prepare to gather your ingredients and preheat your oven, consider the possibilities of serving this dish at your next autumn gathering. What's the secret to achieving that perfect golden topping? Let's explore further.
Recipe
Pumpkin Pie Crisp offers a delightful fusion of traditional pumpkin pie flavors with a crispy, buttery topping. This dessert is perfect for fall, bringing together the comforting spices of cinnamon, nutmeg, and ginger with the rich creaminess of pumpkin. The oat-filled crisp topping provides a satisfying texture contrast to the smooth pumpkin filling, making it a standout choice for Thanksgiving or any autumn gathering.
Whether you serve it warm with a scoop of vanilla ice cream or chilled with whipped cream, Pumpkin Pie Crisp is sure to impress your guests.
Preparing this dish is straightforward, making it an excellent option for both novice and experienced bakers. The recipe combines pantry staples and a few key ingredients to create a warm, inviting treat that fills your home with a delightful aroma as it bakes.
The crisp's crumbly topping is made using oats and flour, providing a delicious crunch that complements the creamy base beautifully. Plus, you can make it ahead of time and reheat it just before serving, allowing for a stress-free holiday preparation.
Ingredients:
- 1 can (15 oz) pumpkin puree
- 1/2 cup granulated sugar
- 1/4 cup brown sugar
- 1 teaspoon ground cinnamon
- 1/2 teaspoon ground nutmeg
- 1/4 teaspoon ground ginger
- 1/4 teaspoon ground cloves
- 1/2 teaspoon salt
- 1 teaspoon vanilla extract
- 2 large eggs
- 3/4 cup evaporated milk
- 1 cup all-purpose flour
- 1 cup rolled oats
- 1/2 cup brown sugar
- 1/2 cup butter, melted
- 1/2 teaspoon baking powder
To make Pumpkin Pie Crisp, start by preheating your oven to 375°F (190°C). In a large bowl, combine the pumpkin puree, granulated sugar, brown sugar, ground spices, salt, vanilla extract, eggs, and evaporated milk, mixing until smooth.
Pour this pumpkin mixture into a greased 9×13-inch baking dish. In a separate bowl, combine the flour, oats, brown sugar, melted butter, and baking powder until you achieve a crumbly texture. Sprinkle this oat mixture evenly over the pumpkin layer.
Bake in the preheated oven for 40-45 minutes, or until the topping is golden brown and the filling is set. Allow it to cool slightly before serving.
For best results, make sure you use pure pumpkin puree, not pumpkin pie filling, to maintain the correct taste and texture. You can prepare the crisp topping while the oven preheats, saving you time.
If you enjoy a spicier flavor, consider slightly increasing the cinnamon and nutmeg. This dessert can also be made a day in advance and stored in the refrigerator, making it a convenient choice for busy holiday schedules.
Reheat it in the oven just before serving to restore the topping's crispness.
Cooking Steps
Let's get started on making your delicious Pumpkin Pie Crisp!
First, preheat your oven to a toasty 375°F, because no one likes a cold oven—except maybe your ice cream.
While that's heating up, mix together the pumpkin filling ingredients until they're smoother than a jazz sax solo.
Then pour the mixture into a baking dish, sprinkle the oat mixture evenly on top, and bake it until the topping is golden and irresistible.
Step 1. Preheat Oven to 375°F
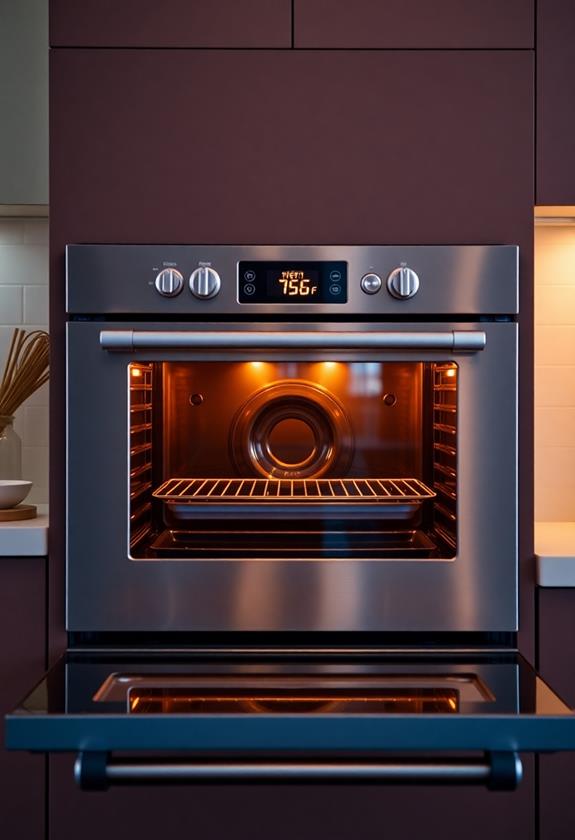
Start by preheating your oven to 375°F (190°C) to make certain it's ready when you finish preparing the Pumpkin Pie Crisp.
You don't want to be left waiting around wondering, "Is it hot in here, or is it just me?" This temperature is perfect for achieving that golden-brown, crispy topping we all love.
Make sure your oven rack is positioned in the center for even baking. While you wait, you can line your baking dish and gather ingredients.
The preheating step is essential, as it sets the stage for that delightful aroma and perfect texture.
Step 2. Mix Pumpkin Filling Ingredients
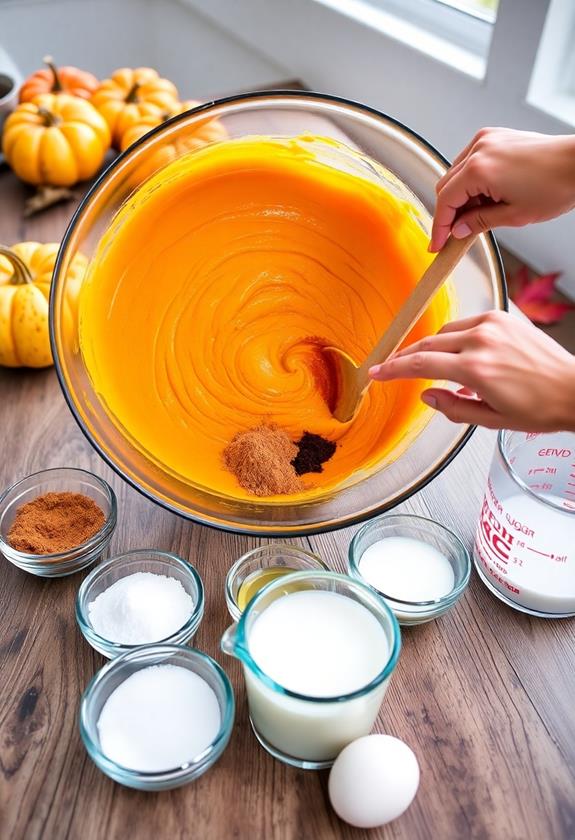
Combining the rich flavors of fall, gather your ingredients and prepare to mix the pumpkin filling. Start by grabbing a large bowl, where the magic happens.
Add the pumpkin puree, granulated sugar, and brown sugar, letting them mingle like old friends. Sprinkle in cinnamon, nutmeg, ginger, and cloves—don't be shy, they're the life of the party.
Salt and vanilla extract join the mix, adding depth and a hint of sweetness. Crack in two large eggs, and watch them blend seamlessly into the concoction.
Finally, pour in the evaporated milk, stirring until the mixture is smooth and well combined. Remember, lumps aren't invited to this party!
With everything mixed, you're one step closer to pumpkin perfection.
Step 3. Pour Mixture Into Baking Dish
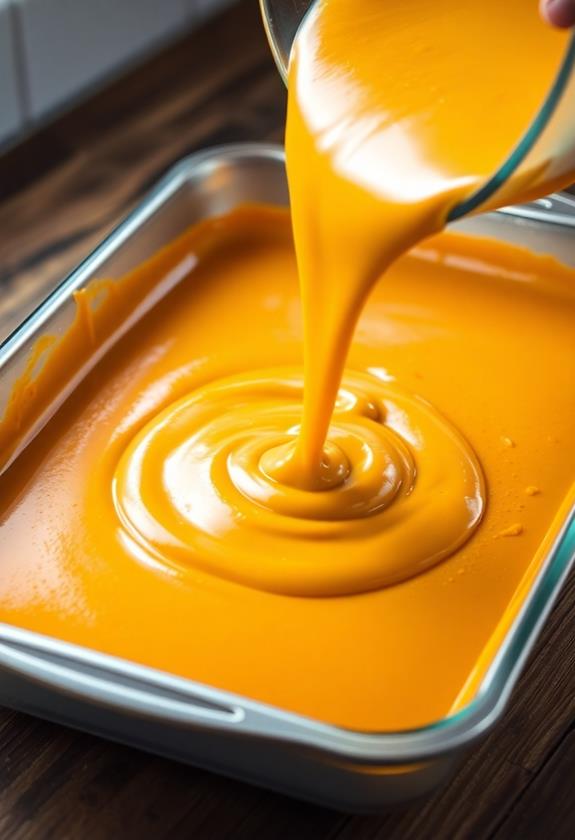
Once everything's mixed to perfection, it's time to grab your prepared 9×13-inch baking dish.
Carefully pour the luscious pumpkin mixture into the dish, letting it spread evenly across the bottom, like a cozy autumn blanket.
Don't worry if you spill a little—consider it a snack for the kitchen counter!
Use a spatula to scrape every last bit from the bowl, ensuring none of that deliciousness goes to waste.
As you pour, take a moment to appreciate the rich, spicy aroma wafting up; it's a little preview of the deliciousness to come.
Make sure the filling is smooth and level, giving it a gentle shake if needed.
You're one step closer to enjoying this scrumptious fall treat!
Step 4. Sprinkle Oat Mixture Evenly
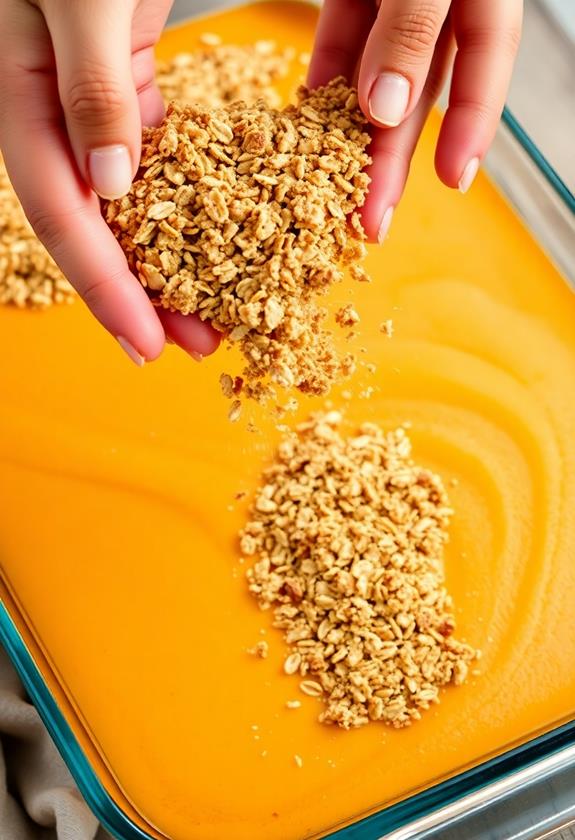
With the pumpkin base ready, grab the prepared crumbly oat mixture and evenly sprinkle it over the top.
Don't be shy—make sure every corner gets a bit of that delicious, buttery goodness! This is where the magic happens. Imagine you're a culinary artist, creating a masterpiece. You want a nice, even coating, so no one misses out on the crunchy topping.
It's like dressing your dessert in its Sunday best! If you're feeling extra adventurous, toss in a handful of chopped nuts for extra crunch.
Remember, patience is key; sprinkle slowly and enjoy the process. It's your moment to shine before the oven takes over.
Once you're satisfied with your masterpiece, step back and admire your handiwork.
Step 5. Bake Until Topping Golden
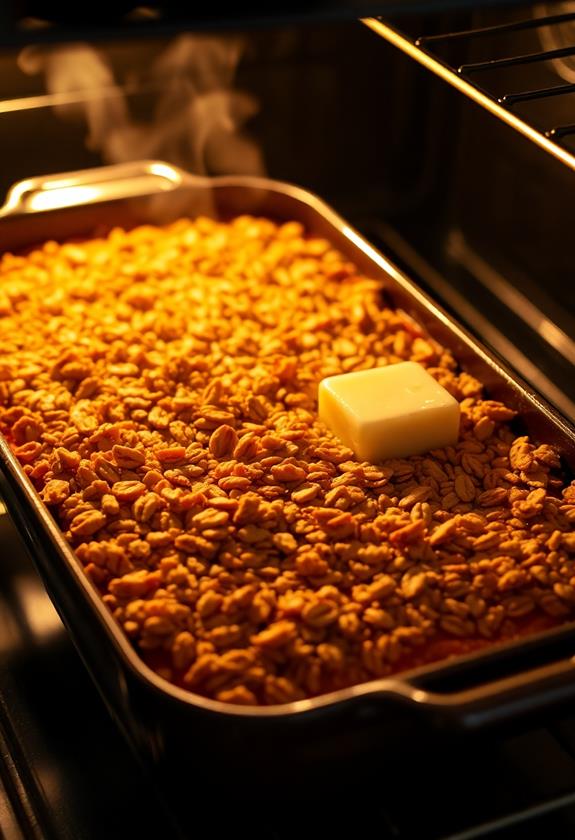
As your dessert masterpiece is ready for the oven, set the timer for 40-45 minutes and let the magic happen.
You'll know it's time to take a peek when the irresistible aroma fills your kitchen, hinting at the deliciousness to come. Keep an eye on the crisp topping; it's like waiting for a golden sunrise on a perfect morning.
If you're tempted to open the oven door early, resist! Patience is key here.
Once the topping turns a lovely golden brown, your Pumpkin Pie Crisp is ready. The filling should be set but still slightly wobbly, like a well-done gelatin.
Let it cool slightly before serving. Congratulations! You've just created a dessert that's sure to be the star of your fall festivities.
Final Thoughts
Savoring the rich flavors and textures of Pumpkin Pie Crisp is a delightful way to celebrate the fall season.
It's like having a warm hug in dessert form, perfect for when the leaves start to fall. You'll love how the creamy pumpkin filling mingles with the crunchy topping, creating a symphony of tastes in every bite.
Don't worry if you're not a baking pro—this recipe's as forgiving as your favorite sweater.
Just remember, pure pumpkin puree is your friend here, not the pie filling. If you're feeling adventurous, add a sprinkle more cinnamon for extra warmth.
Whether you serve it with ice cream or whipped cream, this dish is bound to be a crowd-pleaser at your autumn gatherings. Enjoy!
Frequently Asked Questions
Can I Substitute Fresh Pumpkin for Canned Pumpkin Puree?
You can substitute fresh pumpkin for canned puree. Roast, cool, and puree the pumpkin until smooth. Use the same amount as the canned version. Fresh pumpkin might add extra moisture, so adjust baking time if needed.
How Do I Store Leftovers and How Long Do They Last?
Store leftovers in an airtight container in the fridge for up to four days. Reheat them in the oven to revive the crispness of the topping. You can also freeze them for up to two months.
Is It Possible to Make This Recipe Gluten-Free?
You can make this recipe gluten-free by substituting the all-purpose flour with a gluten-free flour blend. Confirm your oats are certified gluten-free. This way, you'll enjoy the same delicious treat without gluten concerns.
Can I Add Nuts or Other Toppings to the Crisp?
Absolutely, you can add nuts or other toppings to the crisp. Try incorporating chopped pecans or walnuts into the topping for added crunch. Feel free to experiment with your favorite nuts for a personalized touch!
What Size Baking Dish Should I Use for a Smaller Batch?
For a smaller batch, use an 8×8-inch or 9×9-inch baking dish. Halve the ingredients to fit the dish. This way, you'll still achieve the perfect balance of creamy filling and crunchy topping. Enjoy your creation!
Conclusion
You've just baked a pumpkin pie crisp that's sure to impress your guests! The crunchy oat topping perfectly complements the creamy, spiced pumpkin filling, making each bite a delightful experience. Whether you enjoy it warm with a scoop of vanilla ice cream or chilled with a dollop of whipped cream, it's bound to become a new favorite. So, go ahead, pat yourself on the back for creating this delicious treat—your taste buds will thank you!

