Pumpkin Pie With Sweetened Condensed Milk Recipe
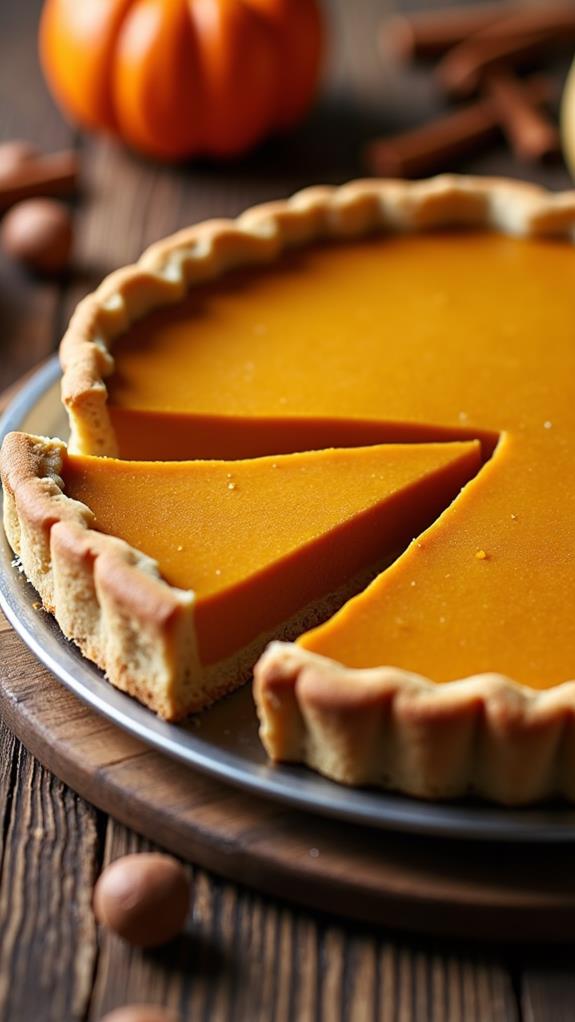
You've probably enjoyed pumpkin pie before, but have you tried making it with sweetened condensed milk? This ingredient can transform your dessert, adding a creamy, rich texture that complements the spicy notes of cinnamon and nutmeg perfectly. The process is straightforward, making it accessible even if you're not a seasoned baker. Mixing the right ingredients and baking to perfection are key steps, but there's a simple trick to guarantee the pie sets just right. Curious about what that might be and how it elevates the classic pie? Let's explore this recipe further.
Recipe
Pumpkin pie is a beloved dessert that embodies the flavors of autumn. It combines the earthy taste of pumpkin with the sweet and creamy texture provided by sweetened condensed milk. The addition of warm spices such as cinnamon, ginger, and nutmeg enhances the richness of the pie, making it a comforting treat for any holiday gathering or cozy evening at home.
This recipe simplifies the process, allowing you to enjoy a homemade pumpkin pie that's sure to delight your family and friends. Whether you're an experienced baker or trying your hand at pie-making for the first time, this recipe is both accessible and satisfying.
With just a few ingredients and simple steps, you can create a pie that rivals those found in bakeries. The key is to use pure pumpkin puree and balance the spices to suit your taste. Follow these instructions to create a delicious pumpkin pie that will become a staple in your recipe collection.
Ingredients:
- 1 can (15 oz) pumpkin puree
- 1 can (14 oz) sweetened condensed milk
- 2 large eggs
- 1 teaspoon ground cinnamon
- 1/2 teaspoon ground ginger
- 1/2 teaspoon ground nutmeg
- 1/2 teaspoon salt
- 1 unbaked 9-inch pie crust
To make the pumpkin pie, begin by preheating your oven to 425°F (220°C). In a large mixing bowl, combine the pumpkin puree, sweetened condensed milk, eggs, cinnamon, ginger, nutmeg, and salt. Whisk the ingredients together until the mixture is smooth and well-blended.
Pour the pumpkin mixture into the unbaked pie crust, spreading it evenly. Place the pie on the center rack of the preheated oven and bake for 15 minutes. Then, reduce the oven temperature to 350°F (175°C) and continue baking for an additional 35 to 40 minutes, or until a knife inserted near the center comes out clean. Allow the pie to cool before serving to let the filling set properly.
For best results, use pure pumpkin puree instead of pumpkin pie filling, which already contains spices and sweeteners. This allows you to customize the flavor of your pie. If you prefer a spicier pie, feel free to increase the amount of spices to your liking.
To prevent the crust edges from darkening too much, you can cover them with aluminum foil halfway through baking. Serve your pumpkin pie with a dollop of whipped cream or a scoop of vanilla ice cream for an extra indulgent experience.
Cooking Steps
Let's get started on your pumpkin pie adventure!
First, you'll preheat your oven to a toasty 425°F, then mix all your ingredients until they're smoother than a jazz saxophone solo.
Pour this silky mixture into your pie crust, bake it at 350°F until it's beautifully set, and let it cool before diving in—trust me, your taste buds will thank you!
Step 1. Preheat Oven to 425°F

To get started on your pumpkin pie, you'll want to preheat your oven to 425°F (220°C). It's like giving your oven a little warm-up before the big game. You don't want your pie to be left hanging, waiting for the oven to catch up, right? So, twist that dial or punch in those numbers, and let the oven do its thing.
Why 425°F, you ask? Well, this initial high temperature helps the crust set quickly, ensuring a nice, crisp bottom. Nobody likes a soggy bottom—at least not in the pie world!
While the oven is heating up, you can take a moment to gather your ingredients and maybe do a little kitchen dance to get into the baking groove.
Remember, the oven is hot, so keep little hands away and maybe even yours if you're prone to accidental high fives with hot surfaces. And hey, if your oven has a mind of its own and takes forever to heat, now's a good time to remind it who's boss.
Before you know it, you'll be ready to fill that pie shell and let the magic happen.
Step 2. Mix Ingredients Until Smooth
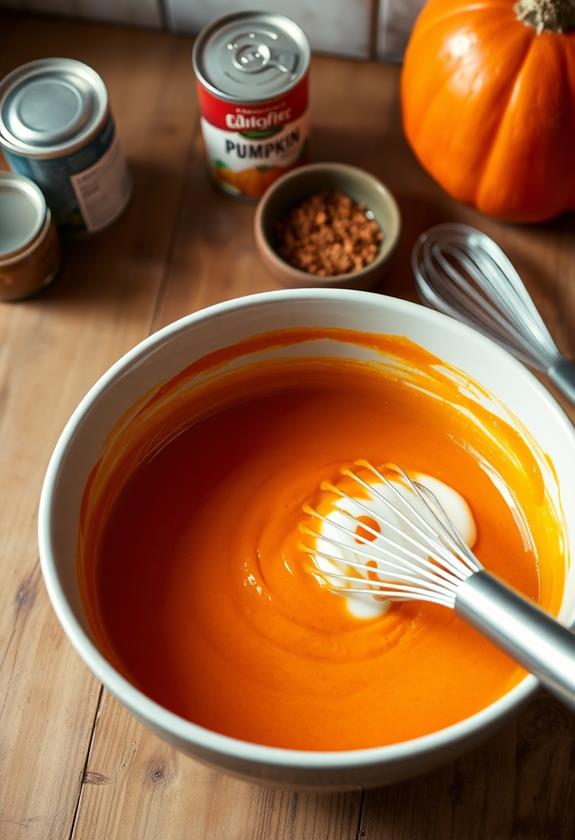
Start by grabbing a large mixing bowl and gathering your ingredients. You'll need the pumpkin puree, sweetened condensed milk, eggs, cinnamon, ginger, nutmeg, and salt.
Now, don't let those spices intimidate you—they're just the magical dust that transforms pumpkin mush into pie paradise!
Crack the eggs into the bowl, making sure no sneaky shell bits jump in. Add the pumpkin puree next, followed by the sweetened condensed milk. This is the moment when your pie begins its journey to creamy perfection.
Sprinkle in the cinnamon, ginger, nutmeg, and salt. These spices are like your pie's secret fan club, cheering from the sidelines with every stir.
Now, grab a whisk (or an electric mixer if you prefer a little gadgetry) and mix until everything blends smoothly. You're aiming for a silky, lump-free mixture that looks as inviting as it smells.
If you find yourself doing a little happy dance as the aroma of spices fills the air, you're definitely on the right track. Just make sure everything is mixed thoroughly—no spice clumps allowed.
Once it's smooth, you're ready for the next delicious step!
Step 3. Pour Mixture Into Pie Crust
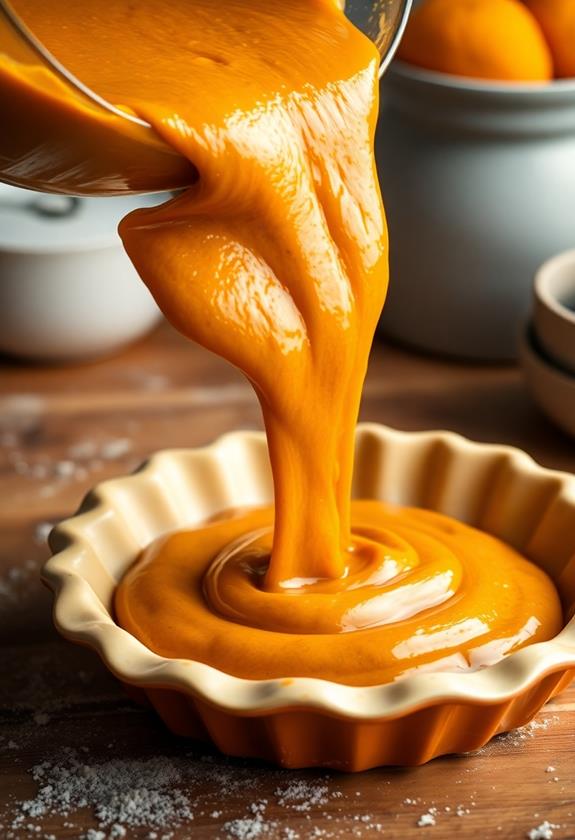
Once your pumpkin mixture is smooth and inviting, it's time to pour it into the pie crust. Gently lift the bowl, giving it a little tilt, and let gravity do some work. Watch as the creamy, orange filling cascades into your unbaked pie crust, filling it like a warm hug.
As you pour, use a spatula to guide the mixture, ensuring every bit makes it into the crust. It's like coaxing the last bit of toothpaste from the tube, only much more delicious.
Make sure the filling is spread evenly. You don't want one side overflowing while the other looks like it's on a diet. Give the pie a gentle shake or two, persuading any air bubbles to rise and pop, leaving a perfectly smooth surface.
Channel your inner zen gardener and use the back of the spatula to smooth the top layer.
Lastly, check the crust edges. Make sure they're standing tall and proud, ready to cradle all that pumpkin goodness. If you're feeling fancy, give the edges a little twist or pinch for decoration.
Now, your pie's ready for the next exciting step in its transformation!
Step 4. Bake Pie at 350°F
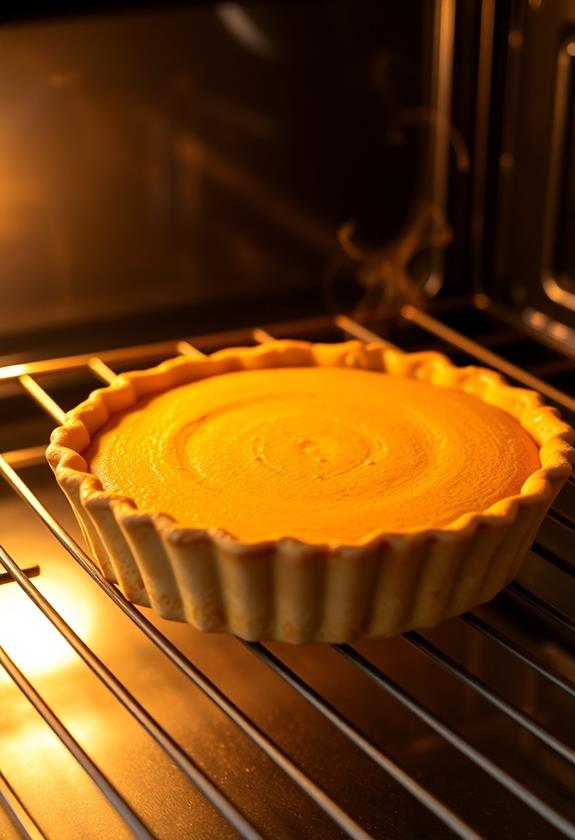
As your oven reaches the perfect temperature, slide your pie onto the center rack with care. This is where the magic happens, so make sure your pie is centered for even baking.
Once settled, let the oven do its thing and set your timer for 35 to 40 minutes. You might feel tempted to peek, but resist the urge—opening the oven door can cause uneven cooking.
During this time, your kitchen will fill with the comforting aromas of cinnamon, ginger, and nutmeg, making you wonder why you don't bake pie every day.
Keep an eye on the pie's edges, though. If they start getting too dark, gently cover them with foil to avoid a crispy surprise.
To check if it's done, insert a knife near the center. If it comes out clean, you're golden! If not, give it a few more minutes, but don't wander too far—baking waits for no one.
As your pie finishes baking, you'll have a beautiful, golden-brown dessert that looks straight out of a magazine. Enjoy the satisfaction of knowing your pumpkin pie is just about ready to impress everyone at the table!
Step 5. Cool Pie Before Serving
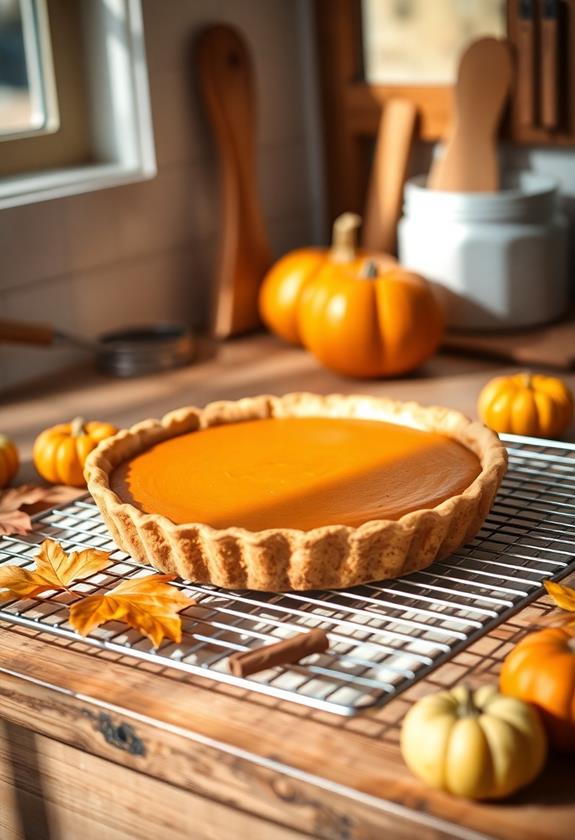
Patience is key as your freshly baked pumpkin pie emerges from the oven, golden and aromatic. The temptation to dive right in is strong, but letting your pie cool is essential for the perfect slice. Cooling allows the filling to set, ensuring each piece holds its shape beautifully. So, resist the urge to cut into it immediately.
Place your pie on a wire rack, allowing air to circulate underneath. This helps the pie cool evenly and prevents the crust from becoming soggy. Let it rest at room temperature for at least two hours. If the room's warm, you might find yourself checking the clock more often, but hang in there! It's worth the wait.
As you wait, you might notice the wonderful aroma filling your home, teasing your senses. It's like nature's way of testing your self-control.
If you're feeling fancy, you can use this time to whip up some fresh cream or prep a scoop of vanilla ice cream for serving. Remember, patience now means perfect pie later.
When the time finally comes, you'll cut into a slice that's not just delicious, but picture-perfect, too!
Final Thoughts
Reflecting on the joy of homemade pumpkin pie, you'll appreciate how simplicity can yield such a delightful dessert. This recipe, with its minimal ingredients and straightforward steps, proves you don't need a culinary degree to create something magical.
As you savor each bite, you'll likely recall the comforting aroma filling your kitchen, invoking memories of fall gatherings and family moments.
The beauty of this pie lies in its rich, creamy texture, thanks to the sweetened condensed milk. It's like a cozy sweater for your taste buds, wrapping them in warmth and sweetness.
If you're feeling adventurous, you might tweak the spice levels or add a dash of vanilla extract for a personal touch. Remember, a pie is a blank canvas, waiting for your creativity.
As you serve your masterpiece, a touch of whipped cream or scoop of ice cream will elevate it to dessert nirvana.
And don't fret about imperfections—rustic charm is in! So, embrace the joy of baking, knowing you've created more than just a pie.
You've crafted a warm, inviting experience that brings people together, one slice at a time. Enjoy every moment of it!
Frequently Asked Questions
Can I Use Fresh Pumpkin Instead of Canned Puree?
You can definitely use fresh pumpkin instead of canned puree. Just cook and puree it until smooth. Make sure you drain any excess moisture for the best texture. Fresh pumpkin adds a delightful homemade touch to your pie.
How Do I Store Leftover Pumpkin Pie?
Store leftover pumpkin pie by covering it loosely with plastic wrap or aluminum foil. Keep it in the refrigerator for up to three days. For longer storage, freeze individual slices, wrapping them tightly, then thaw in the fridge.
Can I Make the Pie Crust From Scratch?
Absolutely, you can make the pie crust from scratch! Use flour, butter, salt, and water. Mix until dough forms, chill it, then roll it out. Homemade crust adds a delightful touch to your pumpkin pie. Enjoy baking!
What Are Some Alternative Spices to Use?
You can swap traditional spices with alternatives like allspice, clove, or cardamom for a unique twist. Try adding a pinch of black pepper for subtle heat. Experiment to find the perfect blend that suits your taste.
Is It Possible to Make This Pie Dairy-Free?
Yes, you can make it dairy-free by using coconut milk or almond milk with a bit of extra sugar. Swap sweetened condensed milk with a dairy-free alternative, and you'll still achieve a deliciously creamy pumpkin pie.

