Red Velvet Cheesecake Swirl Brownies Recipe
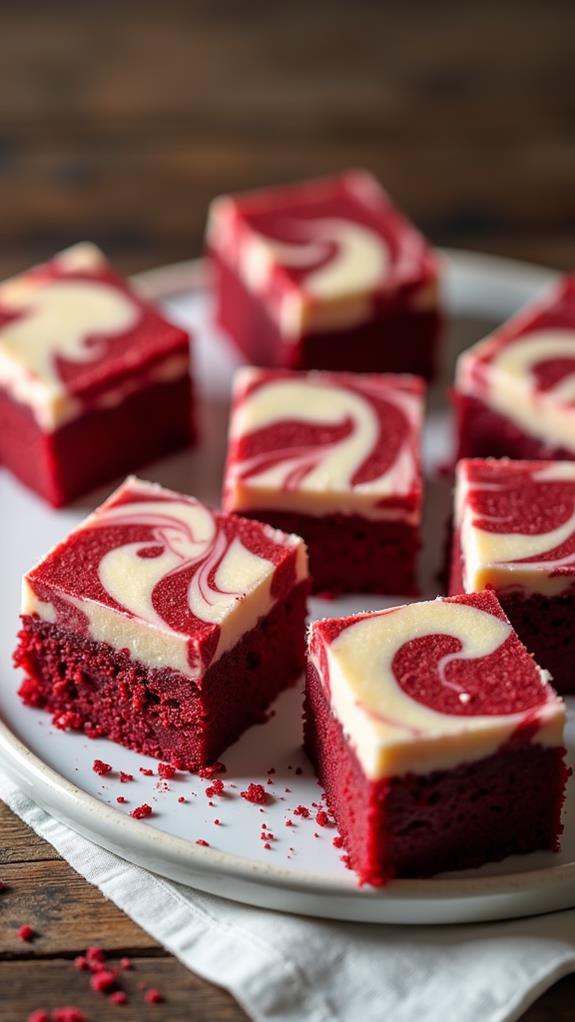
Imagine you're in your kitchen, ready to create a dessert that's both visually stunning and irresistibly delicious: the Red Velvet Cheesecake Swirl Brownies. You might wonder how a classic red velvet cake can transform into a decadent brownie, with the creamy allure of cheesecake layered in. As you prepare to preheat your oven and gather your ingredients, the anticipation builds. The steps seem straightforward, yet there's a hint of artistry involved in achieving that perfect swirl. Are you curious about how to balance the flavors and textures just right? Let's explore the process.
Recipe
Red Velvet Cheesecake Swirl Brownies are an indulgent dessert that perfectly marries the rich flavors of red velvet and creamy cheesecake in a single bite. With their striking red hue and marbled appearance, these brownies aren't only delicious but also visually stunning, making them an ideal choice for holidays or special gatherings.
The process of creating these delightful treats is straightforward, requiring only a handful of ingredients and a few simple steps. The key to success is in achieving the right balance of flavors and textures while guaranteeing a beautiful swirl pattern.
To begin, it's crucial to prepare all your ingredients ahead of time, making sure they're at room temperature for a smooth batter. This recipe involves creating a luscious red velvet brownie batter and a creamy cheesecake mixture, which are then artfully swirled together before baking. The result is a dessert that's as pleasing to the eyes as it's to the palate, offering a perfect combination of tangy cream cheese and rich chocolate.
Ingredients:
- 1/2 cup unsalted butter
- 1 cup granulated sugar
- 2 large eggs
- 1 teaspoon vanilla extract
- 1 tablespoon red food coloring
- 1 teaspoon white vinegar
- 3/4 cup all-purpose flour
- 1/4 cup unsweetened cocoa powder
- 1/4 teaspoon salt
- 8 oz cream cheese, softened
- 1/4 cup granulated sugar
- 1 large egg
- 1/2 teaspoon vanilla extract
To make the brownies, start by preheating your oven to 350°F (175°C) and greasing an 8×8-inch baking pan. Melt the butter in a bowl and combine it with one cup of sugar, mixing until smooth.
Add the eggs, one teaspoon of vanilla extract, red food coloring, and white vinegar, stirring until everything is well incorporated. In a separate bowl, sift together the flour, cocoa powder, and salt, then gradually add this to the wet ingredients, mixing just until combined to create the brownie batter.
For the cheesecake mixture, beat the cream cheese with 1/4 cup of sugar, one egg, and 1/2 teaspoon of vanilla extract until creamy. Pour the brownie batter into the prepared baking pan, reserving about 1/4 cup for later use.
Spread the cheesecake mixture over the batter, then drop spoonfuls of the reserved brownie batter on top. Use a knife to gently swirl the two mixtures together, forming a marbled effect. Bake for 30-35 minutes, or until a toothpick inserted into the center comes out with a few moist crumbs. Allow the brownies to cool completely in the pan before cutting into squares.
For the best results, confirm that all ingredients are at room temperature before starting, which helps prevent lumps in the batter and creates a smoother cheesecake layer. You can adjust the red food coloring to achieve your preferred shade, but be careful not to add too much.
If you desire a more intense chocolate flavor, consider using Dutch-processed cocoa powder instead of regular cocoa powder. These brownies can be stored in an airtight container in the refrigerator for up to five days, making them a convenient make-ahead dessert option.
Cooking Steps
You're about to initiate a delicious journey with these Red Velvet Cheesecake Swirl Brownies, so let's get started by preheating your oven to 350°F—don't forget, ovens like to warm up, too!
Melt the butter in a bowl, then mix it with sugar until it's smoother than a jazz tune, adding eggs and red food coloring for that signature vibrant hue.
In another bowl, sift together the dry ingredients like flour and cocoa powder, then gradually mix them with the wet ingredients, making sure everything's having a good time getting to know each other.
Step 1. Preheat Oven to 350°F
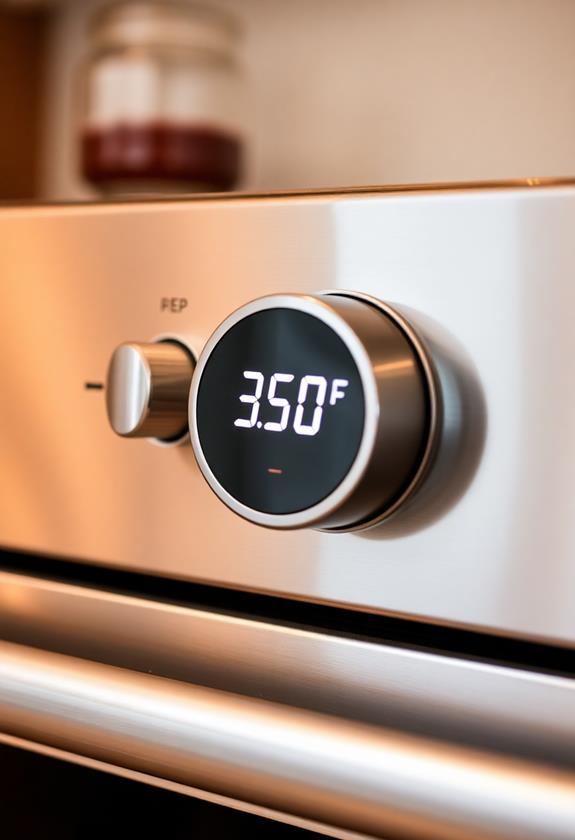
Before you plunge into mixing the ingredients, preheat your oven to 350°F (175°C) to guarantee it's ready when the batter is complete. You don't want your batter waiting impatiently while the oven heats up, right? So, flip that oven switch early.
If your oven has a light indicator, watch it like you'd watch a suspenseful movie. Once it's on, you know it's showtime! For those without a light, set a timer as a friendly reminder. Checking the temperature with an oven thermometer can be helpful too, ensuring it's precisely at 350°F.
We want those brownies to bake perfectly, not too hot or too cold. Consider this step your warm-up act before the main baking event. Now, on with the show!
Step 2. Melt Butter, Mix With Sugar
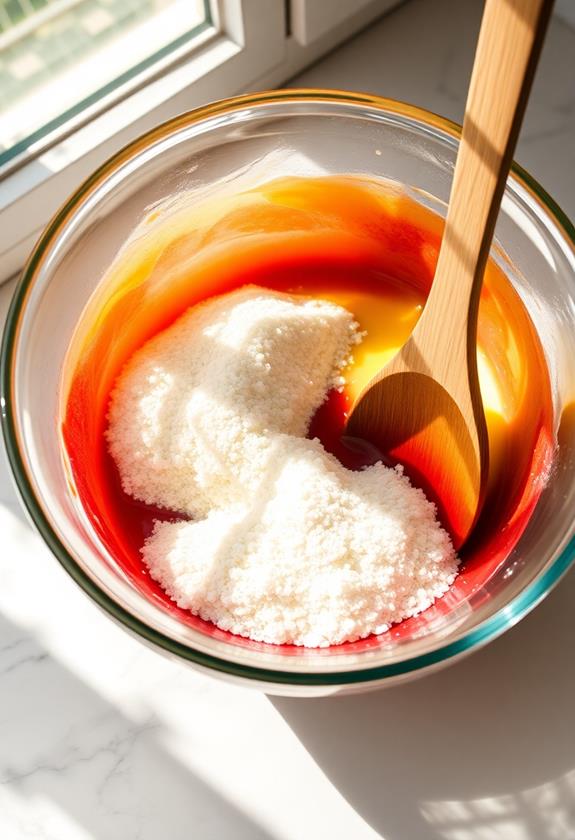
Start by melting half a cup of unsalted butter in a small saucepan over low heat or in the microwave.
Once it's liquid gold, pour it into a mixing bowl.
Add one cup of granulated sugar and stir until it has dissolved into a smooth, sandy mix.
The butter and sugar should blend like a dream, creating a rich base for your brownies.
Imagine you're crafting a buttery beach for your other ingredients to relax on.
If you notice any sugar lumps, give them a little extra stir.
This step is like the warm-up act before the brownie batter takes the stage, so enjoy the process.
Trust me, this buttery-sweet foundation sets the stage for a deliciously decadent dessert!
Step 3. Add Eggs and Red Coloring
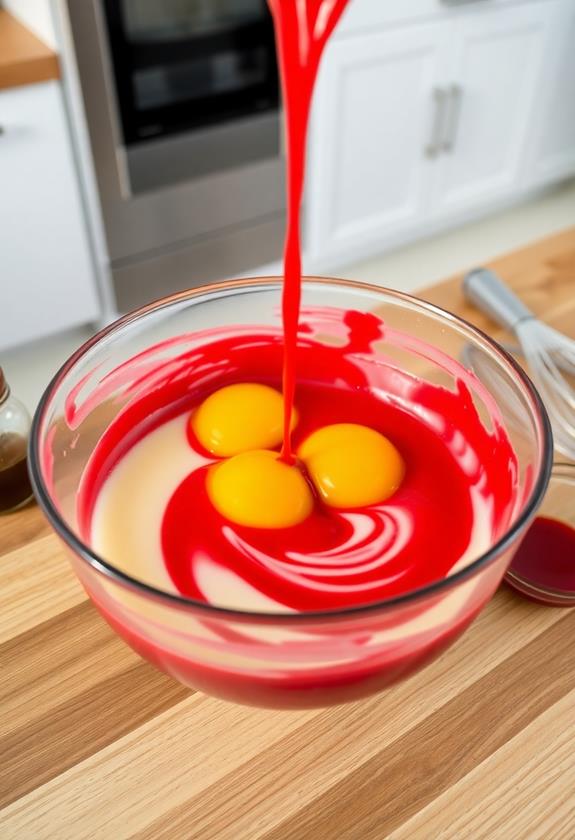
Once your butter and sugar mixture is smooth, it's time to introduce the eggs, which will add richness and structure to your batter.
Crack in the eggs one at a time, mixing well after each addition. This guarantees they blend in seamlessly. Don't be shy—give it a good stir!
Now, for the magic touch: red food coloring. Add a tablespoon to the mix. It's like a splash of color on a canvas, turning your batter into that striking red velvet hue.
Stir in a teaspoon of vanilla extract and vinegar; these will deepen the flavor and balance the sweetness.
Step 4. Sift Dry Ingredients Together
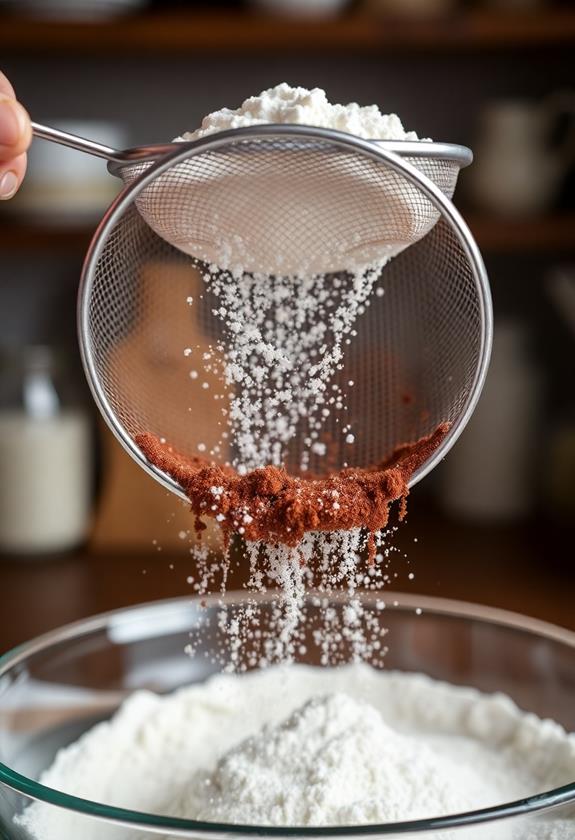
With your vibrant red mixture ready, it's time to focus on the dry ingredients. Grab a clean bowl and your trusty sifter. Measure out the flour, cocoa powder, and salt.
Now, here's where the magic happens—sifting! This step guarantees your dry ingredients are well-blended and free of pesky lumps. Plus, it adds a touch of elegance to your baking routine, like a culinary fairy dusting her wand.
As you sift, picture the cocoa clouds forming in the air, bringing a smile to your face. It's like a mini workout, but more fun and chocolatey!
Once you're done, admire the soft, pillowy heap in the bowl. You're now one step closer to red velvet perfection.
Step 5. Combine Wet and Dry Ingredients
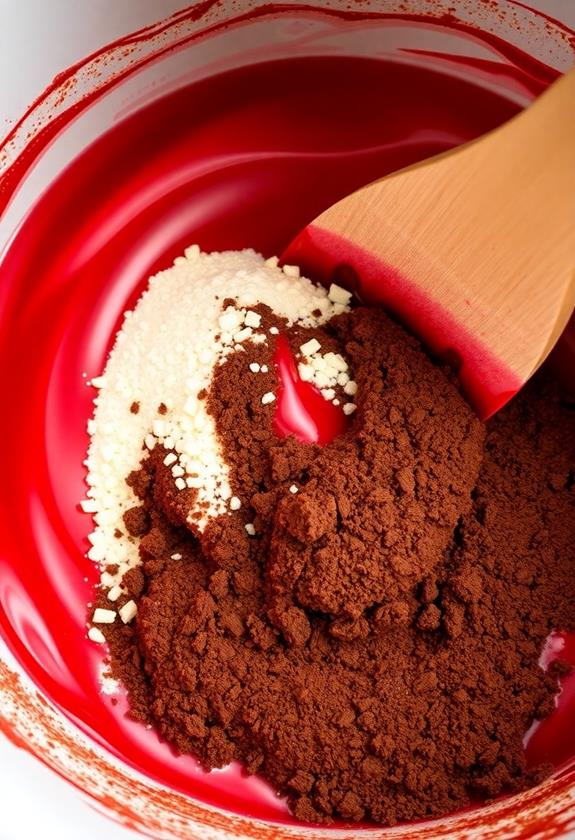
The moment has arrived to unite your vibrant red mixture with the pillowy heap of dry ingredients.
Gently pour the wet mixture into the bowl of dry ingredients, channeling your inner mad scientist. Use a spatula to fold them together, mixing just until everything is combined.
You're aiming for a smooth, velvety batter, so don't go overboard with the stirring. Picture yourself coaxing these two ingredients into a harmonious dance—like a culinary waltz.
Keep an eye out for any lurking pockets of flour, and give them a gentle nudge to join the party. If your arm's starting to feel like it's training for a marathon, take a break—your batter will forgive you!
Now, onto the cheesecake swirl magic!
Final Thoughts
Creating Red Velvet Cheesecake Swirl Brownies is a rewarding endeavor that leaves you with a visually stunning and delicious dessert.
You'll feel like a baking superstar when those vibrant red swirls meet creamy cheesecake right from your own kitchen. Who knew making something so elegant could be this fun and straightforward?
As you savor each bite, appreciate the contrast of tangy cream cheese against the rich, chocolatey base.
It's a delightful indulgence perfect for any occasion. Remember, a little patience goes a long way—letting them cool completely is key to clean cuts and perfect presentation.
Store any leftovers (if there are any!) in the fridge, but don't be surprised if they vanish quickly.
After all, these brownies are too tempting to resist!
Frequently Asked Questions
Can I Use a Different Size Baking Pan for This Recipe?
Yes, you can use a different size pan, but adjust the baking time. A larger pan will result in thinner brownies, so they'll bake faster. Check for doneness earlier by inserting a toothpick for moist crumbs.
How Can I Make These Brownies Gluten-Free?
To make these brownies gluten-free, substitute all-purpose flour with a gluten-free flour blend. Confirm the blend contains xanthan gum or add a teaspoon yourself. Check all other ingredients for gluten-free labels to avoid contamination.
What Is the Best Way to Store Leftover Brownies?
Store leftover brownies in an airtight container at room temperature for up to three days. For longer storage, refrigerate them for up to a week or freeze them for up to three months to maintain freshness and flavor.
Can I Substitute the Red Food Coloring With a Natural Alternative?
Yes, you can substitute red food coloring with natural alternatives like beet juice or pomegranate powder. These options provide a natural red hue, though the intensity may vary. Experiment to find the shade that suits your preference.
How Do I Prevent the Cheesecake Layer From Cracking?
To prevent the cheesecake layer from cracking, make certain all your ingredients are at room temperature before mixing. Avoid overbaking by removing the brownies from the oven when a toothpick comes out with moist crumbs, not dry.

