Sour Cherry Jam Recipe
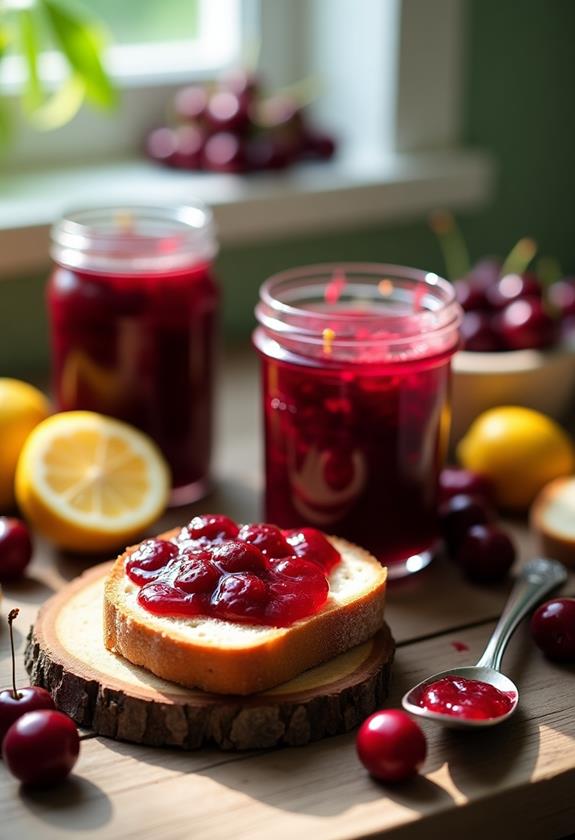
You've got a basket of sour cherries, and the thought of turning them into a delicious jam has crossed your mind. Crafting sour cherry jam isn't just about mixing ingredients; it's about capturing summer's essence in a jar. With just a handful of ingredients—a perfect balance of sweet and tangy awaits. But before you start boiling, there's an essential step that many overlook, which can make or break your jam. Curious about what this step might be and how it influences the final taste? Let's explore how to elevate your jam-making game.
Recipe
Sour cherry jam is a wonderful way to preserve the sweet and tangy flavors of ripe cherries. This homemade jam isn't only delicious but also allows you to control the ingredients, ensuring a natural and vibrant spread. Perfect for pairing with breakfast items like toast, scones, or even as a delightful swirl in yogurt, this jam captures the essence of summer cherries year-round. The process is simple and rewarding, requiring just a few basic ingredients and a little patience.
To make sour cherry jam, you'll simmer pitted cherries with sugar and lemon juice to create a rich and luscious spread. The natural pectin in the cherries, combined with the acidity of the lemon juice, helps the jam to thicken without the need for additional pectin. This recipe highlights the fresh taste of cherries, enhanced by a hint of citrus from the lemon zest. Whether you're using fresh or frozen cherries, this jam will be a delightful addition to your pantry.
Ingredients:
- 4 cups pitted sour cherries
- 3 cups granulated sugar
- 1 tablespoon lemon juice
- Zest of 1 lemon
- 1/2 teaspoon butter (optional)
To prepare the jam, start by placing the pitted cherries in a large pot and mix in the sugar, lemon juice, and lemon zest. Allow the mixture to sit for about 30 minutes to let the cherries release their juices.
Next, place the pot over medium heat and bring it to a gentle boil, stirring occasionally. If foam appears on the surface, you can add the butter to reduce it. Continue cooking the jam for 25-30 minutes, stirring occasionally, until it thickens to your liking. To test the readiness, place a small spoonful on a chilled plate; if it wrinkles when pushed, it's ready.
Pour the hot jam into sterilized jars, leaving some space at the top, seal them, and let them cool completely before storing.
For the best results, use ripe, fresh sour cherries, as they'll provide the best flavor and natural pectin. If fresh cherries aren't available, you can substitute with frozen cherries, ensuring they're completely thawed before use.
Remember to properly sterilize your jars to prolong the shelf life of your jam and keep it free from bacteria. The lemon juice and zest are vital not only for their invigorating citrus flavor but also for helping the jam set properly.
Enjoy your homemade sour cherry jam on a variety of breakfast treats or as a wonderful addition to desserts.
Cooking Steps
You're about to begin a cherry-filled adventure, starting with adding those juicy, pitted cherries to a large pot.
Mix in the sugar and lemon juice, then let the concoction sit for about 30 minutes—just enough time to grab a quick snack or ponder why cherries never make it into more action movies.
Once your cherries and sugar have had their little meet-and-greet, bring the mixture to a gentle boil, and here's where the magic happens: test a bit of the jam on a chilled plate to see if it's ready to rock your taste buds!
Step 1. Add Cherries to Large Pot
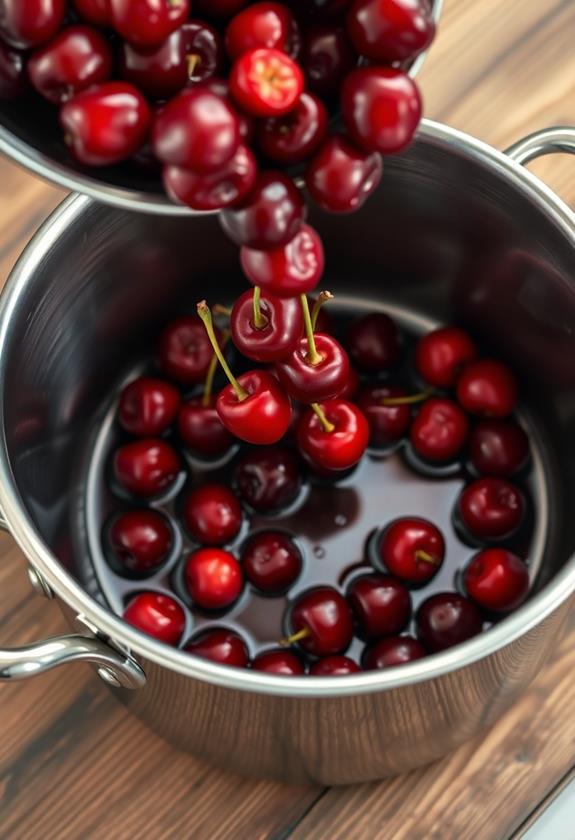
Begin by placing the four cups of pitted cherries into a large pot, ensuring there's enough room for stirring as the mixture cooks.
It's like giving them a comfy little swimming pool to hang out in. Trust me, you don't want cherries splashing out when things heat up!
Keep your pot over medium heat to gently coax out those delightful juices, stirring occasionally to prevent any rebellious cherries from sticking.
If you're feeling fancy, use a wooden spoon for a rustic touch.
As the cherries warm up, they'll start to release their aroma, teasing your senses with promises of sweet-tart goodness.
Step 2. Add Sugar and Lemon Juice
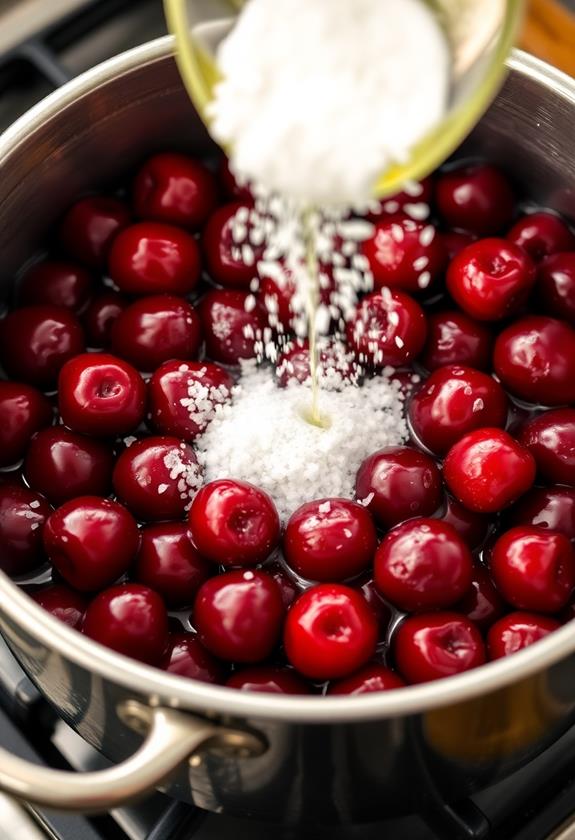
Once your cherries are cozy and juicy in the pot, it's time to sweeten the deal by adding the sugar and lemon juice.
Sprinkle in the sugar like a fairy dusting magic, and then pour that zesty lemon juice in with flair. These ingredients won't just enhance flavor, they'll also help your jam set perfectly.
Stir the mixture gently, ensuring every cherry gets its fair share of sweetness and citrus zing. You might notice the sugar starting to dissolve and mix with the cherries, creating a lovely syrup.
Step 3. Let Mixture Sit 30 Minutes
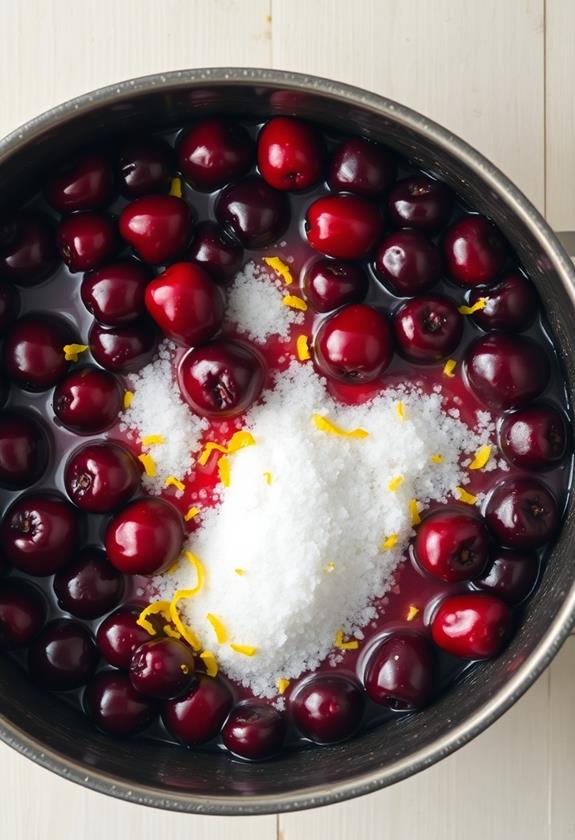
Patience is key at this stage, as letting the mixture sit for 30 minutes allows the flavors to meld and the cherries to release their natural juices. Trust me, it's worth the wait!
This resting period lets the sugar work its magic, drawing out the cherries' juices and creating a delicious syrup. You might be tempted to skip this step, but resist the urge—your taste buds will thank you later.
As the mixture sits, you can take a moment to clean up your workspace or maybe even sneak a cherry or two. Don't worry, I won't tell!
This waiting game is an essential step to achieving that perfectly balanced sweet-tart flavor that makes sour cherry jam so irresistible.
Step 4. Heat Mixture to Gentle Boil
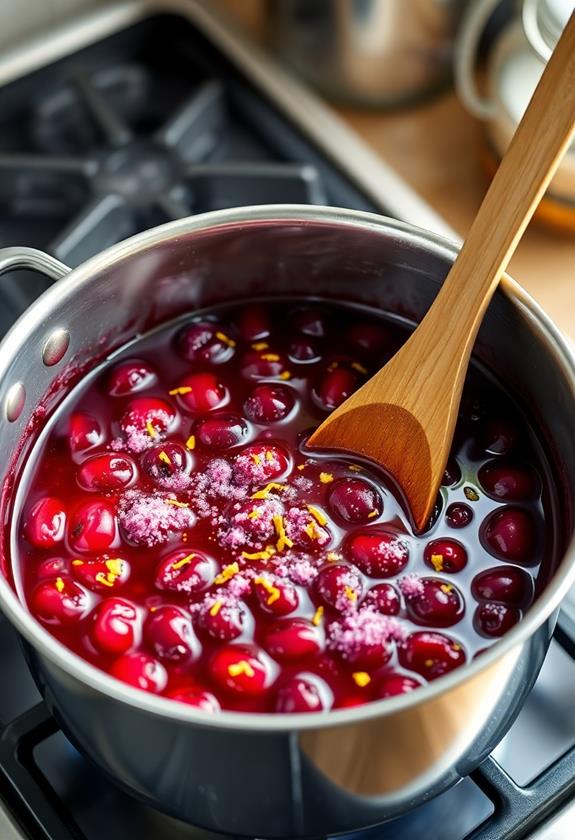
With the flavors melded and the juices released, it's time to bring the cherry mixture to life on the stove.
Place your pot over medium heat, and watch those cherries transform into something magical. Stir occasionally, feeling like a culinary wizard as the sugar melts and the cherries start to dance.
If foam appears, don't panic—just toss in a tiny bit of butter to calm things down. Keep your spoon moving to prevent any sticky situations at the bottom of the pot.
Your goal is a gentle boil, not a volcanic eruption. The mixture should bubble softly, letting the flavors mingle and thicken. You can practically taste the tangy sweetness already, can't you?
Your kitchen will smell heavenly!
Step 5. Test Jam on Chilled Plate
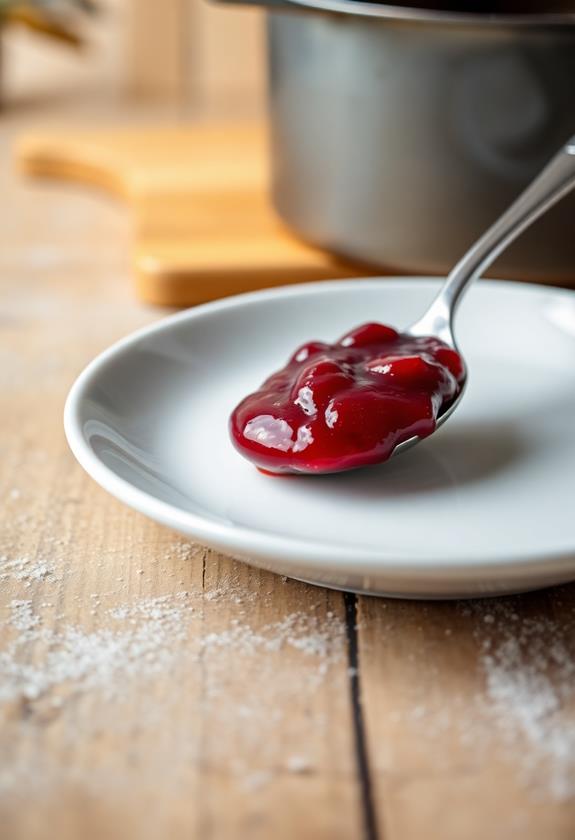
Your kitchen's transformation is almost complete, and now it's time for a little magic trick to confirm your jam's ready.
Grab a chilled plate from the freezer, and drop a small spoonful of the hot jam onto it. Let it cool for a moment, then gently push it with your fingertip.
If the surface wrinkles just a tad, congratulations—your jam's set and ready to jar! If it doesn't, no worries; just simmer it a bit longer and retest.
It's like the jam's playing a game of peek-a-boo! This step guarantees you won't end up with cherry soup instead of jam.
Final Thoughts
As you finish making your sour cherry jam, you'll likely find that the effort is well worth it. Not only have you created a delicious treat, but you've also learned a valuable skill.
Your kitchen probably smelled amazing during the process, and now you have jars of homemade goodness to enjoy or share. Remember, the key to perfect jam is patience—letting it simmer just right.
Don't be surprised if you start eyeing other fruits for your next jam adventure. You might even become the "jam person" in your circle of friends, always armed with a jar of sweet-tart magic.
Whether you're spreading it on toast, mixing it into yogurt, or gifting it, your sour cherry jam is sure to impress!
Frequently Asked Questions
Can I Use Sweet Cherries Instead of Sour Cherries for This Jam?
You can use sweet cherries instead of sour ones, but expect a different flavor profile. Sweet cherries reduce tartness, so adjust sugar and lemon juice for balance. Experiment with proportions to achieve your desired taste.
How Long Can I Store the Sour Cherry Jam in Jars?
You can store sour cherry jam in sterilized jars for up to a year if sealed properly and kept in a cool, dark place. Once opened, refrigerate the jam and use it within a month for best quality.
What Is the Best Way to Sterilize the Jars?
To sterilize jars, wash them in hot soapy water, rinse, and place them in a preheated oven at 225°F for 10 minutes. Alternatively, boil them in water for 10 minutes. Always dry completely before use.
Can I Use Honey or Another Sweetener Instead of Sugar?
Yes, you can use honey or another sweetener instead of sugar. Keep in mind, honey's flavor may alter the taste and could affect the jam's consistency. Experiment with quantities to guarantee you achieve the desired sweetness and texture.
What Should I Do if My Jam Doesn't Set Properly?
If your jam doesn't set, reheat it and add a bit more lemon juice to increase acidity. Boil again until thicker. Alternatively, dissolve some pectin in water, add to your jam, and boil briefly.
Conclusion
You've done it! You've turned a bunch of sour cherries into a jar of pure delight. As you spread that vibrant jam on toast or swirl it into yogurt, remember, you've captured summer in a jar. It's a bit of magic, right? Don't forget to share with friends—unless, of course, you're not feeling generous! Just kidding, but seriously, enjoy every tangy-sweet spoonful and pat yourself on the back for this homemade triumph.


