Sour Cream Double Chocolate Muffins Recipe

You might think you've perfected the art of making chocolate muffins, but have you tried incorporating sour cream for that extra moist texture? This ingredient could be the key to taking your muffins from good to irresistible. In this recipe, you'll find a straightforward approach that utilizes ingredients you probably already have in your pantry. The blend of cocoa powder and semi-sweet chocolate chips guarantees a rich chocolate experience. But what if there's more to achieving that perfect balance of flavors and textures? Let's explore how sour cream changes the game and what steps you shouldn't skip.
Recipe
There's nothing quite like the rich, indulgent taste of a perfectly baked double chocolate muffin. By incorporating sour cream into the mix, you achieve a moist and tender crumb that elevates this classic treat to a whole new level. The combination of cocoa and chocolate chips with the creaminess of sour cream makes these muffins an irresistible delight for any chocolate lover. Perfect for breakfast or as a decadent snack, these muffins are sure to satisfy your sweet tooth and become a favorite in your home.
Baking these muffins is a straightforward process that doesn't require much time or effort, making them an excellent choice for both novice and experienced bakers. The use of simple pantry staples means you can whip them up whenever the craving strikes. Whether you're preparing them for a special occasion or simply to enjoy with a cup of coffee, these sour cream double chocolate muffins are bound to impress with their rich flavor and moist texture.
Ingredients:
- 1 ¾ cups all-purpose flour
- ½ cup unsweetened cocoa powder
- 1 teaspoon baking powder
- ½ teaspoon baking soda
- ¼ teaspoon salt
- 1 cup granulated sugar
- 2 large eggs
- 1 cup sour cream
- ½ cup vegetable oil
- 1 teaspoon vanilla extract
- 1 cup semi-sweet chocolate chips
To make these delicious muffins, begin by preheating your oven to 350°F (175°C) and lining a muffin tin with paper liners. In a large mixing bowl, whisk together the flour, cocoa powder, baking powder, baking soda, and salt.
In another bowl, beat the sugar and eggs until creamy, then mix in the sour cream, vegetable oil, and vanilla extract. Gradually fold the dry ingredients into the wet mixture until just combined. Stir in the chocolate chips, making sure they're evenly distributed.
Divide the batter evenly among the muffin cups, filling each about two-thirds full. Bake for 18-20 minutes or until a toothpick inserted into the center of a muffin comes out clean. Allow the muffins to cool in the tin for a few minutes before transferring them to a wire rack to cool completely.
For best results, confirm all your ingredients are at room temperature before starting the recipe, as this helps achieve a smoother batter and more even baking. If you prefer a more intense chocolate flavor, consider using dark chocolate chips or adding a teaspoon of espresso powder to the dry ingredients.
These muffins freeze well, so you can make a batch ahead of time and enjoy them whenever you like. Simply let them cool completely, then store them in an airtight container in the freezer for up to three months.
Cooking Steps
Alright, let's get these delicious muffins started!
First, you'll want to preheat your oven to 350°F; we don't want those muffins shivering in the cold.
Now, grab a large bowl and whisk together your dry ingredients—flour, cocoa powder, baking powder, baking soda, and salt—because no one wants a surprise clump of flour in their muffin.
Step 1. Preheat Oven to 350°F

Before you begin mixing your ingredients, verify your oven is properly preheated to 350°F (175°C). Trust me, this step's essential for achieving those perfectly baked sour cream double chocolate muffins. Preheating guarantees that your muffins start baking immediately, which helps them rise beautifully and cook evenly. You don't want to end up with sad, sunken muffins, right?
So, go ahead and set your oven to 350°F, and while it warms up, you can get everything else ready. It's like giving your muffins a head start on the race to deliciousness! Plus, it's a great time to line your muffin tin with paper liners, saving some cleanup later.
If you're someone who tends to forget things (no shame, we've all been there), try setting a timer or sticky note as a reminder.
And remember, not all ovens are created equal! Some preheat quicker than others, so keep an eye on that little temperature indicator. When you hear the beep, that's your cue.
Now, your oven's all set up for the job, and you can focus on crafting those mouthwatering chocolate delights. You'll thank yourself later when the aroma fills your kitchen!
Step 2. Mix Dry Ingredients Together
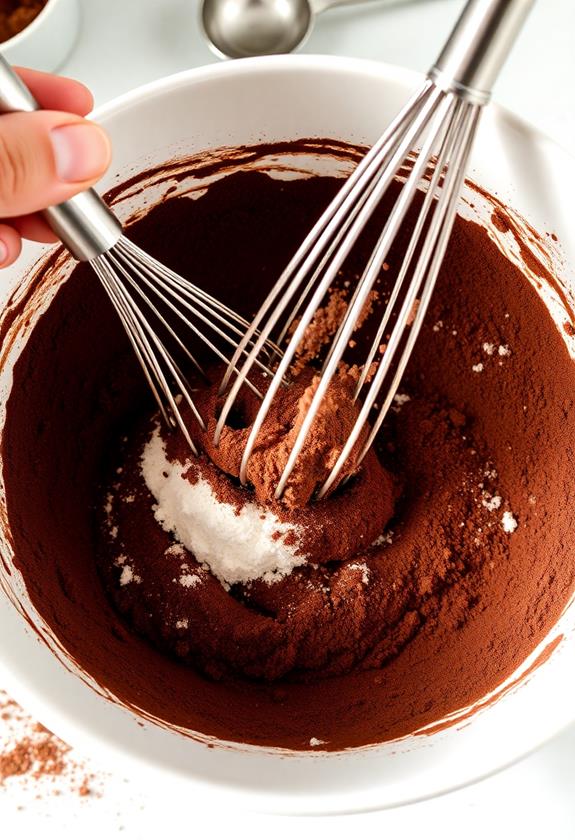
To kick off the mixing process, gather all your dry ingredients: all-purpose flour, unsweetened cocoa powder, baking powder, baking soda, and salt. Think of this as your chance to channel your inner mad scientist—only instead of concocting potions, you're whipping up something delicious and chocolatey.
Once you've gathered your ingredients, grab a large mixing bowl and a whisk; they're about to be your best friends. Start by adding the flour, then the cocoa powder.
Now, a quick tip: sift these two together if you want to avoid those pesky cocoa clumps. Next, sprinkle in the baking powder and baking soda, which are the dynamic duo responsible for giving your muffins that perfect rise.
Don't forget the salt—it might seem like the odd one out, but it enhances the chocolate flavor, making everything taste even better.
Whisk everything together until it's well combined and resembles a uniform, chocolatey powder. You're aiming for a mix that's as smooth as a meme-worthy cat video.
Now you're ready to move on, leaving behind a bowl of perfectly blended dry ingredients, enthusiastically waiting for their wet counterparts.
Step 3. Beat Sugar and Eggs Together
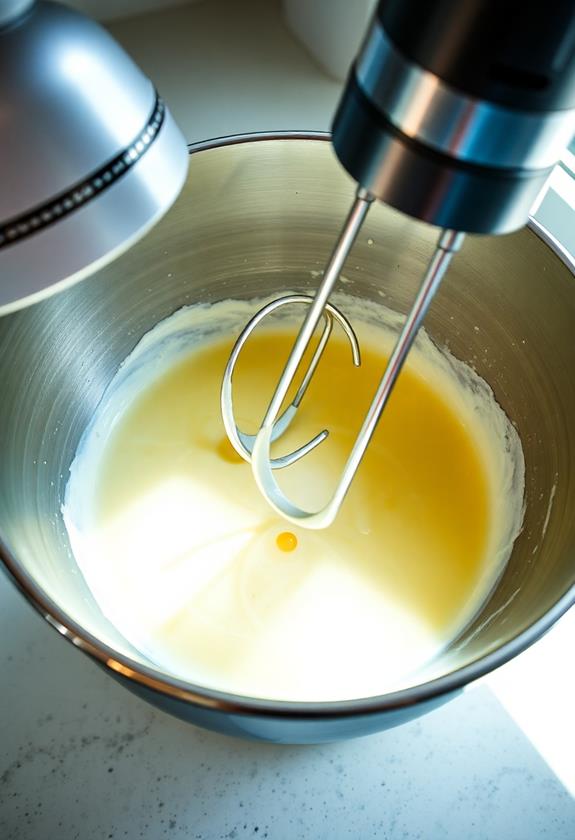
With your dry ingredients mixed and ready, it's time to turn your attention to the wet ingredients. Grab a medium-sized mixing bowl and crack in two large eggs.
Now, add one cup of granulated sugar. This is where the magic begins! Use an electric mixer or a trusty whisk, and beat the sugar and eggs together until the mixture turns pale and creamy. It should take about two to three minutes, and you'll notice the texture becoming fluffy and smooth, a bit like whipped cream but sweeter (and less likely to top a sundae).
Don't rush this step, even if your arm starts to feel like it's been through a workout. Properly beating the sugar and eggs is vital for creating that perfect muffin rise and texture. If you're feeling fancy, you can even hum your favorite tune while mixing—just don't get too distracted!
Once you're happy with the consistency, take a moment to admire your creation. It's the foundation for those scrumptious muffins you're about to bake.
With this step done, you're one step closer to chocolatey muffin bliss. Keep that anticipation building!
Step 4. Combine Wet and Dry Mixtures
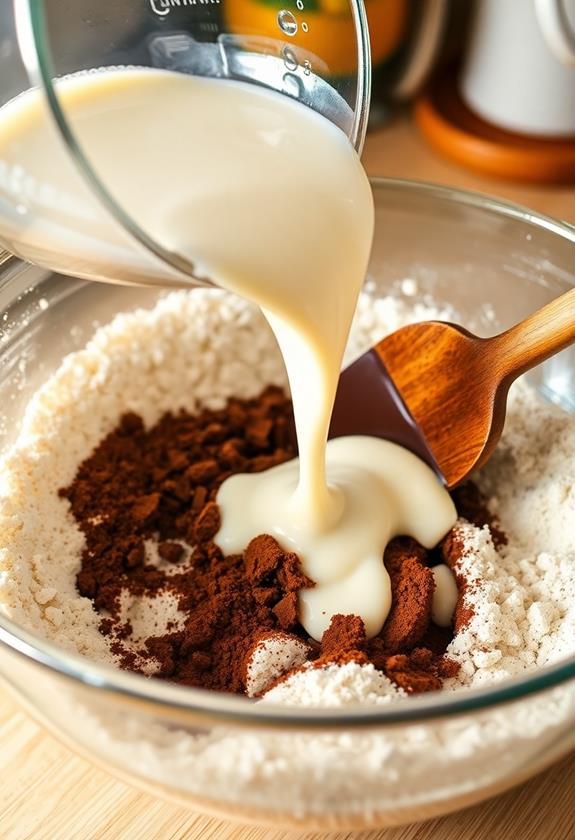
Now that you've got your creamy egg and sugar mixture ready, it's time to bring the dry and wet ingredients together. Gently introduce the two worlds like old friends at a reunion.
Grab your bowl of dry ingredients—flour, cocoa powder, baking powder, baking soda, and salt—and slowly add it to the wet mixture. Take your time here; think of it as a dance where both partners need to move in harmony.
Using a spatula, fold the dry mix into the wet, making sure to scrape the sides and bottom of the bowl to catch any hiding flour lumps. Be careful not to overmix; you want to stop just when no streaks of flour remain. Overzealous mixing can lead to tough muffins, and nobody wants that.
This step is where your muffins start to come alive, the cocoa powder merging with the sugar and sour cream to create a rich, chocolatey batter.
You might be tempted to lick the spatula—go ahead, we won't tell. Just remember, the goal here is a smooth, consistent batter, ready to take the stage in the next delicious act.
Step 5. Add Chocolate Chips Evenly

Once you've achieved a smooth batter, it's time to introduce the chocolate chips into the mix.
Now, don't just dump them in all at once like a chocolate avalanche. Instead, gently sprinkle them over the batter, allowing them to mingle with the cocoa goodness. Use a spatula or a large spoon to fold the chocolate chips into the batter. Fold from the bottom up and gently turn the mixture over, ensuring the chips are evenly spread throughout. This prevents any sad, chip-less bites in your muffins later on.
If you're feeling a bit cheeky, sneak a chip or two for yourself—after all, it's quality control! Keep an eye out for chocolate chip clumps; they tend to gather like chocolate-loving hermits. If you spot any, just give them a nudge to break them up.
Be careful not to overmix, as this could result in muffins with the texture of chocolate bricks—delicious, but a dental hazard! Once you're satisfied with the distribution of chocolate chips, you're ready to move on. Your muffins are now one step closer to becoming the chocolatey, sour cream delight you've been dreaming of.
Final Thoughts
These sour cream double chocolate muffins are guaranteed to become a beloved staple in your baking repertoire.
They're the kind of treat that makes everyone happy, from the chocolate enthusiasts to those who just appreciate a good muffin. The rich flavor and moist texture will have you reaching for seconds, and maybe even thirds, if you're feeling cheeky.
When you bake these muffins, you're not just creating a snack—you're crafting a moment of joy.
Whether it's a lazy Sunday morning or a quick weekday pick-me-up, these muffins fit perfectly.
Don't worry if you're not a baking pro; the straightforward process guarantees you'll nail it every time.
And hey, if a little flour ends up on your shirt, consider it a badge of honor.
Frequently Asked Questions
Can I Substitute Greek Yogurt for Sour Cream in This Recipe?
You can definitely substitute Greek yogurt for sour cream in this recipe. It maintains the moist texture and adds a slight tang. Use the same amount, and guarantee it's plain yogurt for the best results. Enjoy baking!
How Can I Make These Muffins Gluten-Free?
To make the muffins gluten-free, use a gluten-free all-purpose flour blend instead of regular flour. Verify it contains xanthan gum to maintain texture. Check other ingredients for gluten-free labels to avoid cross-contamination. Enjoy your muffins!
What Is the Best Way to Store These Muffins for Freshness?
To keep them fresh, store the muffins in an airtight container at room temperature for up to three days. For longer storage, freeze them in a sealed bag for up to three months, then thaw as needed.
Can I Use Milk Chocolate Chips Instead of Semi-Sweet?
You can definitely use milk chocolate chips instead of semi-sweet. They'll add a sweeter flavor to your muffins. Just remember, milk chocolate is creamier, so it might alter the balance slightly, but they'll still be delicious!
How Do I Prevent Muffins From Sticking to Paper Liners?
To prevent muffins from sticking to paper liners, lightly spray the liners with non-stick cooking spray before adding the batter. Also, make certain you remove the muffins from the tin while they're still slightly warm for easier release.


