White Chocolate Raspberry Dream Cake Recipe

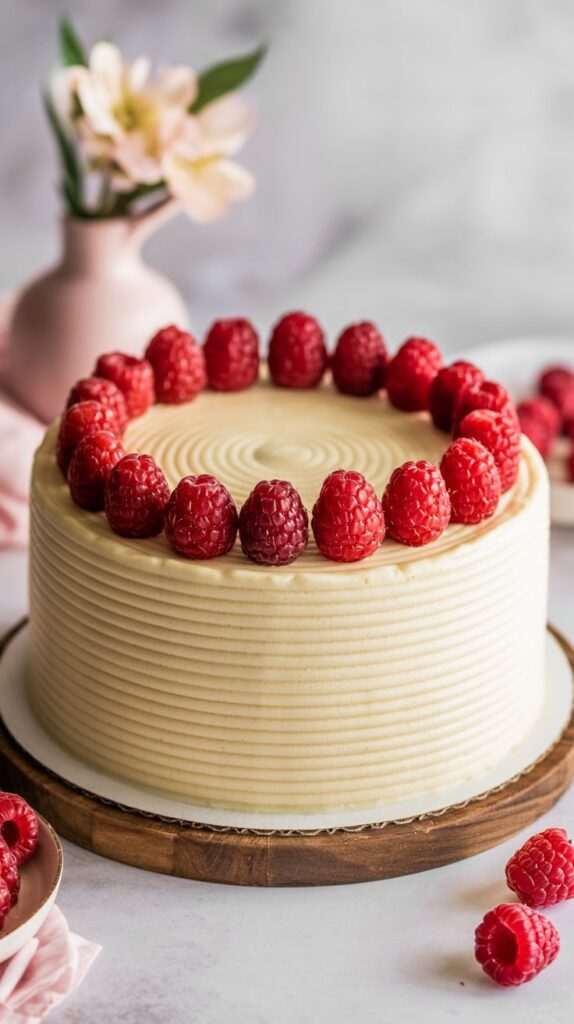
Craving a dessert that perfectly balances sweet and tart flavors? This White Chocolate Raspberry Dream Cake is exactly what you need. This stunning cake features layers of moist vanilla cake studded with white chocolate, fresh raspberries, and topped with a heavenly white chocolate cream cheese frosting.
I’ve perfected this recipe over the years, and it never fails to impress guests at dinner parties and special occasions. The combination of creamy white chocolate and tangy raspberries creates a flavor profile that’s both elegant and irresistible. Let’s dive into this step-by-step guide to create your own slice of heaven.
What is White Chocolate Raspberry Dream Cake?
White Chocolate Raspberry Dream Cake is a multi-layered dessert that combines the rich sweetness of white chocolate with the bright tartness of fresh raspberries. Unlike traditional chocolate cakes, this recipe focuses on creating a light, fluffy vanilla base that allows both the white chocolate and raspberry flavors to shine through.
The cake typically consists of two or three layers of moist vanilla cake embedded with white chocolate chips and fresh raspberries. Between each layer, I spread a luscious white chocolate cream cheese frosting that perfectly complements the fruit. The result is a visually stunning cake with beautiful pink and white marbling from the raspberries.
This dessert has become my go-to choice for birthdays, anniversaries, and holiday celebrations. The elegant appearance and sophisticated flavor combination make it suitable for both casual family gatherings and formal dinner parties.
Ingredients List for White Chocolate Raspberry Dream Cake
For the Cake:
- 2½ cups all-purpose flour
- 2½ teaspoons baking powder
- ½ teaspoon salt
- ¾ cup unsalted butter, softened
- 1¾ cups granulated sugar
- 4 large eggs, room temperature
- 2 teaspoons vanilla extract
- 1¼ cups whole milk, room temperature
- 1 cup white chocolate chips
- 1½ cups fresh raspberries (or 1 cup frozen, thawed and drained)
For the White Chocolate Cream Cheese Frosting:
- 8 oz cream cheese, softened
- ½ cup unsalted butter, softened
- 4 cups powdered sugar
- ¼ cup heavy cream
- 6 oz white chocolate, melted and cooled
- 1 teaspoon vanilla extract
- Pinch of salt
For Decoration:
- 1 cup fresh raspberries
- White chocolate shavings or chips
- Fresh mint leaves (optional)
How to Make White Chocolate Raspberry Dream Cake: A Step-by-Step Guide
Creating this beautiful cake requires patience and attention to detail, but I promise the results are worth every effort. Here’s my detailed guide to ensure your cake turns out perfectly:
1. Prepare Your Baking Setup:
- Preheat your oven to 350°F (175°C).
- Grease two 9-inch round cake pans with butter and dust with flour.
- Line the bottom of each pan with parchment paper for easy removal.
- Ensure all ingredients are at room temperature for better mixing.
2. Mix the Dry Ingredients:
- In a medium bowl, whisk together flour, baking powder, and salt.
- Set this mixture aside – having it ready makes the mixing process smoother.
- Toss the white chocolate chips and raspberries in a tablespoon of the flour mixture to prevent them from sinking.
3. Cream Butter and Sugar:
- In a large mixing bowl, cream the softened butter and granulated sugar using an electric mixer.
- Beat for 3-4 minutes until the mixture becomes light and fluffy.
- This step is crucial for creating the cake’s tender texture.
4. Add Eggs and Vanilla:
- Add eggs one at a time, beating well after each addition.
- Mix in the vanilla extract until fully incorporated.
- Don’t worry if the mixture looks slightly curdled – this is normal.
5. Alternate Wet and Dry Ingredients:
- Add the flour mixture in three parts, alternating with the milk in two parts.
- Begin and end with the flour mixture.
- Mix just until combined – overmixing can result in a tough cake.
6. Fold in Special Ingredients:
- Gently fold in the flour-coated white chocolate chips and raspberries.
- Use a rubber spatula and fold just until evenly distributed.
- Be gentle to avoid breaking the raspberries too much.
7. Bake the Cake Layers:
- Divide the batter evenly between the prepared pans.
- Bake for 25-30 minutes, or until a toothpick inserted in the center comes out clean.
- The tops should be golden brown and spring back when lightly touched.
8. Cool Completely:
- Cool the cakes in their pans for 10 minutes.
- Turn them out onto wire racks and cool completely before frosting.
- This step is essential – warm cake will melt the frosting.
9. Prepare the Frosting:
- Beat cream cheese and butter until smooth and creamy.
- Gradually add powdered sugar, beating until fluffy.
- Mix in the cooled melted white chocolate, heavy cream, vanilla, and salt.
- Beat until the frosting reaches a spreadable consistency.
10. Assemble the Cake:
- Place one layer on your serving plate.
- Spread a generous layer of frosting on top.
- Add the second layer and apply a crumb coat (thin layer of frosting all over).
- Refrigerate for 30 minutes, then apply the final layer of frosting.
- Decorate with fresh raspberries and white chocolate shavings.
Substitutions and Variations
I understand that not everyone has access to the same ingredients, so here are some substitutions and variations I’ve tested successfully:
- White Chocolate: If you can’t find white chocolate chips, chop a white chocolate bar into small pieces. You can also use vanilla chips as a substitute.
- Raspberries: Frozen raspberries work well, but make sure to thaw and drain them thoroughly. Blackberries or strawberries can be substituted for a different flavor profile.
- Cream Cheese Frosting: For a lighter option, try whipped cream frosting or buttercream. You can also make it dairy-free using vegan cream cheese and butter substitutes.
- Flour: All-purpose flour can be replaced with cake flour for an even more tender texture. Use ¾ the amount of cake flour as all-purpose flour.
- Milk: Buttermilk creates a slightly tangier flavor and more tender crumb. You can also use non-dairy milk alternatives like almond or oat milk.
Common Mistakes to Avoid
Through my years of baking this cake, I’ve learned to avoid these common pitfalls:
- Using Cold Ingredients: Room temperature ingredients mix more easily and create a better texture. Cold eggs and milk can cause the batter to curdle.
- Overmixing the Batter: Once you add the flour, mix just until combined. Overmixing develops too much gluten, resulting in a tough cake.
- Not Draining Frozen Raspberries: Excess moisture from frozen berries can make your cake soggy and affect the texture.
- Melted White Chocolate Too Hot: If the white chocolate is too warm when added to the frosting, it can melt the butter and ruin the consistency.
- Frosting a Warm Cake: Always ensure your cake layers are completely cool before frosting, or the frosting will melt and slide off.
How to Serve White Chocolate Raspberry Dream Cake
This elegant cake is perfect for special occasions and can be served in several delightful ways. I typically serve it at room temperature, which allows all the flavors to shine through perfectly. Each slice should showcase the beautiful layers and the colorful raspberries throughout.
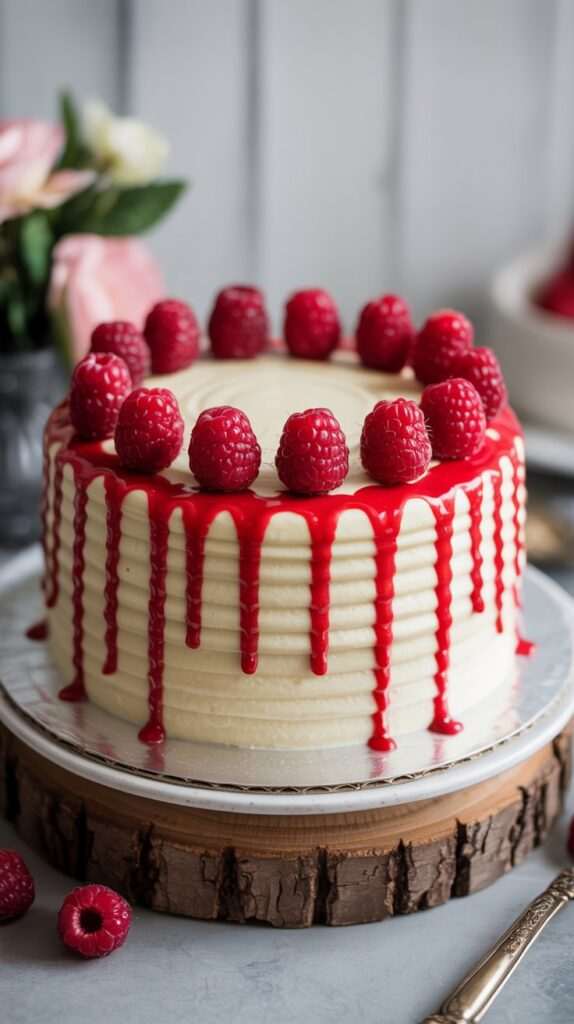
For an extra special presentation, I like to serve it with a small dollop of freshly whipped cream or a scoop of vanilla ice cream. The cool creaminess pairs wonderfully with the rich cake. A drizzle of raspberry coulis or a few extra fresh berries on the plate adds both color and complementary flavor.
Consider pairing this cake with a cup of coffee, black tea, or even a glass of champagne for celebrations. The white chocolate’s sweetness balances beautifully with slightly bitter beverages.
Presentation Ideas for White Chocolate Raspberry Dream Cake
The visual appeal of this cake is almost as important as its taste. Here are my favorite ways to make it look absolutely stunning:
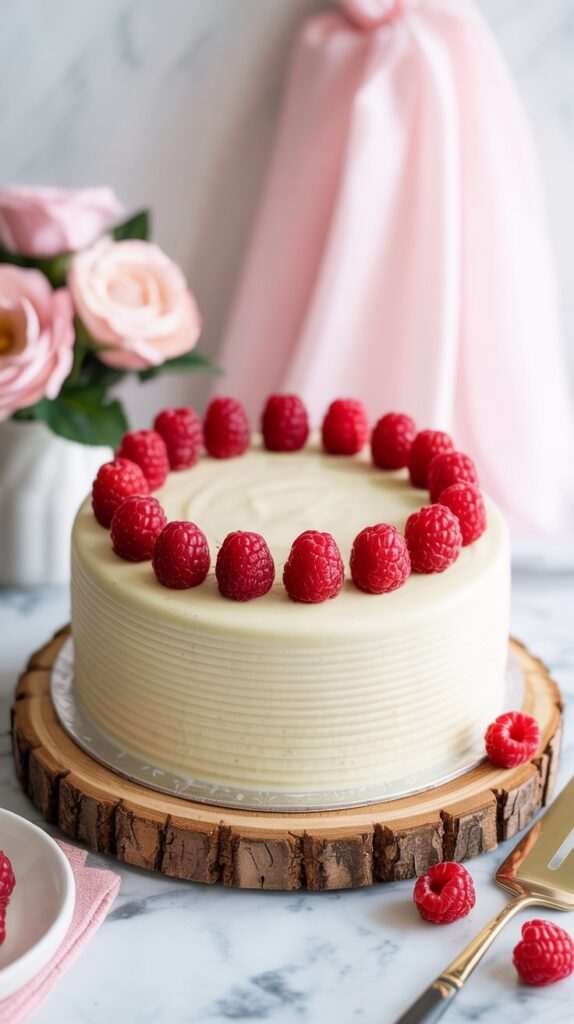
- Rustic Elegance: Leave the frosting slightly imperfect with gentle swirls and peaks. Arrange fresh raspberries in a circle on top and sprinkle white chocolate shavings around them.
- Smooth Professional Look: Use a bench scraper to create perfectly smooth sides. Pipe decorative borders with a star tip and create rosettes of frosting on top.
- Naked Cake Style: Apply frosting only between layers and leave the sides mostly bare, showing the cake layers. This creates a beautiful rustic appearance.
- Ombre Effect: Tint small portions of your frosting with pink food coloring to create a gradient effect that mimics the raspberry colors.
White Chocolate Raspberry Dream Cake Recipe Tips
Here are my tried-and-true tips to ensure your cake turns out perfectly every time:
- Quality Ingredients Matter: Use high-quality white chocolate rather than white chips when possible. Real white chocolate contains cocoa butter and creates a richer flavor.
- Room Temperature is Key: I can’t stress this enough – room temperature ingredients blend more easily and create a better texture.
- Don’t Skip the Parchment: Lining your pans with parchment paper ensures easy removal and prevents sticking.
- Test for Doneness: Use the toothpick test, but also check that the cake springs back when lightly touched.
- Make It Ahead: The cake layers can be baked a day ahead and wrapped tightly. The assembled cake actually tastes better after sitting overnight in the refrigerator.
How to Store White Chocolate Raspberry Dream Cake
Proper storage is essential for maintaining this cake’s quality and freshness. I always store the assembled cake in the refrigerator due to the cream cheese frosting. Cover it loosely with plastic wrap or place it in a cake container to prevent it from absorbing refrigerator odors.
The cake will stay fresh in the refrigerator for up to 4 days. Before serving refrigerated cake, let it sit at room temperature for 30-45 minutes to allow the flavors to develop and the texture to soften slightly.
If you need to store unfrosted cake layers, wrap them tightly in plastic wrap and store at room temperature for up to 2 days, or freeze for up to 3 months. Thaw frozen layers completely before frosting.
Frequently Asked Questions (FAQs)
Q: Can I make this cake without fresh raspberries?
A: Absolutely! You can use frozen raspberries that have been thawed and drained, or even substitute with raspberry jam. If using jam, reduce it by about half and swirl it into the batter.
Q: Can I freeze the assembled cake?
A: While it’s possible to freeze the assembled cake, I don’t recommend it due to the cream cheese frosting, which can become watery when thawed. It’s better to freeze unfrosted layers and assemble fresh.
Q: What if I can’t find white chocolate?
A: You can substitute with vanilla chips or simply omit the white chocolate altogether. The cake will still be delicious with just the raspberries.
Q: Can I make this as cupcakes instead?
A: Yes! This recipe makes about 24 cupcakes. Bake at 350°F for 18-20 minutes. Reduce the raspberry amount to 1 cup to ensure even distribution.
Q: How do I prevent the raspberries from sinking?
A: Toss the raspberries in a small amount of flour before folding them into the batter. This helps them stay suspended throughout the cake.
Q: Can I make this cake dairy-free?
A: Yes, you can substitute dairy-free butter and milk alternatives. For the frosting, use dairy-free cream cheese and butter substitutes. Make sure your white chocolate is also dairy-free.
Conclusion
White Chocolate Raspberry Dream Cake truly lives up to its name – it’s a dream to make and even better to eat. This recipe combines simple ingredients in a way that creates something truly special and memorable. The contrast between the sweet white chocolate and tart raspberries, all wrapped in a tender vanilla cake, makes this dessert perfect for any celebration.
I’ve shared this recipe with countless friends and family members, and it never fails to impress. The beautiful presentation and sophisticated flavor combination make it suitable for everything from birthday parties to wedding celebrations. Don’t be intimidated by the multiple steps – take your time, follow the instructions carefully, and you’ll create a masterpiece that will have everyone asking for the recipe.
Remember, baking is about more than just following directions – it’s about creating something with love that brings people together. This White Chocolate Raspberry Dream Cake does exactly that, creating sweet memories one slice at a time. Happy baking!